Important: This article is for informational purposes only. Please read our full disclaimer for more details.
Looking to add a glamorous edge to your classic brown smoky eye? This Classic Brown Glitter Eye Makeup Tutorial walks you through every brushstroke—from soft crease shades to bold glitter shimmer. Whether you’re heading to a night out or filming a tutorial yourself, this look is elegant, versatile, and camera-ready.
Let’s dive into the step-by-step breakdown, with pro tips and tools to master this sultry glitter glam!
Article Contains
Products You’ll Need
- Eyeshadow Primer or Concealer (Buy Here)
- Jaclyn Hill x Morphe Eyeshadow Palette (or any warm brown palette) (Buy here)
- Translucent Setting Powder (Buy Here)
- Rose Gold or Brown Loose Glitter / Pressed Glitter Eyeshadow (Buy Here)
- Glitter Glue or Mixing Medium (Buy Here)
- Black Gel or Liquid Eyeliner (Buy Here)
- Black Pencil Liner for Waterline (Buy Here)
- Volumizing Mascara (Buy Here)
- False Lashes (Optional – Style Sassy or similar) Buy Here)
Step by step Brown Glitter Eye Makeup Tutorial
1. Start with a Smooth Base
Before adding any shadow, creating a clean and primed canvas is essential. Here’s what I use:
- Primer: Smashbox Photo Finish Lid Primer – lightweight and keeps the eyeshadow locked in.
- Base Layer: Blend the primer using a damp beauty blender.
- Set with Powder: Lightly dust translucent powder on top to prevent creasing.
Pro Tip: I used to rely on MAC Soft Ochre Paint Pot, but the Smashbox primer is softer and less drying on the lids.
2. Build the Perfect Crease: Blend Like a Pro
The secret to a seamless eye look is your crease. I used the Jaclyn Hill Morphe Palette, starting light and building deeper tones.
- First Shade: Soft matte brown all over the crease, blended with a fluffy brush (Makeup Addiction Ultimate Eye Kit).
- Next Up: The shade “Pooter,” deepened with the same technique.
- Darker Tone: Add “Buns” in the crease, focusing more closely for definition. Use minimal product and slowly build intensity.
- Deepen It: Use “Mocha” in the crease with a flat blending brush. This adds that smoky richness without overpowering the eye.
Pro Tip: Use the Morphe M504 or a flat blending brush to get more concentrated pigment right in the socket.
3. Shimmer & Shine: The Lid Magic
Now comes the eye-catching shimmer.
- Inner Lid: Press “Beam” onto the inner third of the lid. Wet the brush slightly for a metallic finish.
- Center Lid Pop: Layer the golden shade “Queen” right next to it using a MAC 242 brush—one of my go-tos for shimmer application.
- Outer V Drama: Add “Roxanne” in the outer corner and blend it into the crease. Use a flat blending brush for precision.
Pro Tip: Dampen your shimmer brush with a setting spray before applying for maximum shine and minimal fallout.
4. Add a Pop of Glitter
Time to elevate the glam factor with glitter!
- Glitter Product: Rose gold glitter from Certify
- Adhesive: MAC Mixing Medium Gel—apply a thin layer on the lid
- Application: Gently dab the glitter onto the center and inner lid for that sparkle effect
Pro Tip: Work in sections since the mixing medium dries fast. You might need to reapply it for even glitter payoff.
5. Line It Up: Liner & Waterline
Defining the eyes takes this look from soft glam to statement.
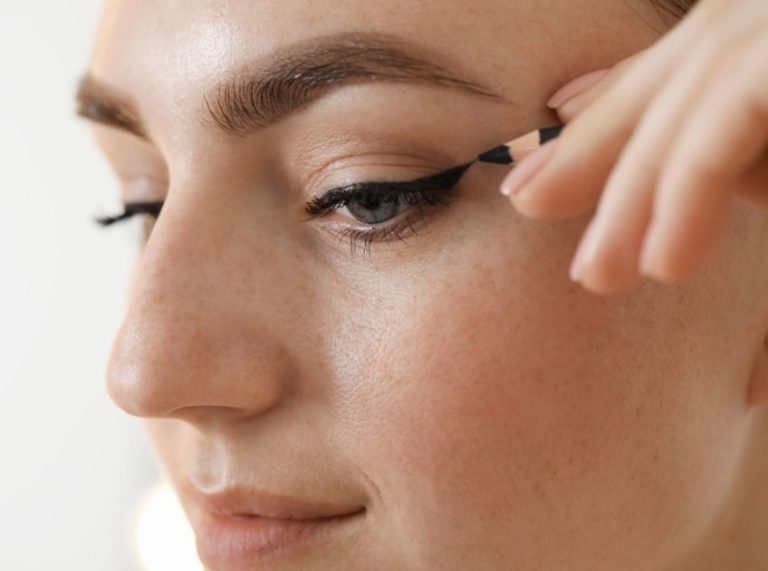
- Eyeliner (Upper Lash): Start with Beauty Bakery’s black liner, but for more opacity, layer NYC Liquid Liner on top.
- Concealer Clean-up: Sharpen the wing with concealer for a crisp, lifted finish.
- Waterline: Use Marc Jacobs Highliner in “Blacker” on the lower waterline and tightline the upper lashes for added smokiness.
6. Smudge & Smoke the Lower Lashline
Balance the upper lid drama with a smoky lower lash line.
- Black Eyeshadow: Press gently under the waterline using a fine brush (Zoeva).
- Blend with “Roxanne”: Smoke out the black with this warm brown tone.
- Final Blend: Use a pencil brush (Dose of Colors) to blend the two seamlessly.
7. Lashes & Mascara: Seal the Look
No glam look is complete without fluttery lashes.
- Mascara Used: Max Factor (thick wand, great length), applied on top and bottom lashes.
- Falsies: Sassy by Anyude (my lash brand) — adds volume without hiding the shadow work.
Pro Tip: Apply mascara before lashes to prevent clumping and help falsies blend better.
Final Touches: Make It Cohesive
After the eyes are done, make sure to clean under the eyes, brighten the area with concealer, and lock the whole look in with setting spray.
If you’d like to pair this eye makeup with a lip, go for a nude gloss or muted brown lipstick—it keeps the focus on the eyes.
Why This Look Works
- Versatility: Perfect for weddings, parties, or date nights.
- Balance of Tones: Warm browns keep the look wearable; glitter adds that festive finish.
- Customizable: Swap glitter shades or deepen the crease for more intensity.
Final Thoughts
This Classic Brown Glitter Eye Makeup Tutorial is your go-to for transforming a neutral eye into something bold and beautiful. With just the right balance of matte, shimmer, and glitter, it brings depth, shine, and drama in all the right places.

