Important: This article is for informational purposes only. Please read our full disclaimer for more details.
You’ve spent two hours perfecting your at-home dip manicure, only to have it chip the next day. Sound familiar? After countless failed attempts (and a few choice words), the key issues became clear, along with the simple fixes that make all the difference. If long-lasting, salon-quality dip nails are the goal, this guide breaks it all down.
Article Contains
- Nail Prep Mistakes That Haunt Your Manicure
- Application Technique Mistakes That Leave You Lumpy & Patchy
- The Angle Error That Ruins Coverage
- Tapping Off Excess: The Underrated Game-Changer
- Finishing Steps That Make or Break the Look
- Rushing Through Layers = Guaranteed Disappointment
- Skipping the Sealer = Matte, Messy Finish
- Beyond the Application: Mistakes in Maintenance
- Quality Counts: The Products You Use Matter
Forget guesswork—these are the most common dip powder mistakes and how to avoid them.
1. Nail Prep Mistakes That Haunt Your Manicure
Skipping Nail Prep (Yes, It Matters Way More Than You Think)
A quick swipe of remover doesn’t cut it. Prep is everything.
Why does this ruin your dip? Any oil, lotion, or residue left behind creates a barrier, causing lifting, cracking, and peeling, often within days.
Here’s what changed everything:
- Push back and gently remove the cuticle film
- Buff off the shine using a fine-grit buffer
- Clean nails with 90 %+ alcohol or a dehydrator
- Let nails air-dry for at least 30 seconds before starting
Think of this as prepping a wall before painting—smooth, clean surfaces ensure lasting results.
2. Application Technique Mistakes That Leave You Lumpy & Patchy
Why Nails Look Like Lumpy Pancakes (And How to Fix It)
Applying thick base coats seems like a shortcut to sstrength —but it backfires. Excess product traps air bubbles and leads to uneven texture.
Why works:
- Remove excess base from the brush before application
- Apply in thin, even strokes, avoiding the cuticle
- Cover 80–90% of the nail with control, not saturation
- Let each coat dry for 30–45 seconds before dipping
Troubleshooting tip:
Streaks or blotchy dips = base coat is too thick.
3. The Angle Error That Ruins Coverage
Dipping flat or at random angles causes patchy coverage and bare spots near the cuticle.
What works:
- Tilt the finger at a 45-degree angle
- Dip slowly and evenly, fully submerging the nail
- Tap gently on the jar edge—a light tapping sound is ideal
- Avoid swirling or jamming the finger into the powder
This small technique tweak ensures even powder coverage every time.
4. Tapping Off Excess: The Underrated Game-Changer
Skipping this step leads to thick, gritty layers that are hard to smooth out later.
Here’s what changed everything:
- Tap off excess powder immediately after dipping
- Use a soft brush to dust away excess around the sides and cuticle
- Aim for a texture that’s smooth to the touch, not bumpy or chalky
Consistent, clean layers make buffing fast and flawless.
5. Finishing Steps That Make or Break the Look
Over-Buffing: When Too Much Smoothing Goes Wrong
Buffing is essential, but overdoing it weakens the nail and thins the structure.
What works:
- Use a fine-grit buffer only after activating the powder
- Smooth surface areas without grinding into edges
- Avoid buffing over the same spot repeatedly
- Focus on blending, not flattening
Gentle, targeted buffing enhances shape and durability.
6. Rushing Through Layers = Guaranteed Disappointment
Dip nails require dry time—there are no shortcuts here.
What works:
- Wait 30–45 seconds between base and dips
- After the activator, pause for 2 minutes before filing
- Apply top coat in two thin layers with a 30-second pause between
- Let nails sit untouched for 5 full minutes before using your hands
Slowing down here means fewer chips later.
7. Skipping the Sealer = Matte, Messy Finish
Without sealing properly, even a great manicure looks dull and wears quickly.
Here’s what changed everything:
- After filing, reapply the activator and wait 2 minutes
- Apply top coat in two thin, even layers
- Cap the tips to seal and prevent peeling
- Avoid touching anything for 5–10 minutes post-application
A glossy, protective finish comes down to this final step.
8. Beyond the Application: Mistakes in Maintenance
Neglecting Aftercare (Your Nails Still Need Love)
Even perfectly dipped nails can’t withstand rough treatment or dehydration.
What works:
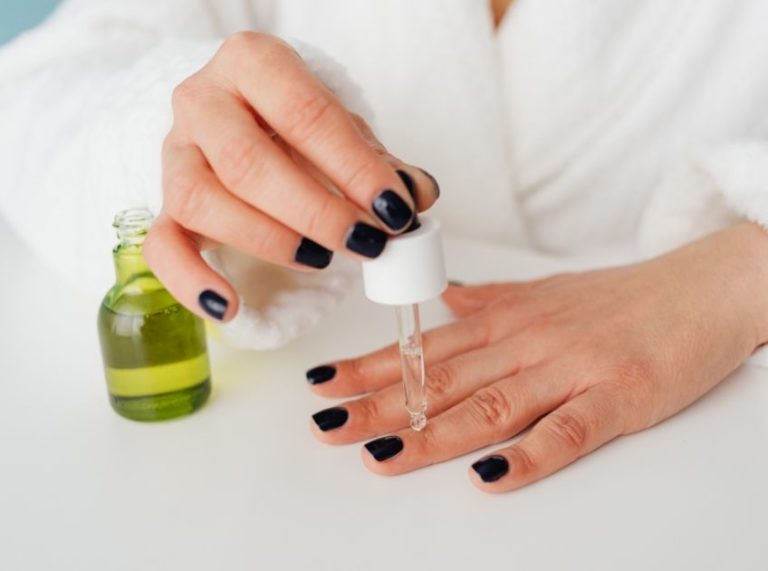
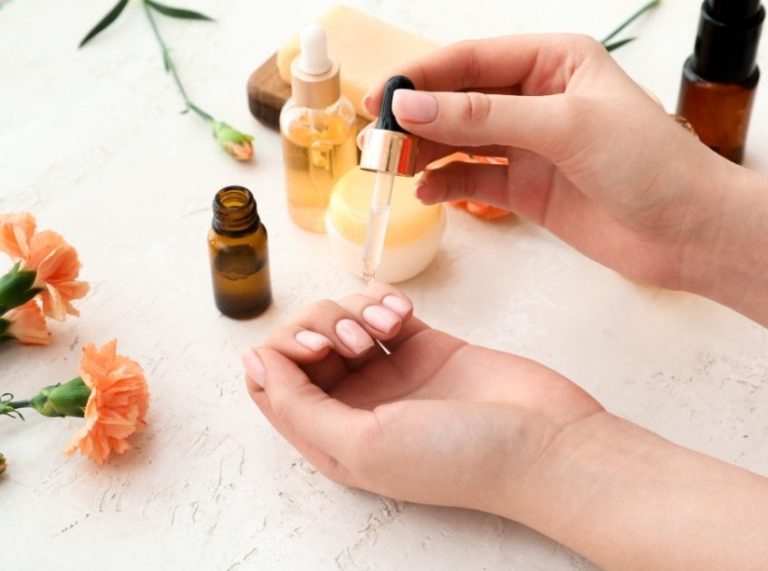
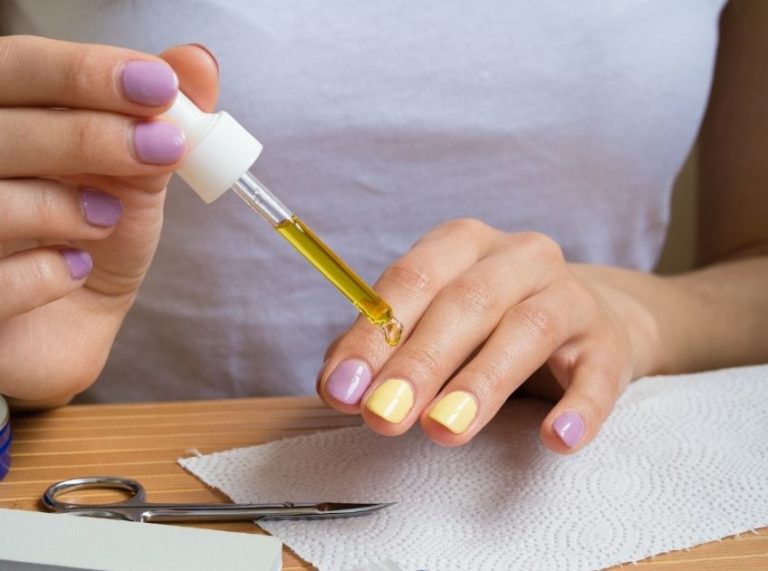
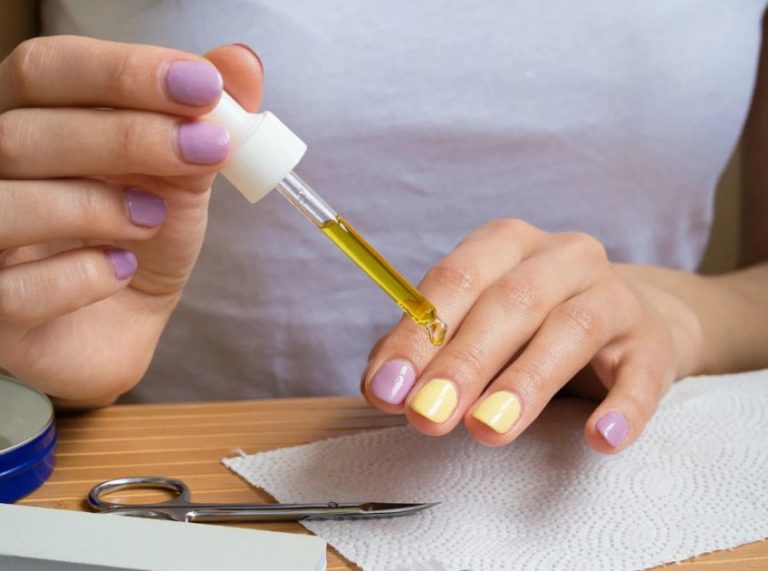
- Moisturize cuticles daily with nourishing oil or serum
- Wear gloves while cleaning, washing dishes, or gardening
- Avoid prolonged hot water exposure
- Never use nails to open cans or packages
Protection and hydration extend the life of any dip manicure.
9. Quality Counts: The Products You Use Matter
Why Cheap Kits Can Cost More in the Long Run
Low-quality kits often lead to clumps, weak adhesion, and short wea, especially for beginners.
Why works:
Professional-grade options like SNS Dip Powder deliver smoother application and longer-lasting wear. The powders are finely milled, vitamin-infused, and create a flawless finish with less effort. Better ingredients = better results.
Final Thoughts: It’s Not Just About Products—It’s About Process
Perfecting the dip powder technique takes patience, but it’s achievable. Focus on clean prep, thin base layers, correct dipping angle, and sealing everything with care. Using high-quality tools and practicing proper timing make all the difference.
The first few sets may be a learning curve, but with each round, results get better, smoother, and longer-lasting.