Important: This article is for informational purposes only. Please read our full disclaimer for more details.
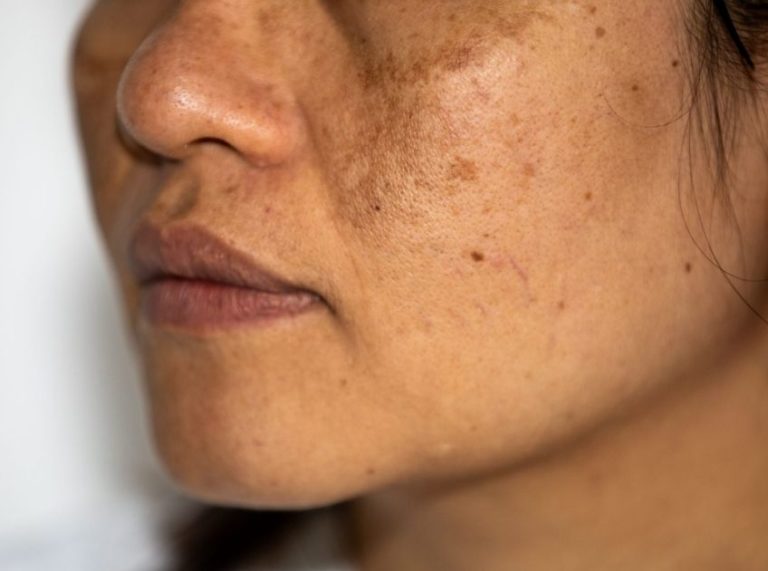
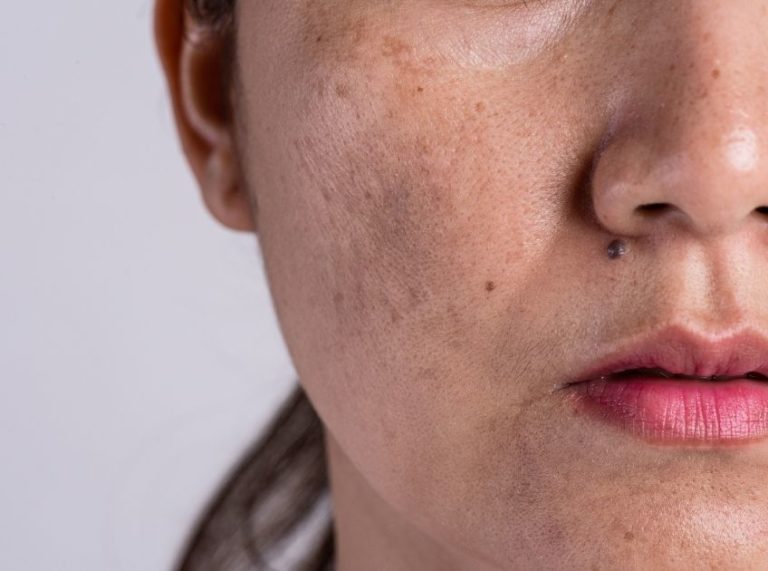
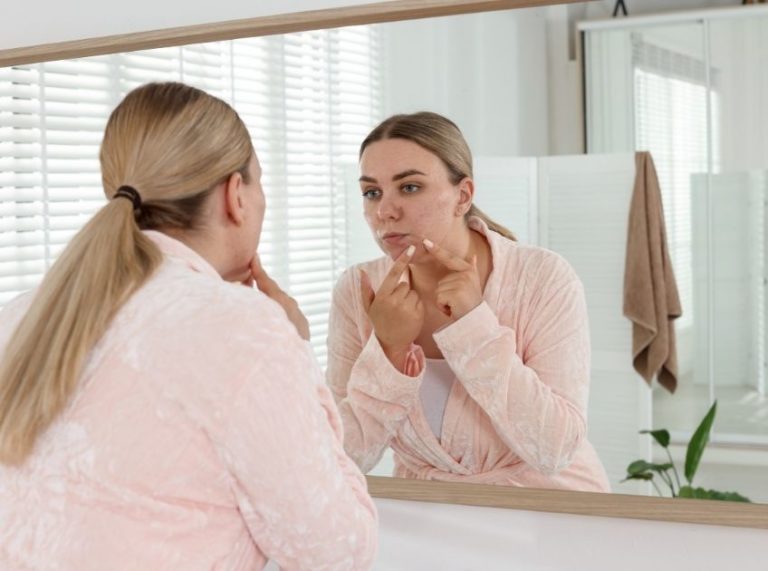
Pigmentation is one of the most common skin concerns, manifesting as dark patches, uneven tone, acne marks, or sunspots. It develops when the skin produces too much melanin — often due to sun exposure, inflammation, hormones, or past breakouts. While professional treatments such as chemical peels and dermatological creams offer stronger results, many people like to begin with gentle, natural remedies that are accessible, affordable, and easy to blend at home.
DIY masks can help support more even skin tone by using ingredients rich in antioxidants, natural acids, vitamins, and botanical compounds known to influence pigmentation. These masks are not a replacement for medical-grade treatments, but they can complement your routine and offer gradual brightening when used consistently and safely.
3 Targeted DIY Face Masks That Support Pigmentation Reduction
Each of the following masks is designed with ingredients that are studied for their ability to brighten skin, reduce inflammation, or improve cell turnover — three key mechanisms in reducing pigmentation.
1. Turmeric and Yogurt Brightening Mask
A classic pigmentation-targeted combination, this mask supports gentle exfoliation, reduces inflammation, and may help regulate excess melanin activity.
Why It Works:
- Turmeric: Contains curcumin, known for soothing inflammation and helping interrupt melanin synthesis.
- Yogurt: Rich in lactic acid, an AHA that brightens dark spots through mild exfoliation.
Ingredients (Adjustable):
- 1 teaspoon turmeric (use kasturi manjal if you want less staining)
- 2 tablespoons plain yogurt (curd)
Optional boosters:
- ½ teaspoon honey for added hydration
- A pinch of besan (gram flour), if you want a thicker consistency
How to Make It: Mix the yogurt and turmeric into a smooth, creamy paste. Add honey or besan if adjusting texture.
How to Use: Apply a thin, even layer to clean skin. Leave for 10–12 minutes (not longer, to avoid yellow staining). Rinse with lukewarm water.
Skin Type Guide:
- Oily/Combination: Add a pinch of besan to reduce greasiness.
- Dry/Sensitive: Add ½ teaspoon aloe vera for extra soothing.
- Acne-prone: Keep yogurt because it exfoliates without irritating active acne.
Frequency: Use 2–3 times weekly.
When to Stop:
- If your skin becomes tight or overly dry
- If yellow staining persists despite rinsing
- If irritation occurs (rare but possible)
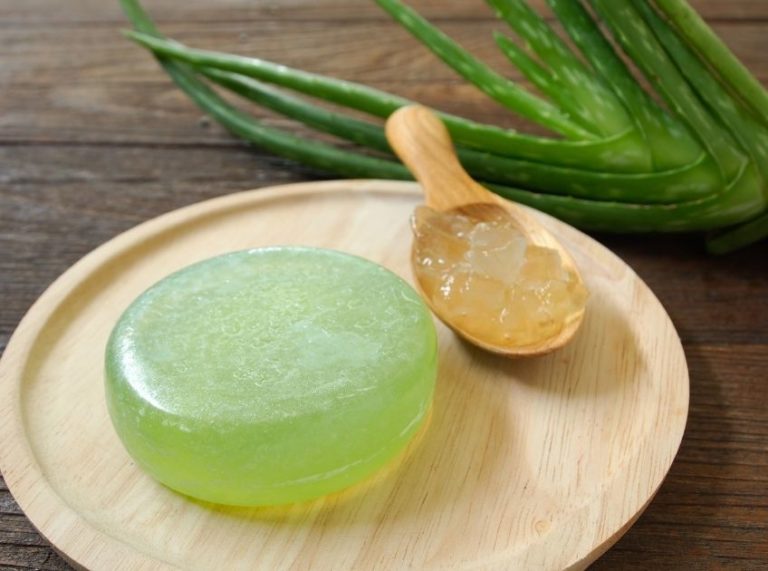
2. Aloe Vera and Lemon Dilution Brightening Mask
Designed for mild, gradual brightening using the pigment-regulating properties of aloe and the antioxidant boost of diluted lemon.
Why It Works:
- Aloe Vera: Contains aloesin, which may help reduce UV-induced pigmentation.
- Lemon (diluted): Provides vitamin C and citric acid for brightening, but must be used safely.
Ingredients (Safer Formula):
- 1 tablespoon fresh aloe vera gel (best if scraped directly from the leaf)
- 1 teaspoon lemon juice diluted with 2 teaspoons of water
Optional:
- 1 drop of vitamin E oil to buffer irritation
- ½ teaspoon rose water for sensitive skin
How to Make It: Mix aloe with diluted lemon until it forms a thin, gel-like serum.
How to Use: Apply only to dark spots or dull areas. Leave on for 5–7 minutes max, then rinse thoroughly.
Skin Type Guide:
- Oily: Great as-is because aloe is lightweight.
- Dry: Add vitamin E oil to prevent over-drying.
- Sensitive: Replace lemon entirely with a few drops of rose water or cucumber juice.
Frequency: Use 1–2 times per week ONLY. (This formula is mild but still acidic.)
When to Stop:
- If you feel burning or stinging that lasts more than 30 seconds
- If your skin looks red after rinsing
- If you’re consistently outdoors without sunscreen (lemon increases sun sensitivity)
3. Potato and Honey Enzymatic Even-Tone Mask
This mask uses the natural enzymes in potatoes paired with the humectant, soothing properties of honey.
Why It Works:
- Potato: Contains catecholase enzymes and mild natural acids believed to support brightening.
- Honey: Hydrates, calms inflammation, and helps prevent irritation.
Ingredients (Customizable):
- 2 tablespoons grated raw potato (with juice)
- 1 teaspoon raw honey
Optional:
- ½ teaspoon rice flour for a thicker scrub-like mask
- 1 teaspoon milk for extra softness
- A few drops of lemon (only for non-sensitive skin)
How to Make It: Grate a raw potato and squeeze slightly to collect the juice. Mix with honey to form a smooth paste. Add rice flour if you want a firmer texture.
How to Use: Apply generously to the face. Leave for 10–12 minutes. As you rinse, massage skin gently in circular motions for 30 seconds for extra brightening.
Skin Type Guide:
- Oily/Acne-prone: Add rice flour to help absorb excess oil.
- Dry: Add a teaspoon of milk or a few drops of glycerin.
- Sensitive: Use potato juice only (skip the grated pulp), mixed with honey.
Frequency: 2–3 times weekly.
When to Stop:
- If skin becomes itchy (rare potato sensitivity)
- If redness develops around the nose or cheeks
- If you notice dryness (add honey or milk instead)
Why These Ingredients Are Often Recommended: What Research Suggests
Many natural ingredients used in DIY masks have been studied for their skin benefits:
- Curcumin (turmeric): Research shows it has strong anti-inflammatory properties and may interfere with melanin synthesis, helping improve uneven tone (1).
- Aloesin (aloe vera): Laboratory studies suggest it can help reduce UV-induced pigmentation by inhibiting melanin activity (2).
- Lactic acid (yogurt): A mild alpha hydroxy acid that helps exfoliate dead skin cells and encourages brighter, smoother skin (3).
- Vitamin C–rich ingredients (lemon): Known for antioxidant and brightening properties, though safest when diluted and used sparingly (4).
- Enzymatic botanicals (potato): Traditionally used for pigmentation, offering mild exfoliation and brightening effects (5).
While these remedies can support brightening, consistency, and good sun protection, determining how effective they will be.
Frequently Asked Questions (FAQ’S)
1. How long do DIY masks take to lighten pigmentation?
A. DIY masks work slowly. Most people see subtle improvements after 4–8 weeks of consistent use. Deeper pigmentation may require professional treatments.
2. Are DIY masks safe for sensitive skin?
A. Most are safe when patch tested first. Those with sensitive skin should avoid lemon-based masks due to their acidity and potential for irritation.
3. Can I use all three masks in the same week?
A. It’s best to rotate them instead of layering multiple active masks. Introduce one mask at a time to avoid irritation or over-exfoliation.
DIY face masks made with turmeric, aloe vera, yogurt, honey, potatoes, and other natural ingredients can help gently brighten skin and support more even pigmentation over time. While these home treatments can offer a noticeable glow and improvement, they work best when combined with sun protection, a balanced skincare routine, and patience.
For stubborn or long-standing pigmentation, consulting a dermatologist ensures you get targeted treatments and faster results — but for everyday maintenance, these homemade remedies can be a gentle, effective place to begin.