![]() Fact checked
Fact checked ![]() We have a team of smart fact checkers. They make sure our content is accurate. They use the best sources like medical journals and government websites. You can find their names and profiles on the articles they check.
We have a team of smart fact checkers. They make sure our content is accurate. They use the best sources like medical journals and government websites. You can find their names and profiles on the articles they check.
Important: This article is for informational purposes only. Please read our full disclaimer for more details.
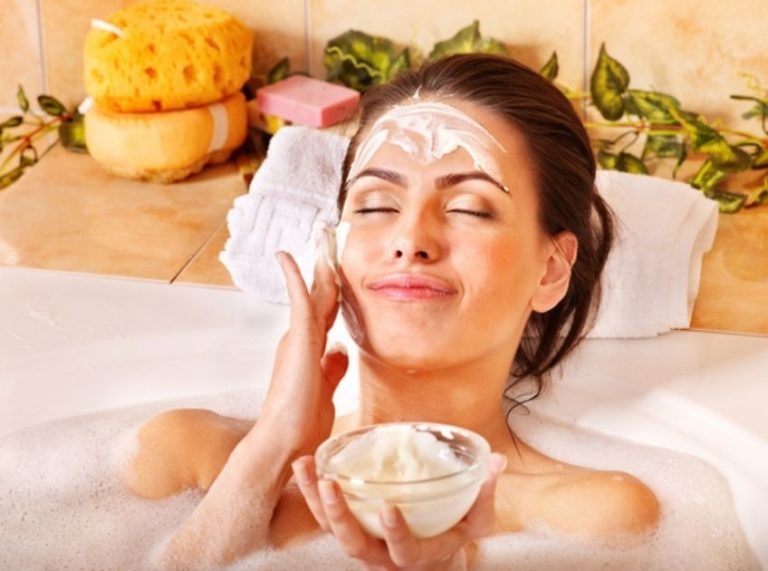
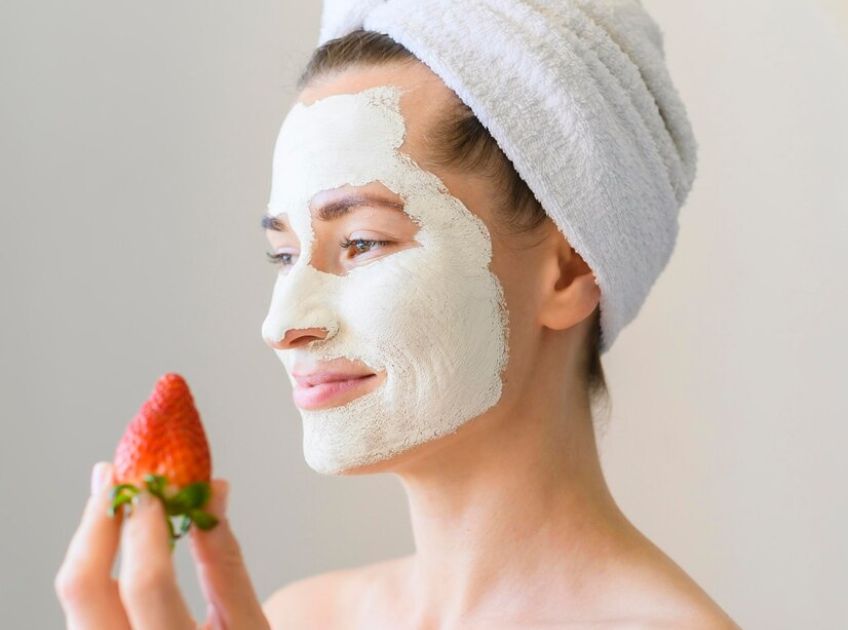
Struggling with dull, dry, or oily skin? The solution might already be in your kitchen. Fresh fruits are packed with vitamins, antioxidants, and enzymes that can transform your skincare routine naturally. These DIY fruit face masks are tailored for every skin type—whether you’re battling acne, dryness, or dullness.
In this post, you’ll discover fruit-based masks that refresh, exfoliate, and deeply nourish—all without synthetic chemicals or hefty price tags.

Why Use Fruit-Based Face Masks?
- Rich in natural enzymes, vitamins, and AHAs
- Gently exfoliate and unclog pores
- Hydrate, brighten, or mattify based on the fruit
- Refresh the skin without stripping it of natural oils
Fruit masks are especially helpful for sensitive or problematic skin when used the right way.
The Science Behind the Fruit-Powered Glow
Fruits like papaya, banana, and strawberries contain potent actives:
- Papain (from papaya) exfoliates dead skin and fades blemishes
- Vitamin C (from citrus, strawberries) brightens and stimulates collagen (1)
- Lactic acid (in yogurt + fruits) smooths the rough texture
- Antioxidants (from berries and pomegranate) fight free radicals
Studies support their use
- A 2021 review in Antioxidants (Basel) confirms vitamin C’s ability to reduce hyperpigmentation and oxidative stress (1).
- A 2020 NCBI paper noted that natural fruit enzymes help with gentle exfoliation and support acne care (2).
Which Ingredients Do What?
- Papaya: Exfoliates, fades dark spots, clears clogged pores
- Banana: Moisturizes, calms inflammation
- Strawberries: Brightens dull skin, tightens pores
- Honey: Antibacterial and hydrating
- Yogurt: Gentle exfoliator, balances skin’s pH
- Oats: Soothes irritation and absorbs oil
When to Discontinue Use
Stop immediately if you experience:
- Burning, redness, or swelling
- Increased sensitivity to sunlight
- Persistent dryness or breakouts
Do a patch test behind the ear before applying any new DIY mask.
Adjust as Needed for Your Skin
- Dry skin: Add honey or olive oil to increase moisture
- Oily skin: Use more clay or citrus juice
- Sensitive skin: Use soothing bases like aloe or oats
- Texture too runny? Add oats or yogurt
- Too thick? Add rose water or milk.
Which Skin Type Is It For?
Not all fruit masks work the same for every skin type. Knowing which fruits benefit your unique skin concerns helps you choose the right DIY blend. Here’s a detailed breakdown of the best fruits and ingredients for each skin type:
1. Oily Skin
Oily skin tends to overproduce sebum, leading to clogged pores and breakouts. Fruit masks that have natural astringents and exfoliating enzymes help absorb excess oil and refine pores.
Best fruits
- Strawberries – Rich in salicylic acid and vitamin C to control oil and fight acne.
- Lemon – Natural astringent that brightens and tightens.
- Orange peel – Gently exfoliates and reduces shine.
Ideal combos
- Strawberry + honey + oats
- Lemon juice + yogurt + multani mitti (fuller’s earth)
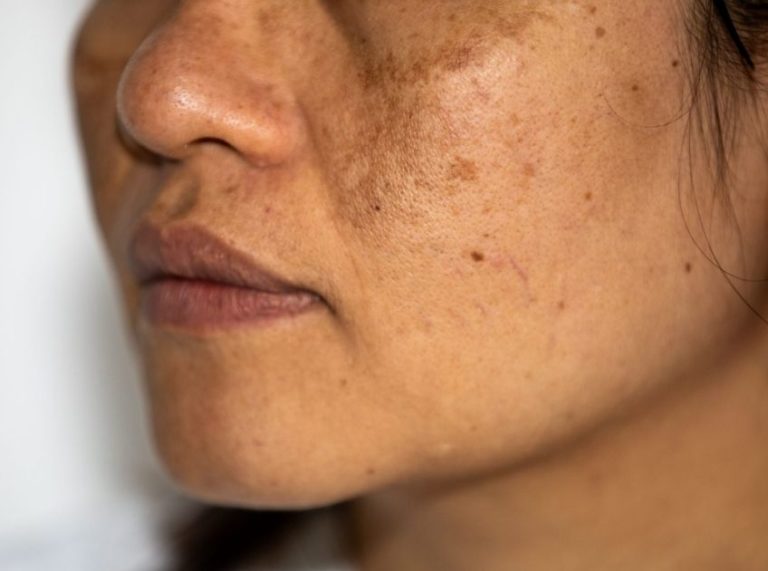
2. Dry Skin
Dry skin lacks hydration and can appear flaky or tight. Moisturizing fruit masks with fatty acids, vitamins, and soothing ingredients restore balance.
Best fruits
- Banana – Ultra-moisturizing and soothing.
- Avocado – Loaded with healthy fats and vitamin E.
- Papaya – Gently exfoliates while softening skin.
Ideal combos
- Banana + yogurt + honey
- Avocado + olive oil + rose water
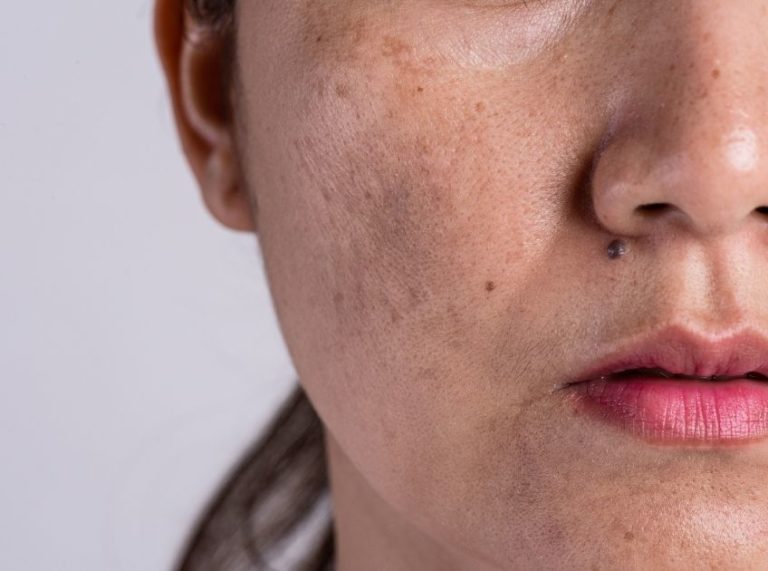
3. Combination Skin
Combination skin has both oily and dry areas—usually an oily T-zone and dry cheeks. Balanced masks that exfoliate without over-drying work best.
Best fruits
- Apple – Balances oil and soothes skin.
- Tomato – Controls oil and tightens pores.
- Pineapple – Contains bromelain to gently exfoliate.
Ideal combos
- Apple + honey + oats
- Tomato juice + yogurt + sandalwood powder
4. Sensitive Skin
Sensitive skin reacts easily to new products. Soothing, anti-inflammatory fruits and calming bases like yogurt or aloe vera are key.
Best fruits
- Cucumber – Hydrating and calming.
- Watermelon – Cooling and light.
- Mango – Moisturizes without irritation (when used ripe and mild).
Ideal combos
- Cucumber juice + aloe vera + honey
- Watermelon + rose water + oats
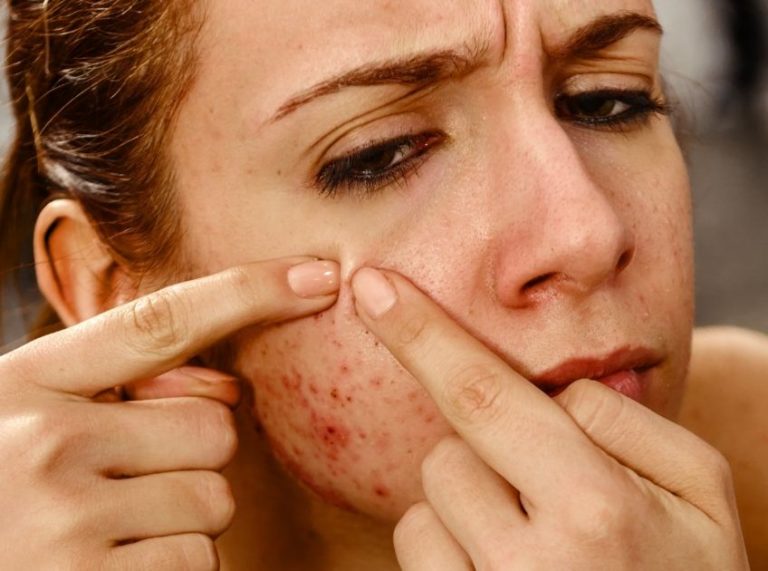
5. Acne-Prone Skin
This skin type needs masks that detoxify, reduce inflammation, and keep bacteria at bay. Enzyme-rich and antibacterial fruits are especially helpful.
Best fruits
- Papaya – Contains papain that exfoliates and clears pores.
- Strawberries – Help fight acne-causing bacteria.
- Kiwi – High in vitamin C, reduces redness and swelling.
Ideal combos
- Papaya + turmeric + honey
- Strawberry + lemon juice + aloe vera
Is It Safe to Use Fruit Masks on Your Face?
Yes—if used fresh, in moderation, and with patch testing.
Avoid overusing citrus fruits as they can increase photosensitivity.
Stick to 1–2 times per week and use organic or well-washed fruits.
3 Best DIY Fruit Face Masks for Every Skin Type
1. Papaya & Honey Glow Mask (For Acne-Prone & Dull Skin)
This mask exfoliates dead skin, fades marks, and adds glow.
Ingredients
- 2 tbsp ripe papaya mash
- 1 tsp raw honey
- 1 tsp aloe vera gel
Directions
- Mix everything into a smooth paste
- Let it sit for 2–3 minutes before applying
How to Apply
- On clean skin, spread evenly, avoiding the eyes
- Leave on for 15 minutes
- Rinse with lukewarm water
- Pat dry and moisturize
Pro Tip: Add a pinch of turmeric for added antibacterial power.
2. Banana & Yogurt Soothing Mask (For Dry & Sensitive Skin)
Nourishes dry patches, evens tone, and boosts hydration.
Ingredients
- ½ ripe banana mashed
- 1 tbsp plain yogurt
- 1 tsp olive oil or honey
Directions
- Blend the banana till smooth
- Mix with yogurt and oil until creamy
How to Apply
- Apply a thick layer to the face and neck
- Leave for 15–20 minutes
- Rinse off with cool water
- Follow with a light moisturizer
Pro Tip: Chill the mask for 10 minutes before applying for a cooling effect.
3. Strawberry & Oat Exfoliating Mask (For Oily & Combination Skin)
Removes excess oil, tightens pores, and brightens dullness.
Ingredients
- 2 ripe strawberries mashed
- 1 tsp honey
- 1 tbsp ground oats
Directions
- Mix ingredients into a thick, spreadable paste
- Let it sit for 2 minutes to activate the enzymes
How to Apply
- Gently massage onto skin in circles
- Leave on for 10–12 minutes
- Rinse with warm water and splash with cool water after
- Use a gel-based moisturizer afterward
Pro Tip: Add a few drops of lemon juice for extra brightening (avoid if sensitive).
Frequently Asked Questions (FAQ’S)
1. Can I store these fruit masks for later use?
A. It’s best to make it fresh each time. Natural enzymes lose potency and can ferment quickly.
2. Can I use these masks daily?
A. No. Limit to 1–2 times per week to prevent over-exfoliation or irritation.
3. What should I do after applying the mask?
A. Always follow with a gentle toner (like rose water) and a moisturizer suited to your skin type.
DIY fruit masks are a simple, natural way to refresh your skin and target common issues like dryness, acne, or oiliness. With the right fruits and a little prep, your skincare can be both effective and chemical-free. Listen to your skin, adjust as needed, and enjoy nature’s glow!