Important: This article is for informational purposes only. Please read our full disclaimer for more details.
When it comes to makeup, one eye shape that often gets overlooked or misunderstood is deep-set eyes. With the brow bone naturally more prominent and the eyes appearing deeper into the sockets, this shape can cast shadows and make the eyes look smaller. But with the right techniques, you can make deep-set eyes look wide, lifted, and radiant.
Article Contains
- DO Highlight the Inner Corners and Center of the Lid
- DO Use Matte Shadows in the Crease for Dimension
- DO Curl Your Lashes and Apply Volumizing Mascara
- DO Keep Your Brows Clean and Lightly Lifted
- DO Tightline Your Upper Lash Line
- DO Choose Lighter Eyeshadow Shades on the Lid
- DO Smudge Softly Under the Lower Lash Line
- DO Apply Highlighter Just Under the Brow Arch
- DO Use Natural-Looking False Lashes (Optional)
- DO Experiment with Halo or Spotlight Eyeshadow Looks
- Quick Recap: 5-Point Do’s and Don’ts Table
This guide breaks down the essential dos and don’ts for deep-set eye makeup, offering expert-approved tips to help you make the most of your beautiful features.
1. DO Highlight the Inner Corners and Center of the Lid
Light attracts attention — so use it smartly.
- Apply a light shimmer or satin shadow on the center of your lid and inner corners to bring those areas forward.
- This brightens the eyes and counteracts any shadow caused by the depth.
DON’T: Avoid placing dark shades all over the lid. It can make the eyes look sunken or tired.
2. DO Use Matte Shadows in the Crease for Dimension
To enhance depth without exaggerating it:
- Use a matte transition shade slightly above your natural crease (not deep in the socket).
- This gives the illusion of a lifted crease and balances the brow bone.
DON’T: Don’t define the crease directly in the socket — it can make your eyes look even more recessed.
3. DO Curl Your Lashes and Apply Volumizing Mascara
Curled lashes help open up deep-set eyes.
- Use an eyelash curler before applying a volumizing or lifting mascara.
- Focus on the center lashes for an eye-opening effect.
DON’T: Avoid heavy lower lash mascara — it can pull the eyes down further into the face.
4. DO Keep Your Brows Clean and Lightly Lifted
Your brow bone already casts a natural shadow, so lift smartly.
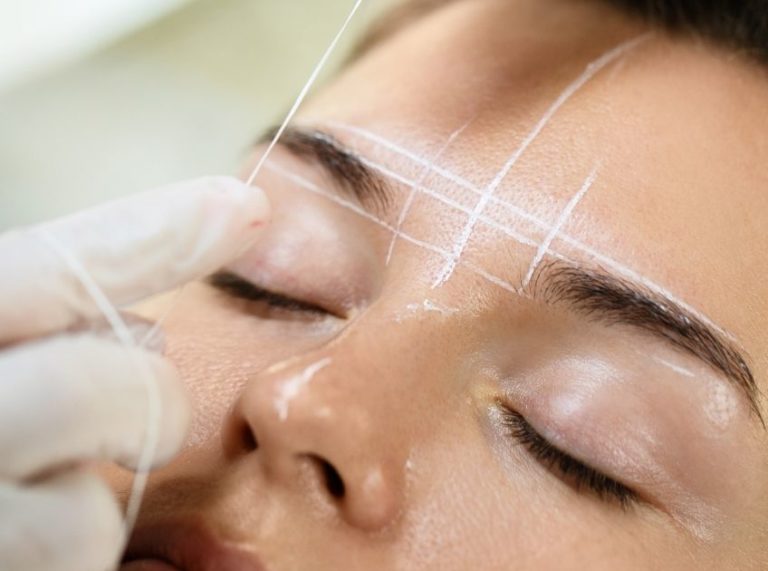
- Keep brows groomed and softly arched.
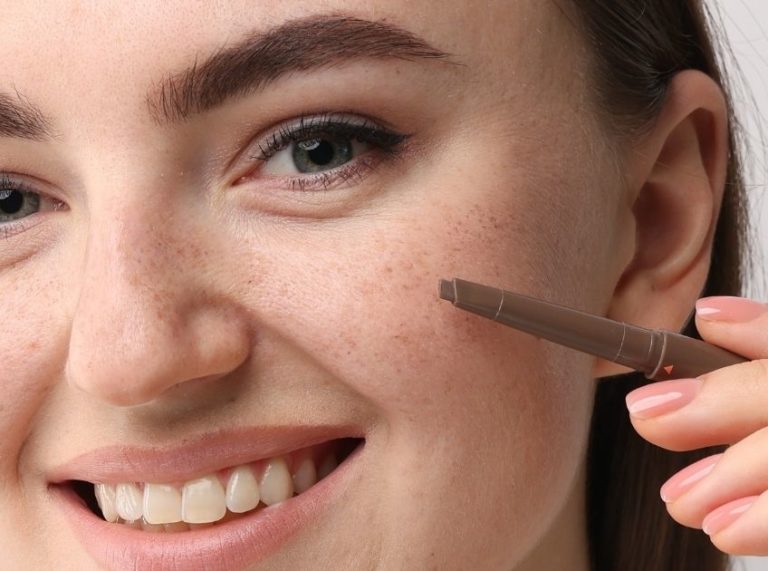
- Use a neutral-toned brow pencil to define without overpowering.
DON’T: Don’t overfill your brows with deep or blocky lines. It can make the eye area appear more closed off.
5. DO Tightline Your Upper Lash Line
Tightlining helps define your eyes without reducing visible lid space.
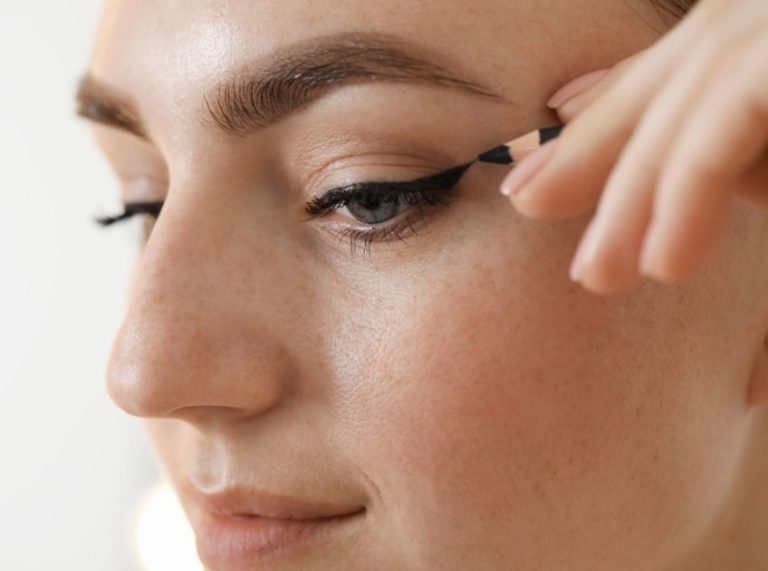
- Use a waterproof gel or pencil liner to tightline the upper waterline.
- This intensifies the lash line and adds definition subtly.
DON’T: Don’t apply thick eyeliner on the upper lid — it will hide what little lid space you have.
6. DO Choose Lighter Eyeshadow Shades on the Lid
Enhance the part of the eye that tends to recede.
- Use champagne, soft rose, beige, or taupe across the mobile lid.
- These colors reflect light and help make the eyes pop.
DON’T: Avoid all-matte or very dark shades all over the eye — they deepen the sockets visually.
7. DO Smudge Softly Under the Lower Lash Line
Deep-set eyes benefit from soft under-eye definition.
- Use a small pencil brush and a neutral matte shade to lightly smudge.
- Keep it subtle and close to the lash line.
DON’T: Don’t use heavy black eyeliner all around the eyes — it can shrink the eye shape.
8. DO Apply Highlighter Just Under the Brow Arch
This trick opens up the brow area without emphasizing depth.
- Use a light satin highlighter under just the arch of your brow.
- Blend well to avoid harsh lines.
DON’T: Don’t apply shimmer across the entire brow bone — it can make the brow bone look too prominent.
9. DO Use Natural-Looking False Lashes (Optional)
Lashes can dramatically enhance deep-set eyes when chosen wisely.
- Go for wispy, lightweight lashes with a clear or thin band.
- Focus length toward the center or outer third for lift.
DON’T: Avoid dense, overly dramatic lashes that hide your lid and weigh down your eyes.
10. DO Experiment with Halo or Spotlight Eyeshadow Looks
These styles naturally lift and round the eye.
- Apply a darker shadow on the inner and outer corners, then a shimmer in the center of the lid.
- This placement adds width and opens up deep-set eyes.
DON’T: Don’t use horizontal or too elongated shadow shapes — they can drag the eyes inward.
Quick Recap: 5-Point Do’s and Don’ts Table
| # | Do’s | Don’ts |
|---|---|---|
| 1 | Highlight inner corners & center of lid | Avoid all-over dark shadows |
| 2 | Apply transition shades above the crease | Don’t deepen the natural socket |
| 3 | Use tightlining for subtle definition | Skip thick upper eyeliner |
| 4 | Choose lightweight lashes | Avoid heavy or thick lash bands |
| 5 | Use shimmer only on the brow arch | Don’t highlight the entire brow bone |
Final Thoughts
Mastering makeup for deep-set eyes doesn’t require a total overhaul — just strategic tweaks that enhance your features. From proper crease placement to clever use of shimmer and liner, these small adjustments can make a big visual impact.
Remember: your eye shape is unique and beautiful. With the right techniques, your deep-set eyes can shine.
