Important: This article is for informational purposes only. Please read our full disclaimer for more details.
French braids are a staple in the world of protective styling, offering a timeless and elegant look that can be dressed up or down. For Black girls, French braids not only protect natural hair but also provide a stylish base for countless other hairstyles. Whether you’re new to braiding or looking to refresh your technique, this guide has everything you need.
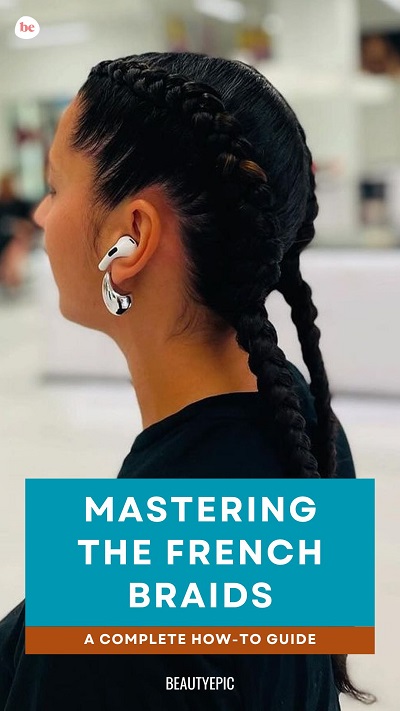
What Are French Braids? A Style Breakdown
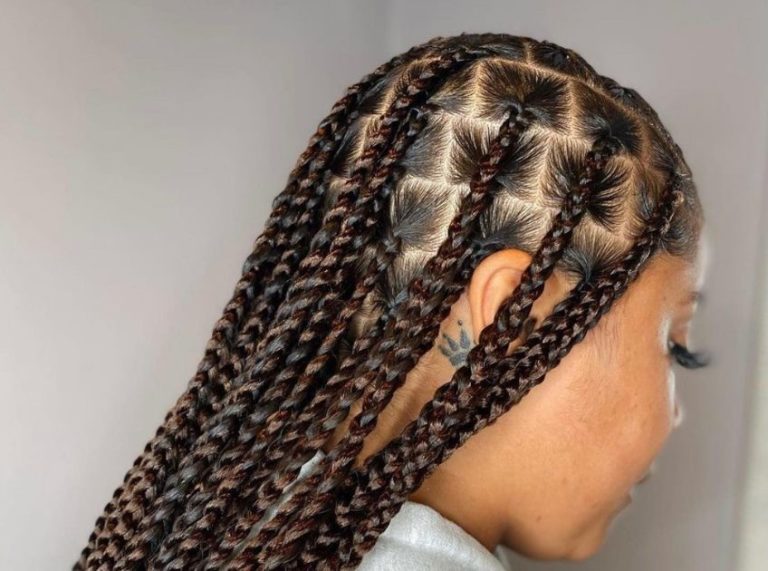
French braids are a type of three-strand braid that starts at the crown of the head and works its way down by gradually adding hair into each section. Unlike regular plaits, French braids stay close to the scalp, creating a clean and structured look.
For Black girls with textured hair, French braids can be customized for any hair type—whether coily, kinky, or relaxed. They also make a great foundation for crochet styles, wigs, or protective updos.
Styling 101: How to Create French Braids on Natural Hair
French braids on textured hair require a bit more preparation, but the results are stunning and long-lasting. Let’s get into what you’ll need and how to do it step by step.
What You’ll Need Before You Start
- Rat-tail comb for parting (Buy Here)
- Spray bottle with water or leave-in conditioner
- Edge control or braiding gel (Buy here)
- Detangling brush
- Clips for sectioning (Buy Here)
- Hair oil or butter for moisture
Optional: Add-on braiding hair for length or thickness if desired.
Step-by-Step: How to Braid French Braids for Black Girls
French braiding textured hair can seem intimidating at first, especially if you’re dealing with coils, kinks, or thick strands—but with the right technique and patience, you’ll achieve neat, polished braids that last. This step-by-step guide is tailored specifically for Black hair types, from prep to finishing touches.
Step 1: Start with Clean, Moisturized Hair
- Wash and condition your hair with a sulfate-free shampoo and a nourishing conditioner.
- Apply a leave-in conditioner or a moisturizing cream to soften the hair and make it easier to detangle.
- Stretch the hair using a blow dryer on low heat or banding overnight. Stretched hair is easier to braid and reduces tension at the roots.
Expert Tip: Use a microfiber towel or t-shirt to dry your hair to prevent frizz and breakage.
Step 2: Detangle Thoroughly
- Use a wide-tooth comb or detangling brush to remove knots and tangles from root to tip.
- Apply a bit of hair butter or natural oil like jojoba or castor oil to keep the strands smooth and manageable.
Step 3: Part and Section the Hair
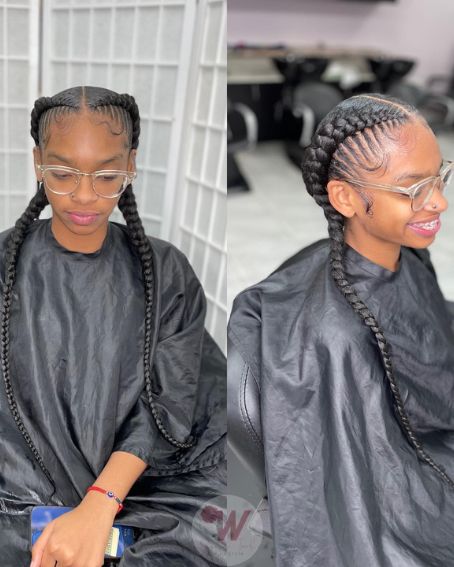
- Use a rat-tail comb to part the hair cleanly down the middle or into your preferred number of sections. Two large braids are classic, but you can do three or more for a unique look.
- Clip or tie away each section you’re not currently working on to stay organized and prevent snagging.
Pro Tip: Apply edge control or braid gel along the part lines for cleaner, more defined sections.
Step 4: Begin the Braid at the Hairline
- Grab a small section of hair at the start of your part (near the forehead). Split this into three equal strands.
- Begin a regular braid (right over middle, left over middle), then gradually add in hair from each side as you move down the scalp.
- Use your fingers to grip close to the scalp and pull each section tight enough for neatness, but not so tight that it causes tension or pain.
Step 5: Continue Braiding Downward
- Keep adding equal amounts of hair from the left and right sides into the braid as you go.
- Make sure the strands remain even and tangle-free by running your fingers through each before incorporating them into the braid.
- Maintain even tension throughout for a smooth, uniform look.
Step 6: Secure the End of the Braid
- Once you’ve added all available hair and reached the nape, continue braiding the remaining length as a traditional plait.
- Secure the ends with a snag-free elastic band or coil the ends around your finger if you’re working with curly natural ends.
Step 7: Repeat for Additional Braids
- If doing two or more French braids, repeat the process on each sectioned area of the head.
- Check your work in a mirror (or ask a friend) to make sure braids are even and symmetrical.
Step 8: Lay Edges and Finish the Look
- Apply a small amount of edge control to your baby hairs and use a toothbrush or edge brush to smooth them down into your desired design.
- Mist the entire style with a braid spray or light hold mist for shine and frizz control.
Styling Variations to Try
- Add beads or cuffs at the ends for cultural flair.
- Use colored extensions to give your French braids a bold, creative edge.
- Try a side-parted or zig-zag part for a modern twist.
How to Keep French Braids Fresh and Fabulous
Maintenance is key to protecting your hair and keeping braids looking neat.
- Wrap it up at night – Use a silk or satin scarf or bonnet to reduce frizz and preserve edges.
- Moisturize regularly – Lightly spritz the scalp and braids with water and seal in moisture with oil.
- Avoid buildup – Use a braid spray or diluted shampoo every 1–2 weeks to keep the scalp clean.
- Redo edges if needed – To refresh the look, you can re-braid the front every 7–10 days.
Pro Tip: Avoid heavy gels that can flake or dry out textured hair over time.
Frequently Asked Questions (FAQ’S)
1. Are French braids good for natural hair?
A. Yes! French braids are an excellent protective style that helps retain moisture and minimize daily manipulation, ideal for natural and transitioning hair.
2. How long do French braids last?
A. Typically, French braids can last between 1–2 weeks, depending on hair type, maintenance, and tightness. Rebraiding edges or using edge control can extend the style.
3. Can you add extensions to French braids?
A. Absolutely. Adding braiding hair can give the braid more volume, length, and hold, especially for girls with shorter or finer hair.
Final Thoughts: A Simple Style with Lasting Impact
French braids are timeless, versatile, and gentle on natural hair when done properly. Whether you’re heading to school, a special event, or just need a protective option, this braid style adapts beautifully. With the right prep and care, French braids for Black girls can go from classic to creative—all while protecting those precious strands.