Important: This article is for informational purposes only. Please read our full disclaimer for more details.
If you have hooded eyes, you know how tricky it can be to get your makeup to show up, stay in place, and flatter your natural shape. Hooded eyes have a fold of skin that can hide the eyelid when open, making eyeliner, eyeshadow, and even lashes a challenge. But with a few smart techniques and a clear understanding of what works (and what doesn’t), you can enhance your eyes beautifully.
Article Contains
- Don’t Extend Your Brows Downward
- Don’t Over-Highlight the Brow Bone
- Don’t Skip Primer or Base
- Don’t Blend Shadow Into Your Natural Crease
- Don’t Use Just One Shadow Shade
- Don’t Ignore the Outer Corner
- Don’t Apply Shadow Too Low on the Lower Lash Line
- Don’t Cover Your Lid Space with Heavy Eyeliner
- Don’t Use Lashes with Thick Bands
- Don’t Avoid Shimmer Entirely
- Don’t Use Liner on the Entire Waterline
- Don’t Skip Blending
- Simple table for Do’s and Don’ts for Hooded Eyes
As a beauty expert with hooded eyes myself, I’ve tested countless tips to see what makes a difference. Here’s a complete breakdown of hooded eye makeup dos and don’ts to help you avoid common mistakes and elevate your eye game.
1. Don’t Extend Your Brows Downward
A downward tail on the brows drags your whole eye shape down, making it look droopier.
Do
- Follow your natural brow shape.
- Keep the tail slightly lifted or short for a more open, lifted look.
- Use a precise pencil or powder to avoid overextending the tail.
2. Don’t Over-Highlight the Brow Bone
A full strip of shimmer under the brow bone can reflect light in the wrong areas and emphasize the hood.
Do
- Apply brow bone highlight only to the arch.
- Use a subtle satin or matte tone for a softer lift.
- Keep it minimal and strategic—less is more.
3. Don’t Skip Primer or Base
Without a good base, eyeshadow easily creases or transfers to the hood.
Do
- Use an eye primer or a cream base like MAC Paint Pot.
- Set it with a translucent powder before applying shadows.
- This helps prevent smudging and locks in your look.
4. Don’t Blend Shadow Into Your Natural Crease
Applying shadow into your natural crease (which may be hidden) can make your eyes look smaller.
Do
- Create a “fake crease” slightly above your natural fold.
- Use a transition shade to build a soft contour higher up.
- Blend in an upward, outward direction to lift the eye.
5. Don’t Use Just One Shadow Shade
A single eyeshadow all over the lid tends to flatten hooded eyes.
Do
- Use at least two to three shades: a transition color, a deeper shade for the outer V, and a shimmer or light shade for the lid.
- Depth and gradient help define the lid area and bring structure to hooded eyes.
6. Don’t Ignore the Outer Corner
Neglecting the outer third of your eye can make your look fall flat.
Do
- Focus darker shades on the outer corner to create lift.
- Blend outward in a soft V shape to enhance dimension.
- Keep inner corners lighter for an open-eye effect.
7. Don’t Apply Shadow Too Low on the Lower Lash Line
Lining too heavily under the eyes can close them off and make them appear smaller.
Do
- Use a smudged shadow or soft pencil just on the outer third or two-thirds of the lower lash line.
- Avoid harsh black—opt for brown or taupe tones.
- Smudge well with a pencil brush for a diffused finish.
8. Don’t Cover Your Lid Space with Heavy Eyeliner
Thick winged liner can eat up visible lid space, especially with hooded eyes.
Do
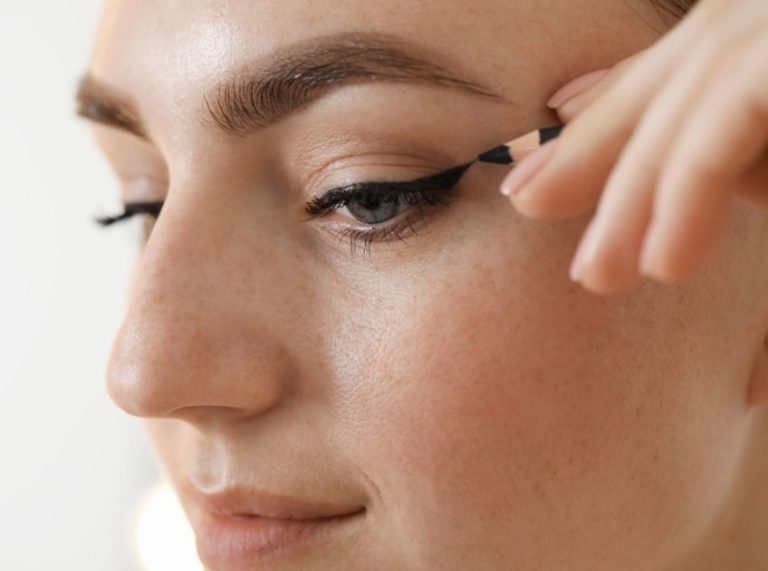
- Try tightlining the upper waterline to define without taking up lid space.
- If you love a wing, keep it thin and flick it slightly upward.
- Gel or pencil liners are easier to control than liquid for beginners.
9. Don’t Use Lashes with Thick Bands
Heavy lashes with thick bands can weigh down the lid and hide your eyeshadow work.
Do
- Choose lashes with thin, flexible bands.
- Look for styles that are shorter on the inner corner and flare out naturally.
- Lightweight, wispy lashes open up hooded eyes rather than overwhelm them.
10. Don’t Avoid Shimmer Entirely
There’s a myth that shimmer doesn’t work for hooded eyes—it can, if placed right.
Do
- Apply shimmer to the mobile lid only or inner corners.
- Avoid shimmer in the crease or brow bone area.
- Use your finger or a flat brush for more controlled placement.
11. Don’t Use Liner on the Entire Waterline
Dark liner all over the lower waterline can shrink the eyes.
Do
- Try a nude or beige pencil on the lower waterline to brighten the eyes.
- Apply darker liner only on the top waterline to keep things open and defined.
12. Don’t Skip Blending
With hooded eyes, placement and blending are everything.
Do
- Use clean brushes to blend upward, not downward.
- Regularly step back from the mirror with your eyes open to see your real eye shape.
- Avoid over-blending, which can muddy the look—focus on soft, controlled diffusion.
Simple table for Do’s and Don’ts for Hooded Eyes
| # | Do’s | Don’ts |
|---|---|---|
| 1 | Follow your natural brow shape to lift the eye area. | Don’t extend your eyebrow tail downward — it drags the eyes down. |
| 2 | Highlight only the arch of the brow for a lifted effect. | Don’t apply shimmer/highlight across the entire brow bone. |
| 3 | Apply eyeshadow slightly above your natural crease. | Don’t blend into your real crease — it will disappear when you open your eyes. |
| 4 | Tightline the upper lash line for definition. | Don’t use thick winged liner — it hides your lid space. |
| 5 | Use lightweight, natural-looking lashes with thin bands. | Don’t wear heavy, thick-banded lashes that cover your lid space. |
Final Thoughts
Makeup for hooded eyes is all about strategic placement, soft blending, and playing with light and depth. Once you learn what flatters your specific eye shape, the results can be stunning. These dos and don’ts are a great starting point for beginners, but don’t be afraid to experiment—your makeup should reflect your personality and style.
