![]() Fact checked
Fact checked ![]() We have a team of smart fact checkers. They make sure our content is accurate. They use the best sources like medical journals and government websites. You can find their names and profiles on the articles they check.
We have a team of smart fact checkers. They make sure our content is accurate. They use the best sources like medical journals and government websites. You can find their names and profiles on the articles they check.
Important: This article is for informational purposes only. Please read our full disclaimer for more details.
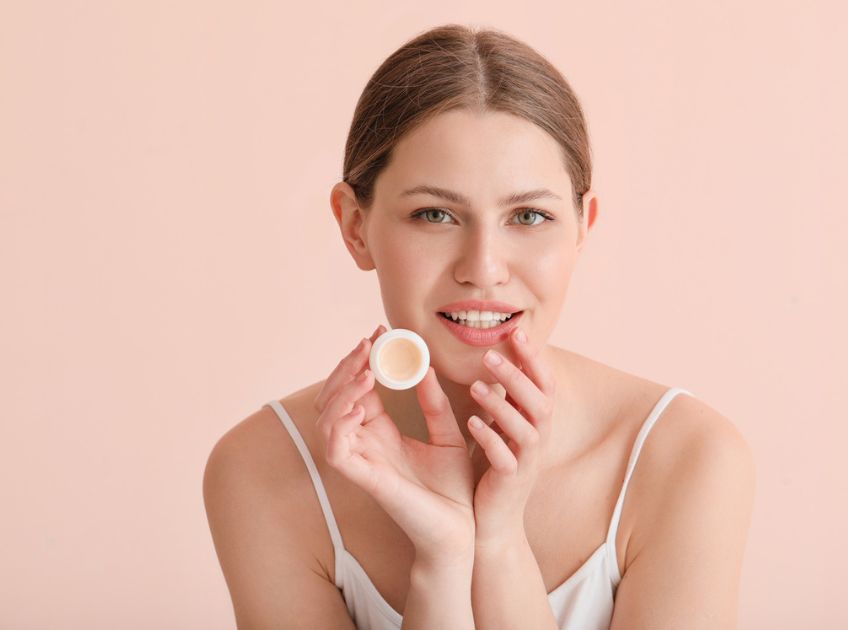
Chapped, dry, or dull lips are a common struggle—whether in the heat of summer or during harsh winters. While store-bought lip balms may provide relief, many contain chemicals, preservatives, or artificial fragrances that aren’t always skin-friendly. The good news? You can make nourishing, chemical-free lip balms right at home with simple ingredients that truly care for your lips.
Article Contains
Why Choose DIY Lip Balm?
Homemade lip balms are safe, cost-effective, and customizable. They deeply hydrate, heal cracks, and protect lips from environmental damage. Plus, you control every ingredient that goes into them—no hidden chemicals.
The Science Behind the Ingredients
- Beeswax: Creates a protective barrier that locks in moisture.
- Coconut Oil & Shea Butter: Provide fatty acids that repair dryness.
- Honey: Acts as a humectant, drawing water into the skin.
- Essential Oils: Offer soothing, cooling, or even antibacterial benefits.
Backed by Studies
A 2008 study (Verallo-Rowell et al.) highlights coconut oil’s effectiveness in moisturizing and repairing skin (1). Honey has been shown to possess antimicrobial and wound-healing properties (2). Shea butter is widely recognized for improving skin barrier function (3).
When to Discontinue Use
Stop using any DIY lip balm if you notice irritation, itching, or swelling. Some essential oils or nut-based butters can trigger allergies. Always patch test before long-term use.
Adjusting Quantities for Your Needs
- For extra hydration, increase shea butter or coconut oil.
- For firmer texture, add more beeswax.
- For a lighter feel, reduce oils and add aloe vera gel.
Is It Safe to Use DIY Lip Balm?
Yes, when using food-grade, natural ingredients. Avoid artificial colors or fragrances, and use clean containers to prevent contamination. Always store in a cool, dry place.
5 Best DIY Lip Balm Recipes
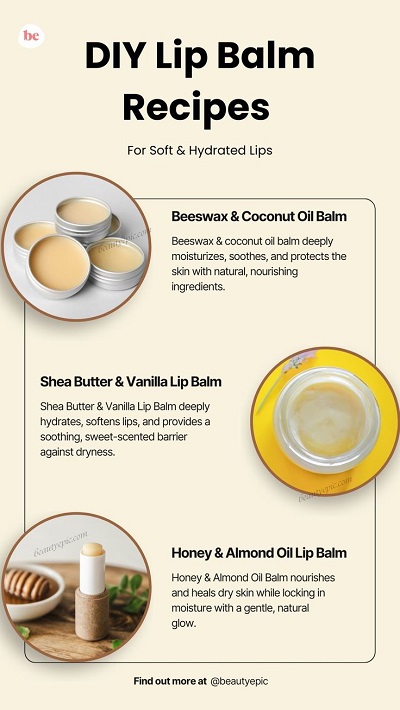
1. Classic Beeswax & Coconut Oil Balm
This is the simplest and most reliable recipe—perfect for beginners. Beeswax forms a protective barrier, while coconut oil hydrates and honey adds a soft sheen.
Ingredients
- 2 tbsp beeswax pellets
- 2 tbsp coconut oil
- 1 tsp raw honey
Directions
Melt beeswax and coconut oil in a double boiler. Remove from heat, stir in honey, and pour into clean balm containers. Let it sit for 30–40 minutes.
How to Apply
Swipe on whenever lips feel dry. Works well as a base under lipstick.
Shelf-life & Storage: Lasts up to 6 months in a cool, dry place. Avoid direct sunlight.
Variations: Add 2–3 drops of lavender or chamomile essential oil for a calming scent.
2. Shea Butter & Vanilla Lip Balm
Rich and creamy, this balm deeply nourishes cracked lips while leaving behind a sweet aroma. Shea butter is known for its skin barrier protection, and vanilla adds a gentle fragrance.
Ingredients
- 1 tbsp shea butter
- 1 tbsp beeswax
- 1 tbsp almond oil
- 3–4 drops vanilla extract
Directions
Melt shea butter, beeswax, and almond oil together. Stir in vanilla extract once cooled slightly. Pour into tubes or tins.
How to Apply
Use 2–3 times daily, especially in cold weather.
Shelf-life & Storage: Up to 4 months if stored in an airtight container.
Variations: Replace almond oil with jojoba oil for an even lighter, silky texture.
3. Minty Cocoa Lip Balm
A refreshing blend that hydrates while giving lips a cooling effect. Cocoa butter nourishes deeply, and peppermint oil provides a burst of freshness—ideal for hot days.
Ingredients
- 1 tbsp cocoa butter
- 1 tbsp beeswax
- 1 tbsp coconut oil
- 3 drops peppermint essential oil
Directions
Melt cocoa butter, beeswax, and coconut oil. Remove from heat, then add peppermint oil. Stir well and pour into tins.
How to Apply
Apply as needed for hydrated, fresh-feeling lips.
Shelf-life & Storage: Lasts about 5 months when kept in a sealed tin away from heat.
Variations: For a chocolatey flavor, add ½ tsp pure cocoa powder.
4. Honey & Almond Oil Balm
This balm provides deep moisturization, especially useful for winter dryness. Honey attracts moisture, while almond oil softens and smoothens lips.
Ingredients
- 2 tbsp almond oil
- 1 tbsp beeswax
- 1 tsp raw honey
Directions
Melt almond oil and beeswax. Remove from heat, stir in honey, and whisk quickly before pouring into containers.
How to Apply
Best applied at night before bed for overnight healing.
Shelf-life & Storage: Around 3 months. Store in the refrigerator if you live in a hot climate.
Variations: Add a pinch of cinnamon for a gentle plumping effect (test for sensitivity first).
5. Rose Petal Lip Balm
This is a luxurious, lightly tinted lip balm that softens and enhances natural lip color. Rose petals contain natural pigments and soothing properties.
Ingredients
- 1 tbsp dried rose petals (powdered)
- 1 tbsp shea butter
- 1 tbsp coconut oil
- 1 tbsp beeswax
Directions
Melt shea butter, coconut oil, and beeswax. Stir in powdered rose petals and let it infuse for 5 minutes. Strain before pouring into jars.
How to Apply
Apply daily for soft lips with a natural rosy tint.
Shelf-life & Storage: About 4 months. Keep in a cool, dry place to preserve the natural rose tint.
Variations: Infuse the oils with beetroot powder instead of rose for a brighter pink shade.
Frequently Asked Questions (FAQ’S)
1. How long do homemade lip balms last?
A. Usually 3–6 months if stored in a cool, airtight container.
2. Can I add sunscreen to DIY lip balm?
A. Yes, zinc oxide (non-nano) can be added for natural SPF protection.
3. Are DIY lip balms suitable for kids?
A. Yes, but avoid essential oils. Stick to simple recipes like coconut oil + beeswax.
Making your lip balm at home is not only fun but also ensures your lips get pure, chemical-free care. With natural ingredients like beeswax, coconut oil, and shea butter, you can create nourishing blends tailored to your needs. Try these recipes to keep your lips soft, hydrated, and beautiful all year round.


