![]() Fact checked
Fact checked ![]() We have a team of smart fact checkers. They make sure our content is accurate. They use the best sources like medical journals and government websites. You can find their names and profiles on the articles they check.
We have a team of smart fact checkers. They make sure our content is accurate. They use the best sources like medical journals and government websites. You can find their names and profiles on the articles they check.

Important: This article is for informational purposes only. Please read our full disclaimer for more details.
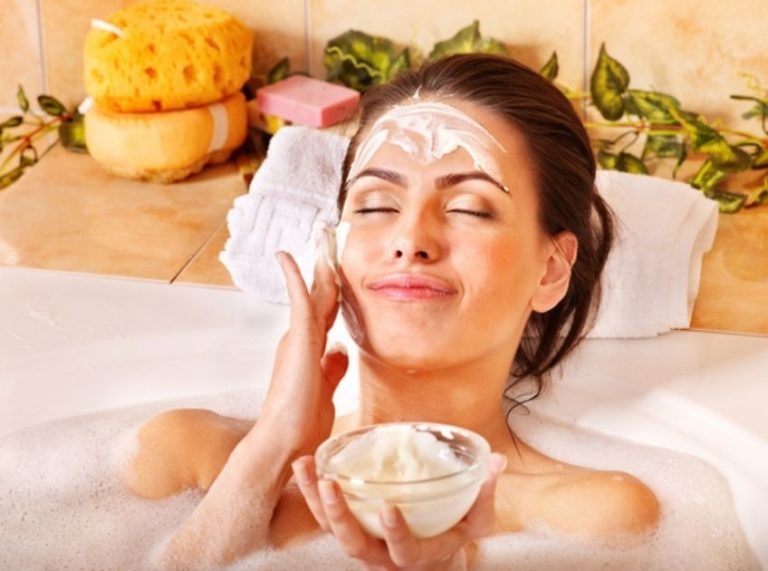
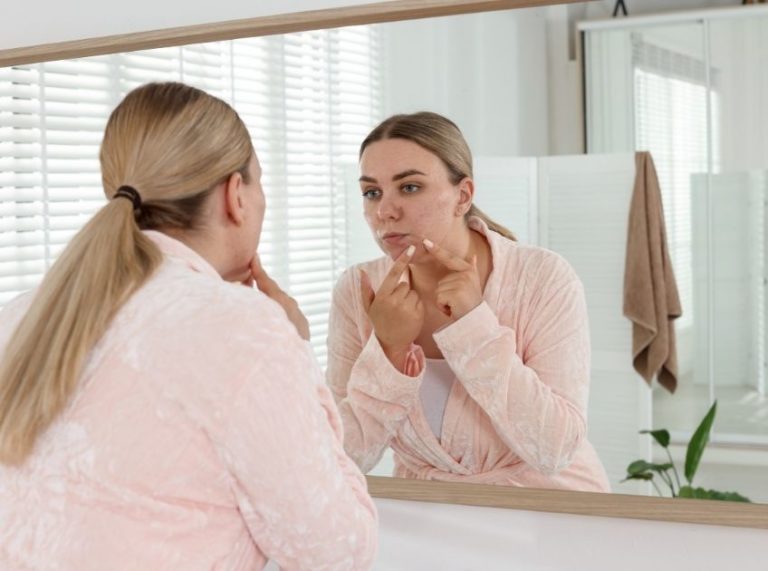
If you’ve been searching for a gentle, effective solution to fade dark spots, restore glow, and wake up with visibly nourished skin, this DIY skin lightening night cream is for you. Made with natural, skin-loving ingredients, it delivers results without chemicals or harsh additives. It’s perfect for anyone who wants to glow from within—literally and naturally.
Let’s dive into the secrets of this rich, skin-lightening blend and why it deserves a spot on your nightstand.
Why Choose a Homemade Skin Lightening Cream?
- No Harmful Chemicals
Homemade creams are free from parabens, artificial fragrances, and harsh lightening agents. You control every ingredient—clean, safe, and skin-friendly. - Rich in Nutrients
Ingredients like almond oil, carrot, and green tea are packed with vitamins and antioxidants. They nourish your skin while enhancing its natural glow. - Boosts Collagen Naturally
Vitamin E and A-rich ingredients support collagen production. This helps reduce signs of aging and improves skin firmness over time. - Reduces Pigmentation and Dullness
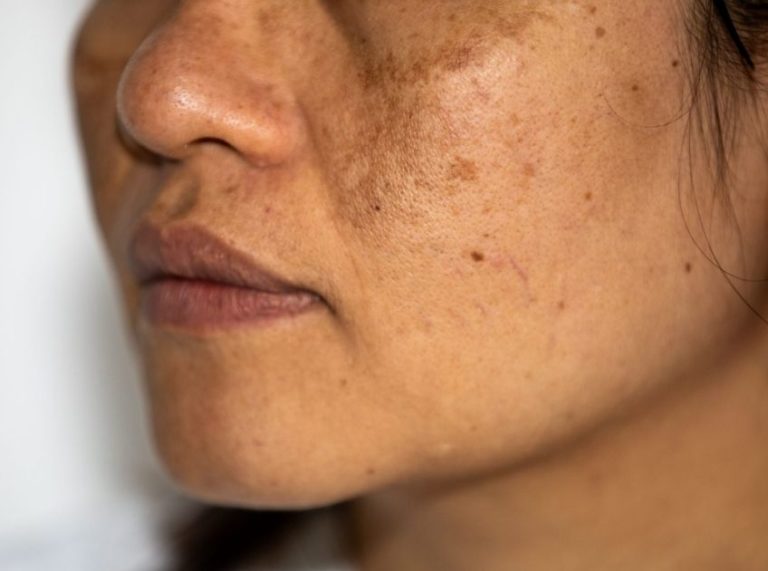
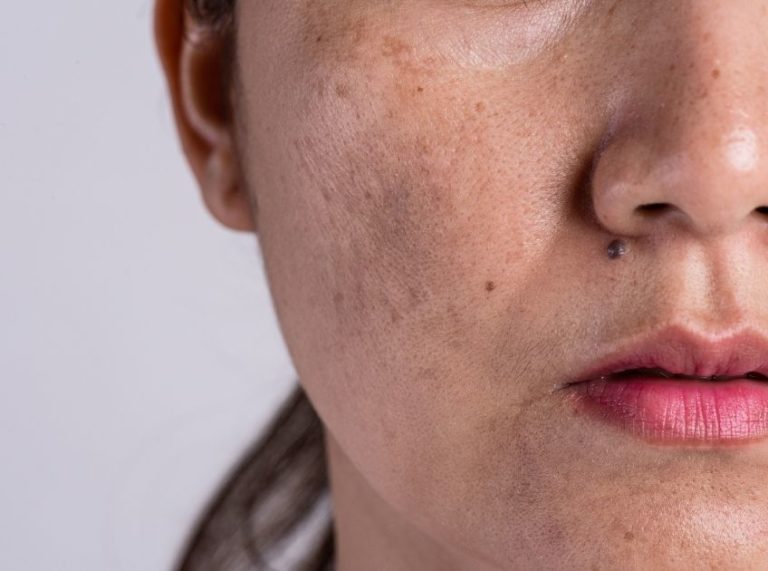
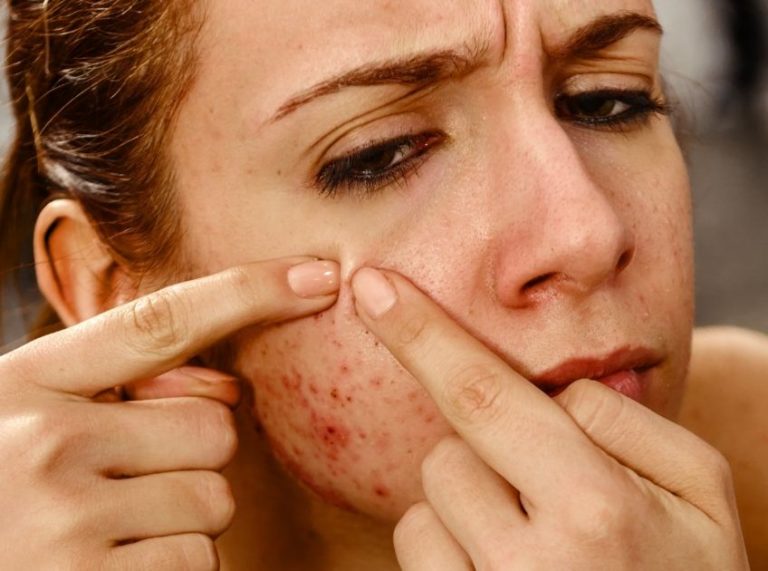
The natural actives work to fade dark spots, acne marks, and uneven skin tone. Expect clearer, brighter skin with consistent use. - Hydrates and Repairs Overnight
Ghee or shea butter deeply moisturizes while you sleep. Aloe and glycerin support skin repair and boost softness by morning.
The Power-Packed Ingredients and Their Science
Each ingredient in this DIY recipe is chosen for its scientifically backed skin benefits:
- Almond Oil: Rich in vitamin E and niacinamide, almond oil helps lighten dark spots and improve skin tone (1).
- Carrot: A natural source of beta-carotene (Vitamin A), it boosts cell turnover and brightens dull skin (2).
- Clarified Butter (Ghee) or Shea Butter: Both are emollients, but shea is non-comedogenic and ideal for acne-prone skin. Ghee contains fatty acids and vitamins A, D, E, and K that nourish deeply (3).
- Aloe Vera Gel: Soothes and moisturizes. Its natural enzymes can lighten blemishes over time (4).
- Glycerin: A humectant that pulls moisture into the skin for plumpness and glow.
- Green Tea: Loaded with EGCG, a powerful antioxidant that protects against free radical damage and improves skin clarity (5)
When Should You Discontinue Use?
- If you notice any itching, redness, or rash after use
- If your skin becomes excessively oily or breaks out
- If the cream starts to smell off, always store it properly
Can You Adjust Ingredient Quantities?
Yes, this DIY recipe is highly customizable. You can:
- Reduce or skip ghee and use more aloe vera if your skin is oily
- Increase green tea infusion if you need more antioxidant power
- Adjust the texture by balancing oil and butter quantities
Best Suited For Which Skin Types?
- Normal to dry skin: Use the ghee version for deep nourishment
- Oily or acne-prone skin: Use shea butter instead of ghee
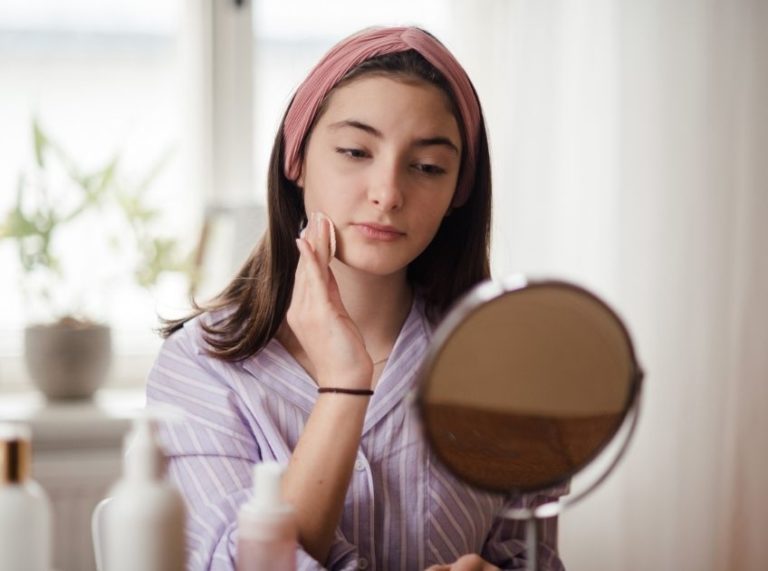
- Sensitive skin: Always patch test first due to active ingredients like carrot and green tea
Is It Safe for Regular Use?
Yes, when used correctly and with a patch test, this DIY cream is safe for daily use. However, because it contains fresh infusions and no preservatives, use within 10–12 days and store in the fridge.
Best 2 DIY Recipes for Skin Lightening Night Cream
1. Carrot-Infused Almond Oil Night Cream (Ghee Base)
A rich night cream for dry, mature skin.
Ingredients
- 1 tsp grated carrot
- 2 tbsp almond oil
- 1 tsp clarified butter (ghee)
- 1 tsp aloe vera gel
- ½ tsp glycerin
- 1 tbsp green tea decoction
Directions to Use
- Heat almond oil using the double boiler method.
- Add grated carrot and let it infuse for 10 minutes.
- Strain the oil.
- In another bowl, melt ghee using a double boiler.
- Add carrot-infused oil, aloe vera gel, glycerin, and green tea decoction.
- Mix well using a whisk or hand blender.
How to Apply
- Cleanse your face at night.
- Take a pea-sized amount and warm between your fingers.
- Apply to face, under eyes, lips, and neck.
- Massage in circular motions till absorbed.
How to Store:
- Store in a small glass jar with a tight lid.
- Keep in the fridge for up to 7–10 days to maintain consistency and freshness.
2. Aloe-Shea Butter Night Glow Cream
Perfect for oily or sensitive skin needing hydration and glow.
Ingredients
- 2 tbsp almond oil
- 1 tsp shea butter
- 1 tsp aloe vera gel
- ½ tsp glycerin
- 1 tbsp green tea decoction
- 1 tsp carrot-infused oil (optional)
Directions to Use
- Melt shea butter using a double boiler.
- Add almond oil, aloe gel, glycerin, and green tea decoction.
- Whisk until creamy.
How to Apply
- Use nightly after washing your face.
- Apply evenly to face and neck.
- It can also be used under the eyes and on the lips.
- Best followed with gentle massage or gua sha.
How to Store:
- Store in an airtight container in the refrigerator.
- Use within 5–7 days for optimal effectiveness and hygiene.
Frequently Asked Questions (FAQ’S)
1. Can I use this night cream during the day?
A. Yes! The light texture makes it suitable for morning use too, especially in winter.
2. Can I store this at room temperature?
A. It’s best kept in the fridge due to fresh ingredients. Use within 10–12 days.
3. Will it clog pores?
A. If using ghee and you have acne-prone skin, switch to shea butter for a non-comedogenic option.
This homemade skin lightening night cream blends nature’s best into one potent remedy. It brightens, hydrates, and heals—all while you sleep. Customize it for your skin type, stay consistent, and let your natural glow shine through.