Important: This article is for informational purposes only. Please read our full disclaimer for more details.
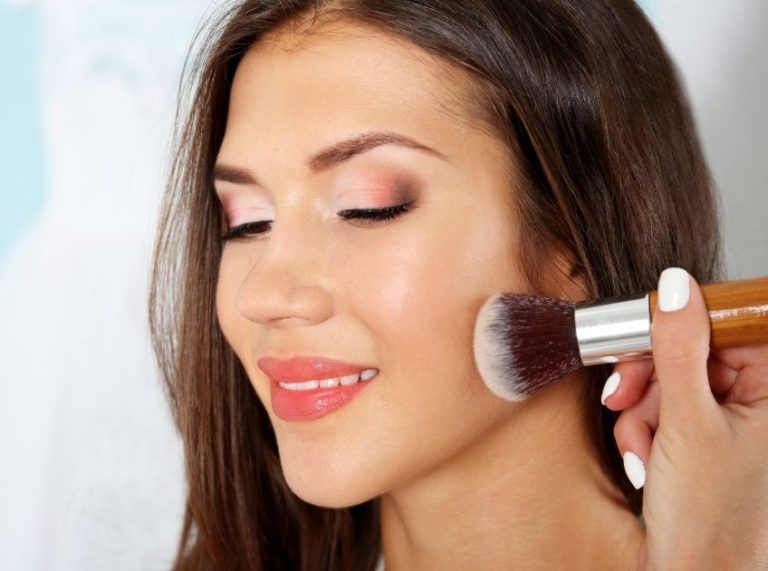
Ever feel overwhelmed by complicated eyeshadow tutorials with five brushes and ten shades? If you’re a minimalist, makeup beginner, or someone constantly on the go, this easy, everyday eyeshadow tutorial using just one brush is exactly what you need.
This look is quick, foolproof, and still polished enough for work, school, or casual outings. You’ll learn how to build definition, dimension, and a soft blend using a single eyeshadow brush and just a few shades. No pro tools or advanced skills required—just real results you can replicate every day.
Why One Brush? Why Not!
Streamline Your Routine Without Sacrificing Style
Using one brush doesn’t mean compromising on quality or style. In fact, using fewer tools encourages better technique and product placement. With the right brush and approach:
- You save time and effort.
- You avoid over-blending or muddy results.
- You learn to maximize product with minimal effort.
The key lies in choosing the right brush and applying smart techniques.
Your Hero Tool: The Multi-Tasking Blending Brush
Choose a Tapered, Fluffy Eye Brush
Look for a soft, medium-sized blending brush that tapers slightly at the end. This shape lets you:
- Sweep on base color
- Blend crease shades
- Smudge the lower lash line
- Highlight the brow bone or inner corners
Brands like Real Techniques, Morphe, and Sigma all carry affordable options. Clean it regularly to avoid color transfer between steps.
Step by Step Eyeshadow Tutorial Using Just One Brush
Step 1: Start with a Smooth, Prepped Canvas
Primer Isn’t Optional—It’s Essential
To get a smooth application and ensure your shadow stays put all day:
- Apply a thin layer of eyeshadow primer or concealer on your eyelids.
- Use your fingertip to blend it evenly up to your brow bone.
- Let it set for 30 seconds or lightly dust a neutral shadow on top to prevent creasing.
This step locks in pigment and ensures longevity, even if you’re using drugstore shadows.
Step 2: Lay Down the Base Shade
Create a Soft Wash of Color
Dip your blending brush into a matte neutral shade—something close to your skin tone or slightly warmer.
- Gently tap off excess pigment.
- Sweep it all over the lid in circular motions.
- Blend it slightly into the crease for a diffused look.
This base evens out your lid color and adds a subtle warmth to the eyes—ideal for daytime wear.
Step 3: Add Depth in the Crease
Soft Shadows, Big Impact
Now choose a deeper matte shade (think taupe, soft brown, or rosy beige, depending on your undertone).
- Use the same brush, focusing the tip in the crease.
- Use windshield-wiper motions to define the crease and outer corner.
- Build pigment gradually for a natural fade.
This step gives your eyes a subtle shape without looking heavy or overdone.
Step 4: Define the Lower Lash Line
Smudge for That Effortless Chic Look
- Use the same deeper shade from the crease and softly run your brush under the lower lash line.
- Hold the brush horizontally and use a light hand.
- Blend from the outer corner inward for a soft, shadowy effect.
Even with one brush, you can create a cohesive eye look by bringing color to both the upper and lower lids.
Step 5: Brighten the Inner Corners (Optional)
Add a Pop of Light
You don’t need another brush to highlight your eyes. Just use the clean side of your blending brush or your fingertip.
- Tap into a shimmery champagne or soft gold shadow.
- Press gently into the inner corner and blend outward.
- Optional: add a little under the brow bone for extra lift.
This final touch opens the eyes and brings attention to your natural glow.
Optional Add-Ons: Liner and Mascara
Complete the Look in Under 5 Minutes
This simple eyeshadow look pairs well with or without liner. If you want added definition:
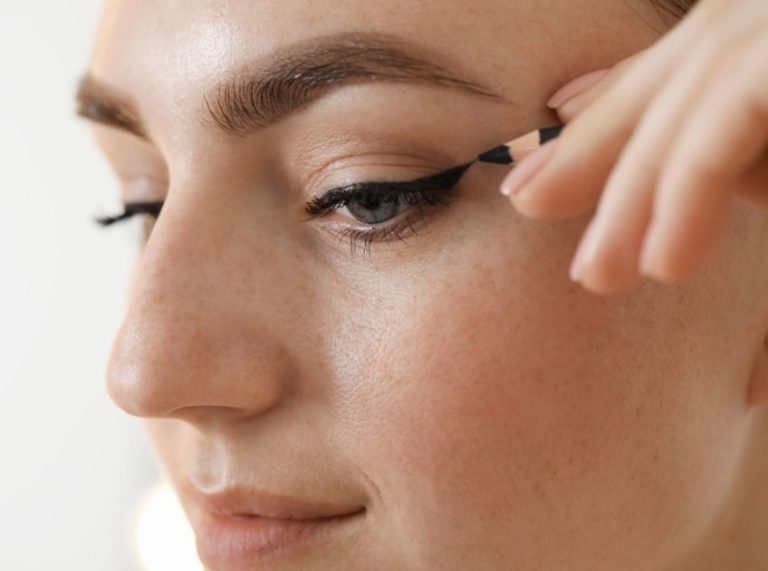
- Use a brown or black pencil liner to tightline the upper lash line.
- Apply one to two coats of volumizing mascara to finish.
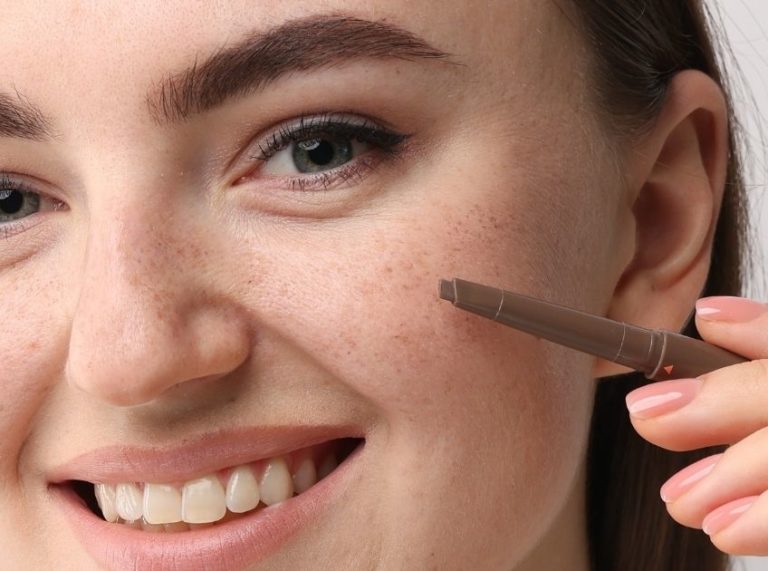
For extra polish, fill in your brows lightly to frame the look.
Perfect Shades for Everyday Looks
Not sure what tones to pick? Here are some fail-safe options:
- Fair Skin Tones: Soft pinks, taupes, peachy nudes
- Medium Skin Tones: Warm browns, mauves, bronze
- Deeper Skin Tones: Rich chocolate, plum, copper
Stick to 2–3 complementary matte and shimmer shades for an easy, blended look without the fuss.
One Brush, Multiple Looks
Once you get the hang of this technique, you can swap in new shades to match your mood or outfit:
- Office Neutral: Beige lid, soft brown crease
- Romantic Day Out: Rosy base, mauve crease, shimmer highlight
- Weekend Chill: Bronze lid, soft smoky lash line
By simply rotating your colors, this one-brush method becomes your everyday staple.
Frequently Asked Questions (FAQ’S)
1. Can I use my fingers instead of a brush?
A. Yes! While a brush gives more control and andblendabilityy, fingers work great for applying shimmer shades or quick blending.
2. What’s the best eyeshadow finish for everyday wear?
A. Matte or satin finishes are most flattering for daily use. They’re easy to blend and look natural in any lighting.
3. Will this work on hooded or mature eyes?
A. Absolutely. Just keep your crease shade slightly above the natural fold to ensure it stays visible when your eyes are open.
4. How do I clean the brush between colors?
A. Use a dry color switch sponge or lightly rub the brush on a clean tissue to remove excess pigment between shades.
Final Thoughts: Simplify to Amplify
This easy everyday eyeshadow tutorial using one brush proves that simplicity is powerful. With the right brush and just a few thoughtful techniques, you can achieve a polished, natural look that enhances your features and fits into your daily routine.
Whether you’re rushing out the door or prefer a minimalist makeup approach, this method delivers results without the overwhelm.

