Important: This article is for informational purposes only. Please read our full disclaimer for more details.
Nothing says bold, confident, and sultry like a smokey glitter eye makeup look. It’s dramatic, dazzling, and perfect for special occasions, parties, or even glamorous nights out. Combining the intensity of smoky eyes with the sparkle of glitter, this eye makeup look guarantees to make your eyes the center of attention.
In this expert tutorial, you’ll learn how to create a seamless smokey eye with glitter—from prepping the lid to blending like a pro and choosing the right lash. Whether you’re new to bold eye makeup or want to elevate your glam game, this step-by-step guide has everything you need.
What You’ll Need – Product Checklist
- Eyeshadow Primer or Concealer (Buy Here)
- Matte Eyeshadow Palette (black, grey, brown shades) (Buy Here)
- Glitter Eyeshadow or Loose Glitter (silver, bronze, or gold) (Buy Here)
- Glitter Glue or Adhesive Base (Buy Here)
- Black Gel or Liquid Eyeliner (Buy Here)
- Volumizing Mascara (Buy Here)
- False Lashes (wispy or dramatic style) (Buy Here)
- Concealer and Setting Powder (Buy Here)
- Blending and Smudging Brushes (Buy Here)
Step 1: Prime It to Slay All Day
Set the Perfect Base for Color and Hold
Before applying shadows, prepping the eyelids is essential for long-lasting wear and vibrant payoff.
- Apply an eyeshadow primer or a lightweight concealer on your lids.
- Blend evenly and set lightly with translucent powder or a nude eyeshadow to avoid creasing.
- If you’re using loose glitter, apply glitter glue only to the area where the glitter will be placed.
Pro Tip: A tacky base not only improves pigment payoff but also keeps your glitter in place all night long.
Step 2: Build Your Smokey Depth
Layering Shadows Like a True Makeup Artist
A smoky eye is all about blending multiple shadows for depth and drama. Stick to matte shades in black, deep browns, or greys as your base.
- Start with a transition color (a soft brown or taupe) and apply it into the crease with a fluffy brush.
- Apply a dark matte black or charcoal shade on the outer corner and lid, keeping it darkest near the lash line and blending upward.
- Soften any harsh lines by blending in windshield-wiper motions with a clean blending brush.
Expert Tip: Layer slowly. Begin with light pressure and build intensity gradually to avoid harsh or muddy edges.
Step 3: Add That Glitter Pop
Bring the Sparkle with Glitter Shadows or Pigments
The glitter adds instant glam and contrast to the matte base. Use a pressed glitter, shimmer pigment, or glitter liquid shadow in silver, gunmetal, or bronze—whichever complements your outfit.
- Tap glitter glue or a glitter shadow base onto the center of your eyelid.
- Press your glitter of choice with a flat synthetic brush or fingertip directly onto the tacky base.
- Blend the edges where glitter meets shadow so it fades naturally into the smoky area.
Note: Keep glitter focused on the lid; avoid taking it into the crease or too far outward to maintain definition.
Step 4: Smoke Out the Lower Lash Line
Balance the Drama for a Sultry Finish
A true smoky eye isn’t complete without a blown-out lower lash line.
- Smudge the same matte shades (dark brown or black) used on the upper lid onto your lower lash line.
- Soften with your transition shade to create a gradient effect.
- Add a pop of shimmer or metallic in the inner corner for contrast and brightness.
For extra drama, line the waterline with a kohl pencil in black or dark brown.
Step 5: Define With Liner and Lashes
Pull the Look Together with Bold Finishing Touches
This eye look needs powerful liner and lashes to match the intensity.
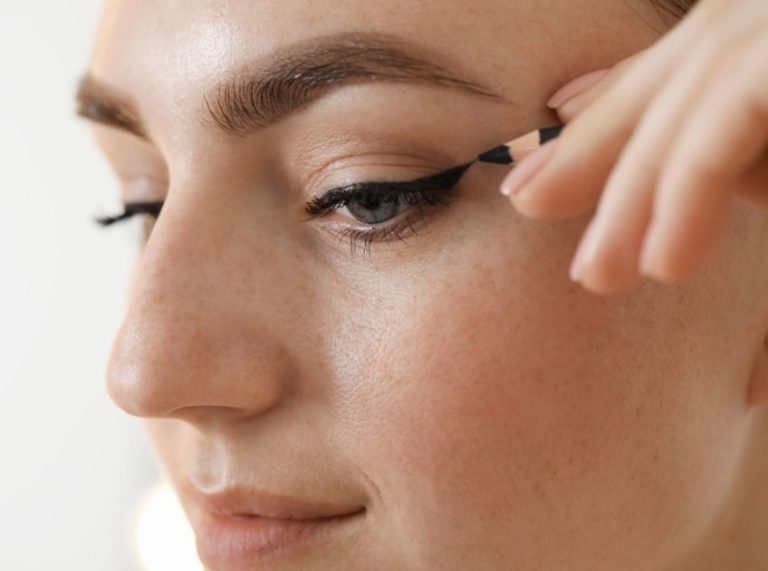
- Use a gel or liquid eyeliner to line your upper lash line—wing optional, depending on your eye shape and preference.
- Curl your lashes and apply a few coats of a volumizing mascara.
- Top it off with a pair of fluffy, dramatic false lashes to elevate the entire look.
Choose lashes that taper at the ends for a cat-eye effect or go full volume for a round, doll-eye finish.
Step 6: Clean Up and Perfect
Sharpen Your Edges for a Pro-Level Look
After blending and applying glitter, you may notice some fallout or uneven edges.
- Use a makeup wipe to clean under the eyes and sharpen the outer corners.
- Apply a brightening concealer under the eyes to lift and clean up any smudges.
- Set the under-eye area with a light dusting of setting powder.
Pro Tip: A sharp outer edge enhances the smoky effect and gives your eyes a lifted, sculpted appearance.
Frequently Asked Questions (FAQ’S)
1. Can I wear this look if I have hooded eyes?
A. Yes! Focus the glitter on the center of the lid and keep the dark shadow above the natural crease for better visibility.
2. What if I don’t own glitter glue?
A. Try using a tacky concealer or cream shadow as a base—just make sure it’s not too wet.
3. Will the glitter irritate my eyes?
A. Always use cosmetic-grade glitter. Avoid getting too close to your waterline or using craft glitter.
4. Can I use shimmer instead of full glitter?
A. Absolutely. Metallic or shimmer shadows are a great alternative for a toned-down sparkle.
Final Look: Fierce, Glamorous, and Red-Carpet Ready
Smokey glitter eye makeup is the ultimate showstopper. It’s fierce, elegant, and oozes confidence. Whether you’re heading to a party, wedding, or evening event, this look ensures you shine—literally and figuratively.
Want to balance this bold eye? Pair it with a nude lip and glowing skin. Or go full glam with bold lips for a statement night out.

