
Important: This article is for informational purposes only. Please read our full disclaimer for more details.
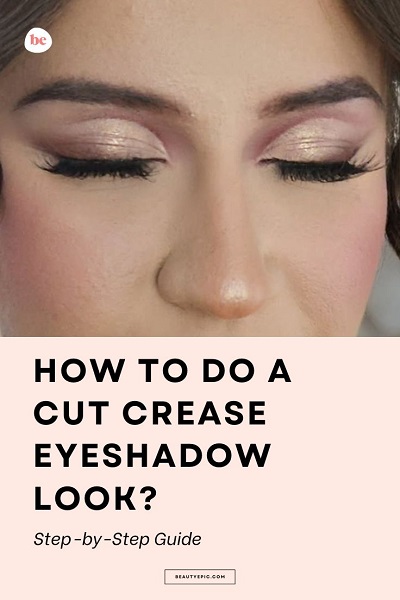
Creating a cut crease eyeshadow look might seem like a pro-level technique, but with the right steps, tools, and a little patience, any beginner can master it. Whether you’re heading to a glam event or want to elevate your everyday eye makeup, this guide will teach you how to nail the cut crease look—sharp, defined, and stunning.
Here’s your expert-approved tutorial with easy-to-follow steps and tips to make your eyes pop.
The Cut Crease: Revolutionizing Your Eyeshadow
The cut crease is a makeup technique that defines the crease of your eyelid by creating a clear contrast between the lid and the crease using eyeshadow and concealer. This creates the illusion of bigger, more lifted eyes and works beautifully on all eye shapes, especially hooded or monolid eyes.
Must-Have Tools and Products Before You Start
Before jumping in, gather the right tools to make blending and cutting precise and effortless:
- Eyeshadow primer or concealer (for a smooth base) (Buy Here)
- Blending brushes (fluffy and flat) (Buy Here)
- Angled or detail brush (for precision) (Buy Here)
- Matte and shimmer eyeshadows (contrasting shades) (Buy Here)
- Concealer (preferably thick and creamy) (Buy Here)
- Gel or liquid eyeliner (Buy Here)
- Mascara and lashes (optional for added drama) (Buy Here)
Understanding the Technique: What Is a Cut Crease?
A cut crease involves defining your eyelid crease with a contrasting eyeshadow and then using concealer to “cut” or clean up the lid area, creating a sharp division between colors. This contrast adds depth and makes your eyes appear more dimensional and awake.
There are two types:
- Soft cut crease: More blended and natural.
- Sharp cut crease: Defined with a clean concealer edge for drama.
Step-by-Step Guide
Step 1: Define the Crease with Shadow Depth
Start by applying an eyeshadow primer to make colors pop and stay in place.
- Use a light transition shade in your crease with a fluffy brush.
- Build intensity using a darker matte shade directly into the crease.
- Blend the shadow slightly above your natural crease (especially if you have hooded eyes) to create that illusion of depth.
Expert Tip: Use windshield wiper motions to blend seamlessly.
Step 2: Carve the Lid – Create the “Cut”
This is where the magic happens.
- Take a flat, stiff brush and apply a creamy concealer across your eyelid, starting from the inner corner.
- Gently follow the shape of your crease line, creating a clean, defined lid.
- Stop about 3/4 of the way across the lid (or all the way if you want full drama).
- Let the concealer sit for a few seconds to set.
Pro Tip: Tilt your head back slightly and look forward to find the best crease placement for your eye shape.
Step 3: Set and Shade the Cut Area
Now, set that concealer and make your lid pop.
- Apply a shimmer, metallic, or light matte shadow over the cut lid using a flat brush.
- Press the product in, rather than sweeping it, for maximum impact.
- Blend the outer edge into the crease color to create a seamless transition.
Optional: Use a glitter shadow or pigment for an ultra-glam look.
Step 4: Add Eyeliner for the Finishing Touch
The perfect wing can take this look to the next level.
- Use a liquid or gel liner to draw a sharp wing across your upper lash line.
- Start thin in the inner corner and gradually thicken as you move outward.
- Keep the wing parallel to your lower lash line for the most flattering angle.
Bonus Tip: A black or dark brown liner works best to anchor the look and enhance the lash line.
Frequently Asked Questions (FAQ’S)
Q1: Can I do a cut crease with hooded eyes?
A. Yes! Just place the crease slightly above your natural fold so it stays visible when your eyes are open. It adds definition and opens up hooded lids beautifully.
Q2: What kind of concealer is best for a cut crease?
A. A thick, creamy concealer that doesn’t dry too quickly is ideal. It gives you more control and time to shape the lid precisely.
Q3: How do I stop the cut crease from creasing?
A. Always prime your lids before starting, and set your concealer with powder or eyeshadow right after applying to lock it in place.
Final Thoughts
The cut crease isn’t just a makeup trend—it’s a timeless technique that can dramatically transform your eye look. With some practice and the right steps, even a beginner can master i .
Start with soft looks using neutral tones, then experiment with bold shades, glitter, and double cuts as your skills grow. The key is to blend with confidence and cut with precision—you’ve got this!


