Important: This article is for informational purposes only. Please read our full disclaimer for more details.
Dip powder nails are the go-to choice for anyone craving long-lasting, chip-resistant manicures with a glossy, salon-worthy finish. The best part? You don’t need a professional to get stunning results. With the right tools and a little practice, you can master dip powder nails from home comfort. Here’s your expert-approved, step-by-step guide to doing it like a pro.
Why Dip Powder Nails Are the Ultimate DIY Mani Trend
Dip powder nails combine the durability of acrylics with the shine of gel polish without needing a UV lamp. This method involves layering colored powder and bonding liquid to create a tough, glossy finish that can last up to three weeks. It’s ideal for people who want strong, beautiful nails without constant touch-ups.
Unlike gel polish, which can peel or chip after a week, dip powder nails are more resistant to daily wear and tear. Plus, the process is quicker and doesn’t require curing under UV light, making it safer and more accessible for at-home use.
Set the Stage: Tools & Setup for a Mess-Free Experience
Before you start, having everything within arm’s reach will make your experience smoother and cleaner. Here’s what you’ll need:
Tools & Supplies:
- Dip powder color(s) (Buy Here)
- Base coat, activator, and top coat (usually sold in dip powder kits)
- Nail buffer and file (Buy Here)
- Cuticle pusher (Buy Here)
- Nail dehydrator or alcohol wipes (Buy Here)
- Lint-free wipes (Buy Here)
- A clean workspace with good lighting
Prep Tip:
Lay down a paper towel or nail mat to catch any excess powder. This also makes cleanup easier and avoids product waste.
Start Fresh: Removing Old Dip Powder Like a Pro
If you’re reapplying over an old set, proper removal is crucial to avoid damaging your nails.
Here’s how to remove it:
- File down the top coat to break the seal.
- Soak cotton balls in acetone, place them on each nail, and wrap with foil.
- Wait 15–20 minutes, then gently push off the softened dip with a cuticle pusher.
- Buff lightly to remove any residue.
Never peel or force dip powder off—this can cause serious nail damage.
Prep Like a Nail Tech: Buff, File & Shape with Precision
Clean, well-prepped nails are the foundation of a perfect dip powder manicure.
Steps to prep:
- Push back and trim cuticles gently.
- File your nails into your desired shape (square, almond, oval).
- Buff the nail surface lightly to remove shine and help the powder adhere.
- Wipe with alcohol or nail dehydrator to remove oils and dust.
This ensures better adhesion and longer-lasting results.
Color Time: Apply Dip Powder in Easy, Flawless Layers
Here’s where the magic happens. Work one nail at a time for the cleanest application.
Step-by-step:
- Apply base coat to ¾ of the nail (not too close to the cuticle).
- Dip into powder at a 45-degree angle. Tap off excess.
- Repeat the base coat and dip 1–2 more times for even coverage.
- Apply a base coat over the entire nail for the final dip.
- Dust off excess powder with a soft brush between layers.
Choose from neutral tones to bright pops of color—dip powders come in every shade imaginable!
Refine the Finish: Smooth, Buff & Seal for a Salon Look
After your final dip, it’s time to lock it in and smooth everything out.
Steps:
- Apply the activator to harden the powder layers.
- Wait 2–3 minutes, then gently buff the surface to smooth out any uneven spots.
- Shape the edges if needed using your nail file.
Buffing is key for that seamless, professional finish.
Seal the Deal: Apply Top Coat & Perfect the Final Shape
This step locks in the color and gives your nails that signature glossy finish.
Final touches:
- Apply a second coat of activator and wait 30 seconds.
- Wipe with a lint-free cloth to remove residue.
- Apply the top coat in quick, even strokes.
- Let it air dry for 2–3 minutes.
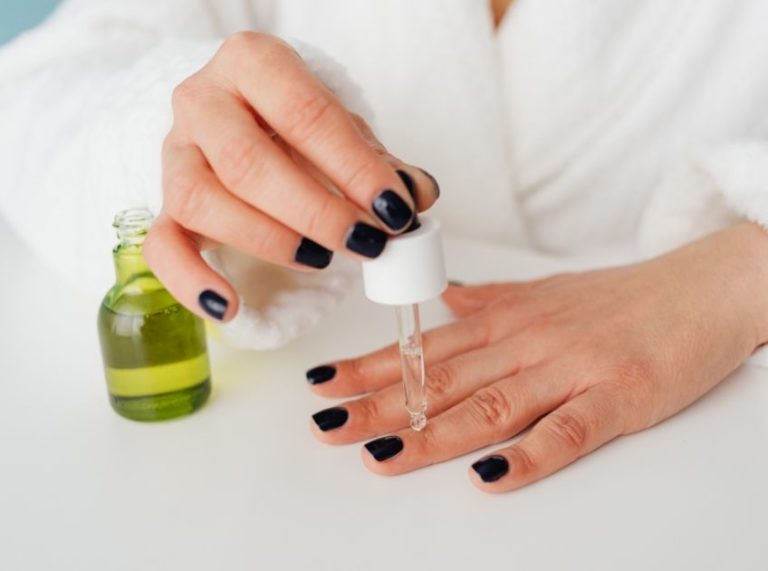
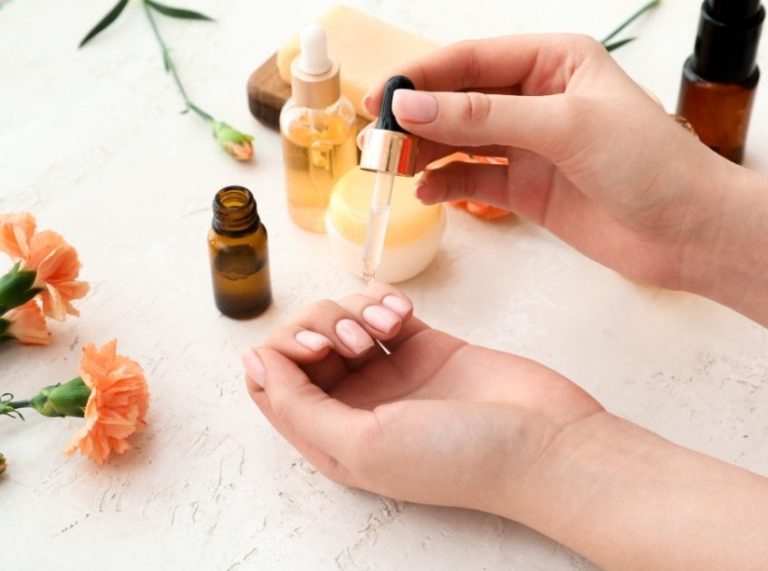
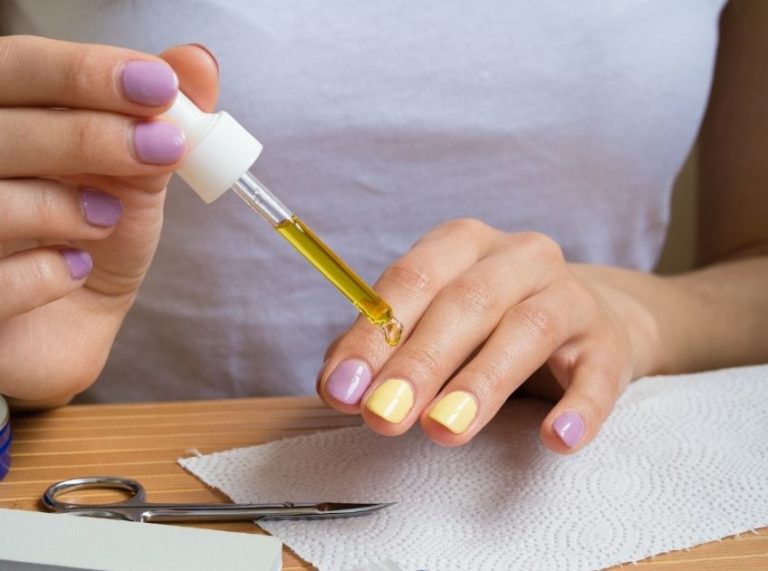
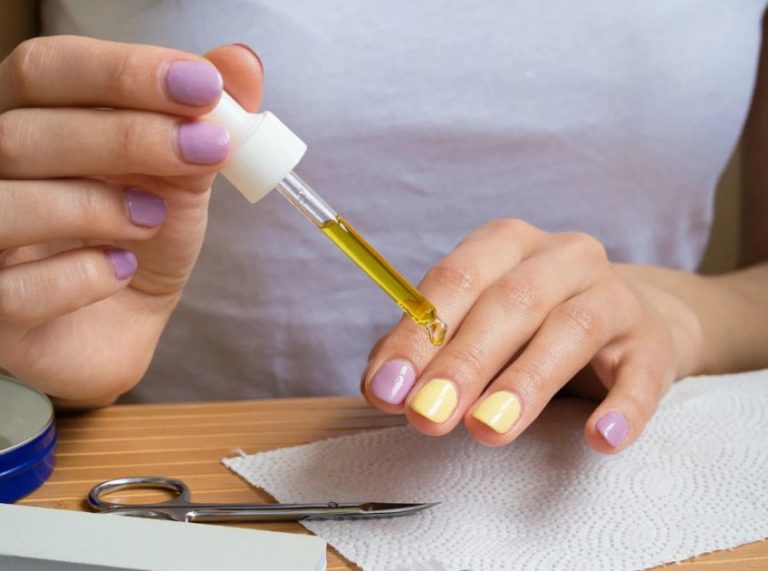
Once dry, apply a bit of cuticle oil to nourish the nail area and give your manicure a polished look.
Wrap-Up: Enjoy Your Long-Lasting, Chip-Free DIY Nails
Mastering dip powder nails at home is easier than you think—and worth it. With a little patience and the right technique, you’ll get stunning, long-lasting nails that rival any salon visit. Keep practicing, explore fun colors, and take pride in your new favorite DIY beauty skill.