Important: This article is for informational purposes only. Please read our full disclaimer for more details.
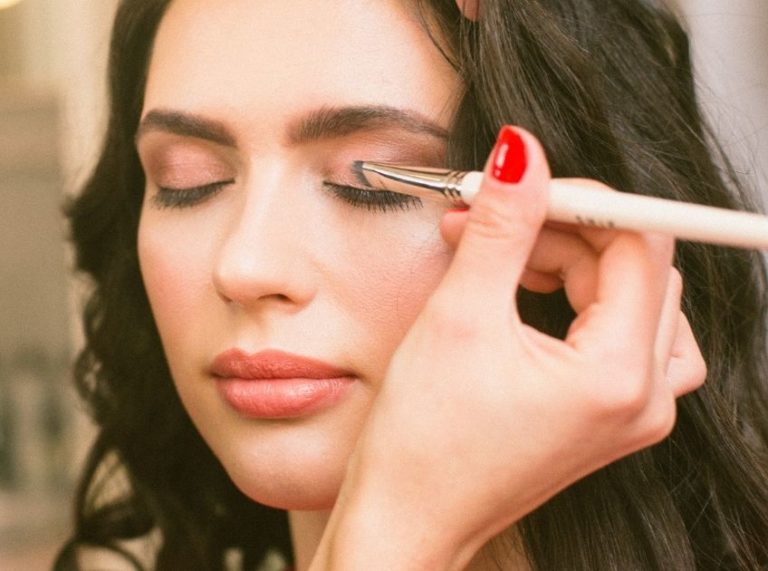
We’ve all been there: you’re aiming for a sultry, seamless gradient, but one too many circular motions later, your eyelids look more like a bruise than a masterpiece. Over-blending is the most common makeup mishap, turning distinct colors into a single “muddy” shade that lacks depth.
Before you reach for the makeup remover and start from scratch, take a breath. You don’t need to delete your progress—you just need to reclaim your definition.
“The difference between a professional look and a messy one isn’t just the blending; it’s knowing when to stop and how to reintroduce structure once the edges get too soft.” — Elena Rossi, Celebrity Makeup Artist
The “Eyeshadow Rescue” Toolkit
If things look blurry, use this quick-reference table to identify your fix.
| Problem | The Solution | Tool Needed |
| Lost Depth | Rebuild the Outer V | Small, Tapered Brush |
| Shadow is too high | The Concealer “Eraser” | Flat Synthetic Brush |
| Colors are Muddy | Neutralize with Powder | Flat Shader Brush |
| Lacks Vibrancy | The Patting Method | Finger or Dense Brush |
| Harsh New Lines | Clean Buffing | Fluffy Blending Brush |
5 Pro Techniques to Save Your Look
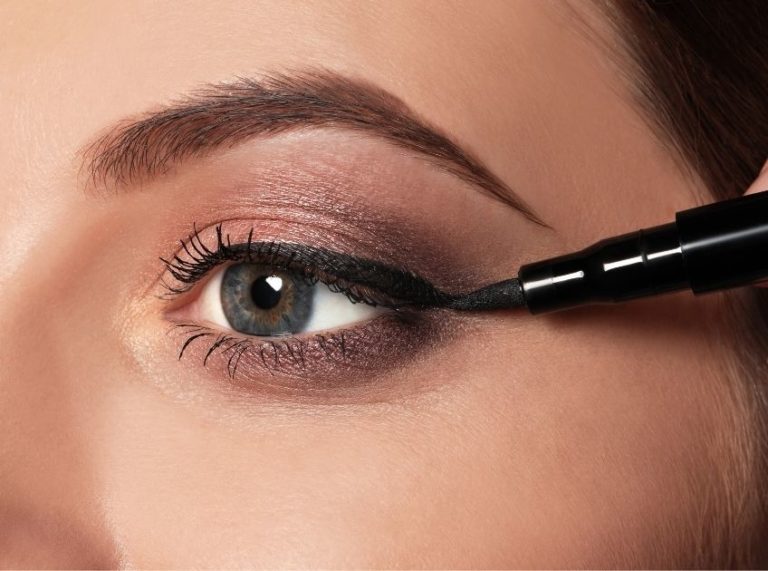
1. Rebuild Lost Definition
How to do: Dip a small, dense “pencil” brush into your darkest original shade. Tap off the excess. Precisely place the pigment only in the “Outer V” of the eye and the very deepest part of the crease.
Repetitions: 2–3 light layers until depth is restored.
Time to see results: 30 seconds.
Best for: Eyes that look “flat” or one-dimensional.
Pro Tip: Keep your eye open while doing this so you can see exactly where the depth needs to sit.
2. The Concealer “Eraser”
How to do: Take a tiny amount of skin-tone concealer on a flat brush. Carefully “carve” the area just below your brow bone or the outer wing to sharpen the shape. Blend the concealer downward toward the shadow.
Repetitions: 1 precise application.
Time to see results: 1 minute.
Best for: Shadow that has traveled too high or toward the temples.
Pro Tip: Use a concealer that is one shade lighter than your skin for an instant “eye lift” effect.
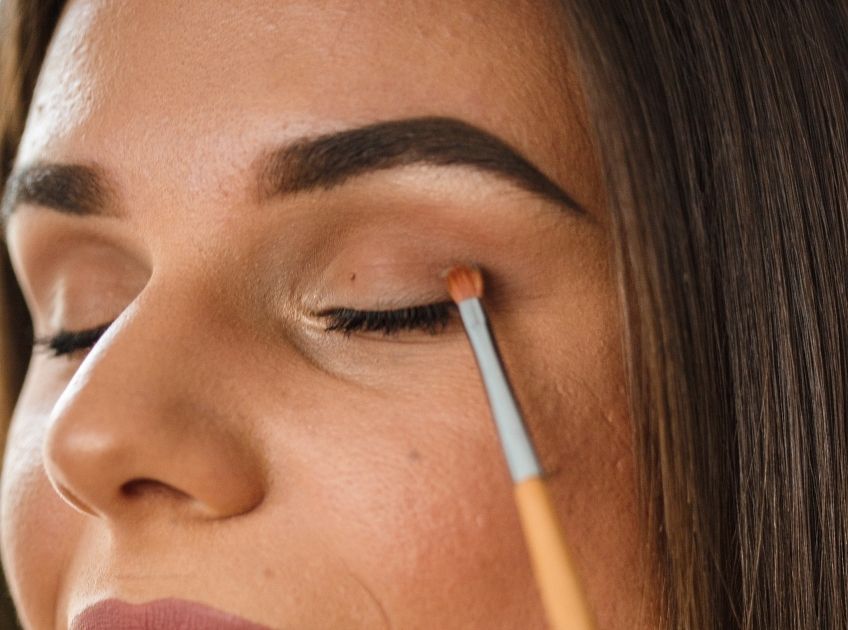
3. Neutralize the “Mud”
How to do: If the colors have blended into a greyish/brown mess, pat a light matte cream or nude shadow directly over the center of the lid. This “resets” the canvas.
Repetitions: 2–3 pats of powder.
Time to see results: 20 seconds.
Best for: When you can no longer see the difference between your lid and crease colors.
Pro Tip: Use a translucent setting powder if you don’t want to add more color but need to “lock” the area.
4. The “Pat, Don’t Sweep” Method
How to do: Instead of using a back-and-forth “windshield wiper” motion, use a flat brush to press pigment directly onto the lid.
Repetitions: Continue until the desired color intensity is reached.
Time to see results: 1 minute.
Best for: Adding vibrancy back to shimmers or bright colors.
Pro Tip: Dampen your brush with a setting spray before patting to make the color “pop” and prevent further fallout.
5. Clean Brush Buffing
How to do: Take a completely clean, fluffy brush (no product on it). Gently sweep it only along the very top edge of your shadow where it meets your skin.
Repetitions: 5–10 light strokes.
Time to see results: 15 seconds.
Best for: Softening a harsh “concealer eraser” line without moving the lid color.
Pro Tip: Keep a microfiber cloth nearby to “swirl” your brush clean between steps.
How to Prevent Over-Blending Next Time
- Layer Gradually: It is much easier to add color than to take it away. Start with 10% of the pigment you think you need.
- Check Your Angle: Hold your brush at the end of the handle for a lighter touch. Holding it close to the bristles applies too much pressure, which causes “muddying.”
- Clean Brushes are Non-Negotiable: If your brush already has yesterday’s dark brown on it, your today’s peach shadow will look dirty immediately.
Frequently Asked Questions (FAQ’S)
1. Why does my eyeshadow always look grey after blending?
A. This usually happens when you blend a cool-toned dark shade too much into a warm-toned light shade. To fix this, re-apply a transition shade (like a warm tan or peach) between the two colors.
2. Can I use a makeup wipe to fix edges?
A. Avoid wipes if possible! They create a harsh, wet line that is difficult to blend over. Concealer is a much softer “eraser” for a professional finish.
3. Does the quality of the brush matter?
A. Yes. A brush that is too “scratchy” or loose will move pigment randomly. Invest in at least one high-quality, soft blending brush and one dense packing brush.
4. How do I stop shimmer shades from spreading everywhere?
A. Apply shimmers with your ring finger. The warmth of your skin helps the product “grip” the lid, preventing the particles from flying into your crease.
5. What if I’ve blended so much that my skin looks irritated?
A. Stop immediately. Adding more powder will make it look “cakey.” Apply a tiny drop of eye cream to the area, let it sink in, and then use a light layer of concealer to start fresh.
The “perfect” eyeshadow look is rarely perfect on the first pass. Most professional looks involve a cycle of blending, reapplying for depth, and “cleaning up” the edges. By mastering the art of the “rebuild,” you can turn any makeup mishap into a structured, editorial-ready look.
Disclaimer: Be cautious when applying products near the eye. If you experience redness, itching, or swelling, remove all products immediately and consult a professional. Always ensure your brushes are sanitized to prevent eye infections.