Important: This article is for informational purposes only. Please read our full disclaimer for more details.
Ever look in a 10x magnifying mirror and feel like your pores are the size of craters? You aren’t alone. In the age of 4K cameras and high-definition social media, “pore-blurring” has become the most requested makeup skill.
As an MUA, I’ve worked on everything from bridal sets in the Texas heat to studio shoots in NYC. The secret isn’t more makeup—it’s depth management. By following this guide, you’ll learn how to “level the terrain” of your skin for a finish that looks like a real-life filter.
The Gold Standard Kit (US Market)
| Category | Budget Friendly ($7–$15) | Pro/Luxury Choice ($30+) | Why It Works |
| Pore Primer | NYX Pore Filler ($14) | Benefit The POREfessional ($35) | Silicone-base fills “potholes.” |
| Grip Primer | e.l.f. Power Grip ($10) | Milk Makeup Hydro Grip ($38) | Acts like “glue” for foundation. |
| Setting Powder | Maybelline Fit Me Loose ($9) | One/Size Ultimate Blurring ($34) | Absorbs oil to prevent “polka-dotting.” |
| Tool | Triangle Powder Puff ($6) | Tarte Cloud Puff ($15) | Presses product into the pore. |
Step-by-Step: The Professional “Pore-Blurring” Routine
1. The “Chemistry Check” (Crucial Step!)
Before applying a drop of makeup, check your labels.
- The Rule: Match your bases. If your primer is Silicone-based (look for ingredients ending in -cone or -siloxane), your foundation should be too. Mixing a water-based foundation with a silicone primer causes “pilling,” which makes pores look like white dots.
2. Targeted Priming (The “Double Prime” Method)
Don’t prime your whole face with a pore-filler.
- Step A: Apply a Grip Primer everywhere to ensure the makeup doesn’t move.
- Step B: Take a tiny amount of Pore-Filling Primer and “buff” it only into the T-zone. Use your ring finger to make small circles—this ensures the product fills the pore from every angle.
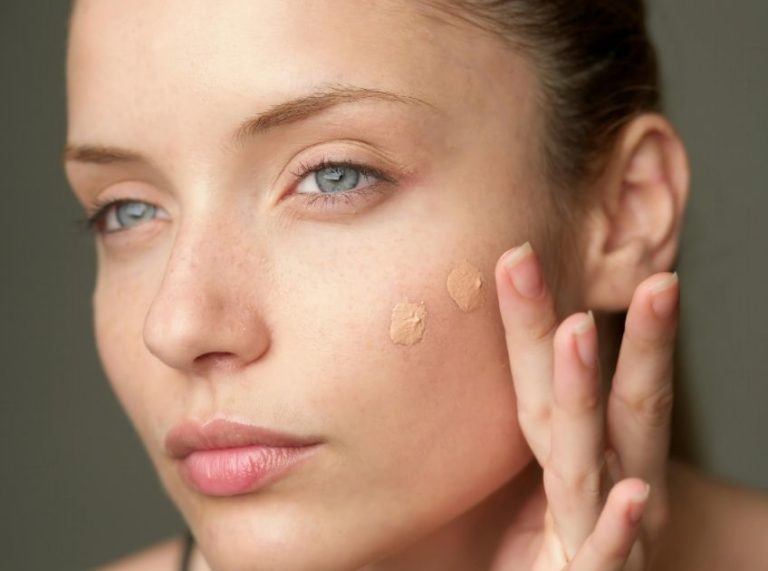
3. The “Stipple and Bounce” Application
Never rub foundation over large pores.
- The Move: Using a damp beauty sponge, stipple (bounce) the foundation. This “plugs” the surface evenly. If you rub, you are essentially “wiping away” the primer you just carefully placed.
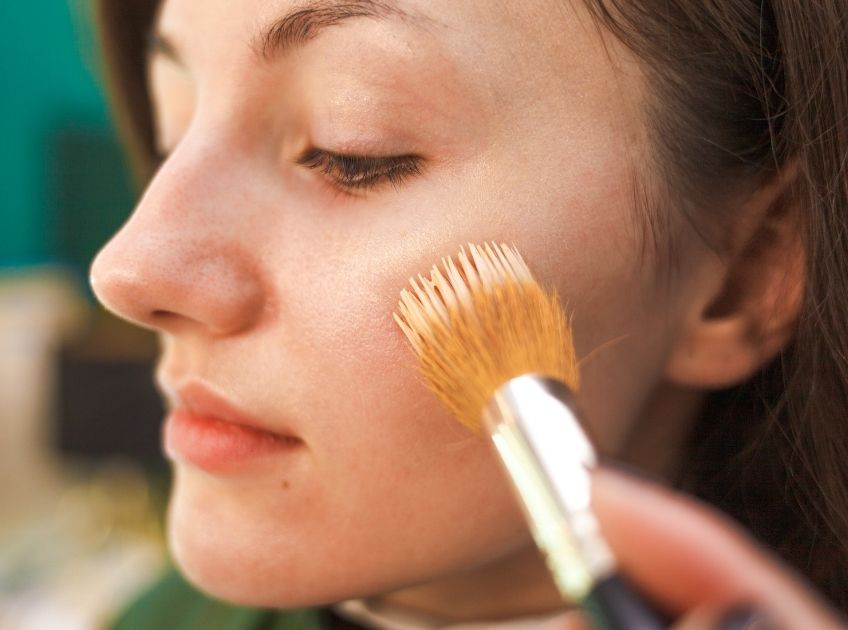
4. The “Press-and-Roll” Powder Secret
This is the game-changer. Forget big fluffy brushes.
- The Move: Take a velour triangle puff, dip it into loose blurring powder, and press it into your palm first to distribute it. Then, firmly press and roll the puff over your pores. This “fuses” the makeup to the skin.
Common Mistakes That Emphasize Texture
- Too Much Glow: Avoid “illuminating” primers on the nose and inner cheeks. The shimmer reflects into the pore, making it look deeper.
- Ignoring Peach Fuzz: If you have fine hair, always “prime and powder” in the direction of hair growth (downward) to keep the product from snagging on the hairs.
- Foundation Separation: If your foundation separates on your nose, it’s likely because your skin is over-producing oil to compensate for dryness.
Dermatologist-Approved Long-Term Fixes
To truly minimize pores, your skincare must do the heavy lifting:
- Double Cleanse: Use an oil-based cleanser followed by a water-based one to ensure all “pore-clogging” silicone is removed at night.
- Chemical Exfoliation: Use Paula’s Choice 2% BHA Liquid Exfoliant. Salicylic acid is oil-soluble, meaning it goes inside the pore to dissolve the gunk that stretches it out.
- Sunscreen: US dermatologists agree that 80% of large pores are caused by UV-damaged collagen. Use a matte SPF daily (like EltaMD UV Clear).
Frequently Asked Questions (FAQ’S)
1. What is the best way to tell if my primer and foundation are compatible?
A. Compatibility is key to preventing “pilling.” Check the first three ingredients of your products. If they contain words ending in -cone, -siloxane, or -methicone, they are silicone-based. If they lack these and list “Aqua” (Water) first, they are water-based. For a poreless finish, you must match your bases. Mixing a silicone primer with a water-based foundation causes the product to slide off or sit unevenly, highlighting texture rather than blurring it. Matching your “chemistry” ensures the products fuse into a single, smooth layer.
2. Can I use hairspray to set my makeup like the “Theater Trick”?
A. While the theater hack provides extreme hold, MUAs and dermatologists recommend caution for daily wear. Hairspray contains resins and high alcohol content that can cause contact dermatitis or severe pore clogging. Instead, opt for modern US alternatives like One/Size On ‘Til Dawn or Urban Decay All Nighter. These provide the same “grip” and durability as hairspray but use cosmetic-grade polymers that are safe for facial skin, non-comedogenic, and won’t disrupt your skin’s natural moisture barrier.
3. Why do my pores look like “white dots” after applying foundation?
A. This “polka-dot effect” occurs when foundation sinks into the “wells” of your pores while the surface pigment wears away. This is usually caused by dehydrated skin “drinking” the moisture from your foundation. To prevent this, use a pore-filling primer to create a level surface and follow the “Press and Roll” powder technique. By firmly pressing powder into the skin with a velour puff, you “seal” the pores, preventing the foundation from settling into the depths throughout the day.
4. Does ice or cold water really shrink my pores before makeup?
A. No, this is a common myth. Pores do not have muscles and cannot “open” or “close” with temperature. Cold water can temporarily reduce redness and de-puff the skin, which might make pores look tighter for a few minutes, but it won’t change their size. For a real impact, use Salicylic Acid (BHA) in your skincare routine. BHA dissolves the oil and debris that physically stretch pores out, making them appear naturally smaller and allowing your makeup to sit much smoother.
Hiding pores is a science of textures and tools. By matching your product bases and using the “Press and Roll” technique, you can achieve a professional, HD-ready finish in minutes.