![]() Fact checked
Fact checked ![]() We have a team of smart fact checkers. They make sure our content is accurate. They use the best sources like medical journals and government websites. You can find their names and profiles on the articles they check.
We have a team of smart fact checkers. They make sure our content is accurate. They use the best sources like medical journals and government websites. You can find their names and profiles on the articles they check.
Important: This article is for informational purposes only. Please read our full disclaimer for more details.
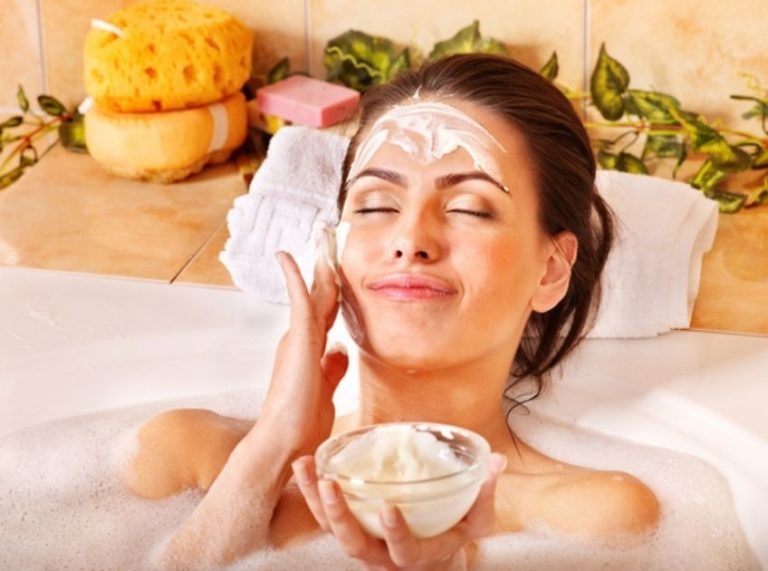
Are you tired of store-bought shower gels that are filled with harsh chemicals? What if you could create a natural, nourishing shower gel with essential oils that is gentle on your skin and customizable to your preferences? This simple DIY recipe uses Castile soap, essential oils, and a few additional ingredients to create a thick, luxurious shower gel—without any synthetic ingredients.
In this post, I’ll guide you through the process of making your homemade shower gel, perfect for pampering yourself or giving as a gift. Let’s dive in!
Benefits of Using Homemade Shower Gel with Essential Oils
Homemade shower gel offers numerous benefits for your skin and overall well-being. By using natural ingredients, you ensure that your skin is nourished without exposing it to harmful chemicals. Here are some of the top benefits:
- Non-Toxic & Gentle: No sulfates, parabens, or artificial fragrances. The Castile soap base is naturally mild and won’t strip your skin of its natural oils.
- Customizable Scents: With essential oils, you can tailor the fragrance to your personal preference, whether you want a relaxing lavender blend or an invigorating citrusy mix.
- Hydrating & Nourishing: Ingredients like honey and aloe vera offer additional hydration, making this shower gel perfect for dry skin.
- Suitable for All Skin Types: You can adjust the ingredients to suit your skin’s needs, whether it’s sensitive, oily, or dry.
Making this shower gel at home also helps you control the quality of the ingredients, ensuring a truly non-toxic and skin-friendly product.
The Science Behind the Ingredients
Each ingredient in this homemade shower gel has a specific role in ensuring your skin gets the care it deserves. Let’s break down the key components:
- Castile Soap: This plant-based soap is a gentle surfactant, which means it helps water mix with oil and dirt to rinse away impurities without drying out your skin. Unlike sulfates found in many store-bought body washes, Castile soap is non-drying and gentle.
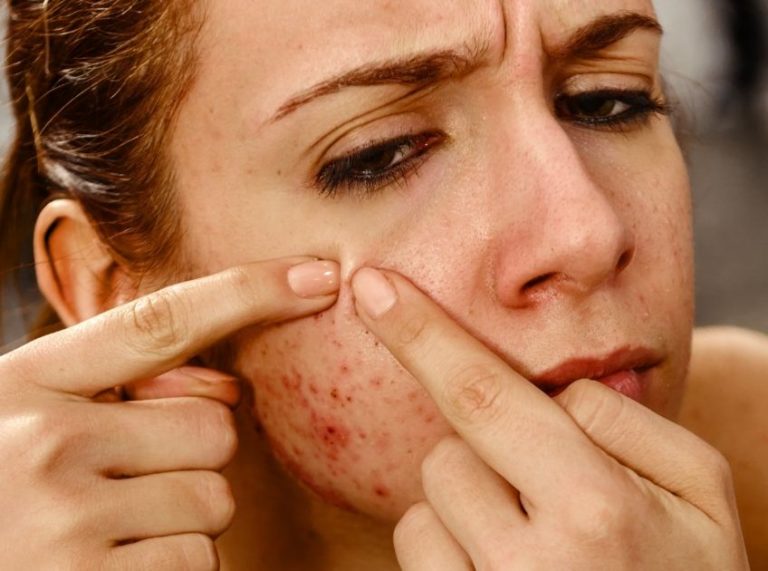
- Honey: Honey’s antibacterial and moisturizing properties make it a great addition. It helps hydrate the skin, soothe inflammation, and fight acne-causing bacteria (1). Additionally, honey is rich in antioxidants that protect the skin from free radical damage.
- Essential Oils: Whether you choose lavender, peppermint, or citrus oils, essential oils offer various skin benefits and a lovely fragrance (2). For example, lavender is known for its calming effects, while peppermint provides a cooling sensation.
Scientific Insight: Studies have shown that essential oils like lavender can help reduce skin irritation and inflammation, while honey’s antibacterial properties are well-documented in dermatology literature.
When to Discontinue Use
Although homemade products are typically gentle, it’s important to discontinue use if you experience any adverse reactions. For example:
- If you notice redness, itching, or a rash, it could be an allergic reaction to an ingredient (especially essential oils).
- If you have sensitive skin, patch-test new products before applying them fully.
- If the gel begins to smell sour or looks unusual (due to contamination), discard it and make a fresh batch.
Always use clean hands when handling the shower gel to avoid introducing bacteria into the mixture.
What Skin Types Is This Best Suited For?
This homemade shower gel is versatile and can be customized for different skin types:
- Dry Skin: Add more honey or aloe vera to make the shower gel more hydrating.
- Sensitive Skin: Stick with mild essential oils like lavender or frankincense, and avoid strong oils like peppermint or citrus.
- Oily Skin: Add a bit more Castile soap and opt for invigorating essential oils like tea tree or citrus to help balance oil production.
- Normal Skin: The basic recipe works great for those with normal skin, providing gentle cleansing without over-drying.
Is It Safe to Use?
Yes, this homemade shower gel is safe for most skin types, especially when you choose gentle essential oils. However, always do a patch test on a small area of your skin before using it all over. If you have any concerns or specific skin conditions, consult a dermatologist before trying new products.
Best 2 DIY Shower Gel Recipes
1. Lavender & Honey Shower Gel
Ingredients:
- 1 cup Castile Soap (lavender scented)
- 3 teaspoons salt
- 1-2 teaspoons honey
- 10 drops Gentle Baby Essential Oil (for a sweet, soothing fragrance)
- 5 drops Frankincense Essential Oil (for a grounding, warm note)
- 1 tablespoon liquid Aloe Vera (optional, for extra moisture)
Directions to Use:
- Start by heating water to a boil or very hot.
- Add 3 teaspoons of salt to the hot water and stir until dissolved.
- Once the salt is dissolved, pour 3/4 cup of Castile Soap into the mixture.
- Stir gently to combine, ensuring the soap thickens into a gel-like consistency.
- Add honey for extra hydration and moisture.
- Drop in your essential oils (10 drops of Gentle Baby and 5 drops of Frankincense).
- (Optional) Add liquid Aloe Vera if you want added moisture.
- Mix well and pour the shower gel into a mason jar, soap pump, or any container you prefer.
How to Apply: Use a small amount to lather up in the shower. Gently massage the gel into your skin, enjoy the soothing lavender aroma, and rinse.
2. Citrus Fresh Invigorating Shower Gel
Ingredients:
- 1 cup Castile Soap (unscented or citrus-scented)
- 3 teaspoons salt
- 10 drops Peppermint Essential Oil
- 10 drops Lemon Essential Oil
- 1 tablespoon honey
- 1 tablespoon liquid Aloe Vera (optional, for extra hydration)
Directions to Use:
- Heat the water until boiling and add 3 teaspoons of salt. Stir until fully dissolved.
- Pour in 3/4 cup of Castile Soap (you can use citrus-scented soap for an extra boost).
- Stir to mix and create a thicker gel.
- Add 1 tablespoon of honey to enhance the moisturizing effect.
- Add your chosen essential oils (Peppermint and Lemon) for an energizing fragrance.
- (Optional) Add liquid Aloe Vera for an additional moisturizing effect.
- Stir until everything is well combined and transfer the mixture into your soap pump bottle.
How to Apply: Pump a generous amount of this invigorating shower gel onto your sponge or directly into your hands. Gently massage into your skin, rinse, and feel refreshed and energized.
Frequently Asked Questions (FAQ’S)
1. How long does homemade shower gel last?
A. Homemade shower gel can last up to 3 months if stored properly in a cool, dry place and used with clean hands to avoid contamination.
2. Can I use a different type of soap instead of Castile soap?
A. While Castile soap is the gentlest option, you can use any mild liquid soap as a base, though results may vary in terms of thickness and consistency.
3. Can I add exfoliating ingredients to this shower gel?
A. Yes, you can add finely ground sugar or salt for exfoliation, but keep in mind that these may not pump well from a bottle, so it’s best to use them in a jar or with a loofah.
Making your own homemade shower gel with essential oils is a simple, effective way to take care of your skin while avoiding harmful chemicals. With a few easy ingredients and a little creativity, you can tailor the scent and moisturizing properties to your skin’s needs. Give this DIY a try and enjoy the benefits of a soothing, natural shower experience!