![]() Fact checked
Fact checked ![]() We have a team of smart fact checkers. They make sure our content is accurate. They use the best sources like medical journals and government websites. You can find their names and profiles on the articles they check.
We have a team of smart fact checkers. They make sure our content is accurate. They use the best sources like medical journals and government websites. You can find their names and profiles on the articles they check.

Important: This article is for informational purposes only. Please read our full disclaimer for more details.
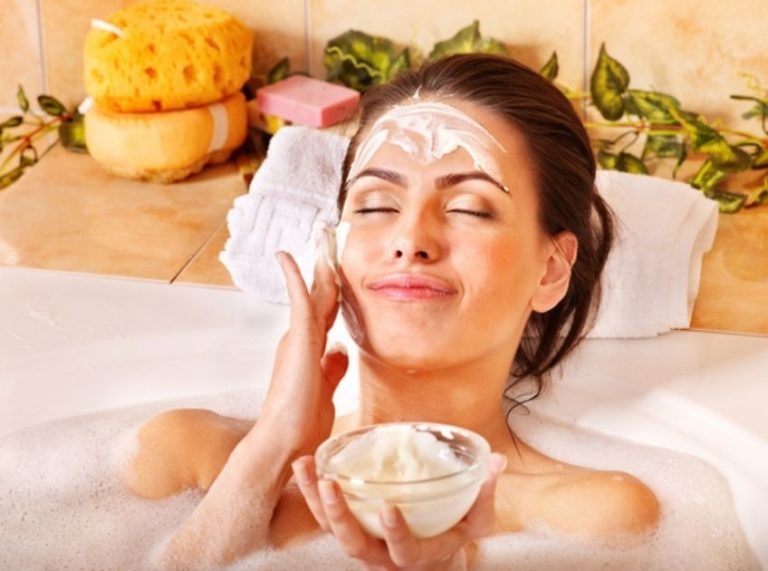
Struggling with breakouts and dull skin? A homemade rose face wash might be the gentle, skin-loving solution you need. Packed with natural antibacterial and anti-inflammatory properties, rose-based cleansers can help calm acne and restore balance—without harsh chemicals.
Here’s your complete guide to creating a soothing, effective rose face wash tailored for acne-prone skin.
Why Acne-Prone Skin Loves Rose: A Gentle Start to Healing
If your skin flares up with the wrong cleanser, you’re not alone. Many acne treatments strip natural oils, making breakouts worse. A rose-based face wash can gently purify while maintaining your skin’s protective barrier.
This DIY solution blends floral calm with acne-fighting power—ideal for sensitive, inflamed complexions.
Benefits That Bloom from Every Wash
- Calms redness and inflammation
- Fights acne-causing bacteria
- Maintains natural skin pH
- Hydrates without clogging pores
- Gently removes dirt and excess oil
The Science Behind Rose and Its Allies
Rose water is rich in antioxidants and has mild astringent properties that tone and soothe irritated skin. It also helps reduce sebum production—ideal for acne-prone types.
Scientific Insight:
- A study published in Complementary Therapies in Medicine found that rose water exhibits antimicrobial activity effective against Propionibacterium acnes, the bacteria that cause acne (1).
- Honey is known for its wound-healing and antibacterial effects, supported by findings in the Asian Pacific Journal of Tropical Biomedicine (2).
- Aloe vera contains salicylic acid and saponins that naturally combat acne while promoting healing (3).
Know What Works: Ingredient Roles and Adjustments
- Rose Water – Hydrates and tones
- Raw Honey – Fights bacteria and locks in moisture
- Aloe Vera Gel – Soothes and reduces inflammation
- Tea Tree Oil (optional) – Natural antiseptic; use in small amounts
Adjust As Needed:
Oily skin? Add more rose water.
Dry skin? Increase aloe vera or honey.
Sensitive skin? Skip tea tree oil entirely.
When to Hit Pause: Signs You Should Stop Using
Discontinue use if you experience:
- Itching or burning sensation
- Persistent redness or hives
- Unusual tightness or dryness
Always patch-test before full use.
Who Should Use This?
Best suited for:
- Acne-prone
- Oily
- Combination
- Sensitive skin types
Avoid if:
- You’re allergic to roses, aloe, or honey
- You’re undergoing prescription acne treatment (consult a dermatologist first)
Is It Safe for Daily Use?
Yes, this rose face wash is safe for daily use. It’s free of sulfates, synthetic fragrances, and harsh detergents. However, limit use to once or twice a day to avoid over-cleansing.
Two Best DIY Rose Face Washes for Acne-Prone Skin
DIY Recipe #1: Rose & Honey Calming Cleanser
This soothing cleanser is ideal for inflamed, acne-prone skin. It gently removes impurities while hydrating and calming redness without disrupting your skin barrier.
Ingredients:
- 3 tablespoons rose water (alcohol-free)
- 1 tablespoon raw organic honey
- 1 teaspoon aloe vera gel (pure and preservative-free)
Directions to Use:
- In a clean mixing bowl, combine rose water, honey, and aloe vera gel.
- Stir the mixture until you get a smooth, even consistency.
- Transfer the blend into a sterilized glass bottle with a pump or flip cap.
- Store it in the refrigerator to maintain freshness for up to 7 days.
How to Apply:
- Splash lukewarm water on your face to open pores.
- Take a small amount of the cleanser into your palm.
- Gently massage it onto your face in circular motions for 60 seconds.
- Rinse thoroughly with cool water and pat dry with a clean towel.
Pro Tips:
- Use in the morning to calm skin before makeup.
- Patch test first if you have sensitive skin.
- Apply a lightweight moisturizer afterward to seal in hydration.
- Always use a spoon or clean hands to scoop out the product to avoid contamination.
DIY Recipe #2: Deep-Cleansing Rose & Tea Tree Face Wash
This detoxifying blend helps clear excess oil and prevent breakouts. It’s perfect for acne-prone, combination, or oily skin needing a deeper cleanse.
Ingredients:
- 2 tablespoons rose water (natural and preservative-free)
- 1 tablespoon fresh aloe vera gel
- ½ teaspoon raw honey
- 2 drops tea tree essential oil (100% pure)
- Optional: ½ teaspoon liquid castile soap for extra cleansing
Directions to Use:
- In a small bowl, whisk together rose water, aloe vera gel, and honey.
- Add tea tree oil and stir gently to incorporate.
- If using castile soap, add it last and stir lightly to avoid foaming.
- Pour the mixture into a dark glass bottle with a pump top.
- Shake well before each use and store in a cool, dry place for up to 5 days.
How to Apply:
- Wet your face with warm water.
- Dispense 2–3 pumps of the cleanser into your hand.
- Gently massage onto your face for 30–45 seconds, avoiding the eye area.
- Rinse off with lukewarm water and follow with toner and moisturizer.
Pro Tips:
- Use at night to remove daily buildup and impurities.
- Skip tea tree oil if your skin is reactive or sensitive.
- Adjust honey or aloe for a thicker or thinner consistency.
- Use no more than once daily if you’re new to tea tree oil.
Frequently Asked Questions (FAQ’S)
1. Can I use rose face wash every day?
A. Yes, once or twice daily is ideal for acne-prone skin, especially with gentle ingredients.
2. Does this help with hormonal acne?
A. It helps manage surface inflammation and bacteria, but for hormonal acne, consult a dermatologist for deeper treatment.
3. Can I use store-bought rose water?
A. Yes—just ensure it’s pure and alcohol-free to avoid irritation.
A homemade rose face wash is more than a beauty ritual—it’s a botanical boost for acne-prone skin. With calming, natural ingredients and simple steps, you can finally cleanse without compromise. Try one of these DIY blends and give your skin the gentle care it deserves.