Important: This article is for informational purposes only. Please read our full disclaimer for more details.
Ever opened your beauty drawer and found five half‑used lipsticks you swore you’d finish someday? You’re not alone. Whether it’s broken bullets, discontinued shades, or travel clutter, almost everyone has lipsticks going to waste.
Good news—you can turn them into a sleek, travel‑friendly lipstick palette that looks straight out of a makeup artist’s kit. It’s beginner‑friendly, inexpensive, and ridiculously satisfying to make.
As someone who’s tested depotting techniques for years (from budget tubes to luxe brands), I’ll walk you through safe melting methods, creative mixing, and pro storage tips—without ruining texture or pigment.
Why You’ll Love Melting Lipsticks Into a Palette
A melted lipstick palette isn’t just aesthetic—it’s practical. Here’s why it works wonders for both minimalists and makeup pros:
- Declutters your vanity and saves space in your bag.
- Lets you mix custom tones (because your perfect nude might be half coral, half brown).
- Extends the life of broken or leftover lipsticks.
- Improves hygiene, especially for artists using spatulas instead of direct application.
Pro Stat: Makeup artists depot lipsticks before shoots or bridal events to quickly access 20+ shades without carrying a heavy bag.
What You’ll Need: Your Lipstick Melting Kit
| Category | Tools | Pro Tips |
| Heat Source | Candle warmer, hair dryer, or microwave (20–30 secs max). | Avoid open flames touching product directly. |
| Containers | Metal pan palette or magnetic case. | Heat-resistant only; cheap plastic may warp. |
| Tools | Spatula, small spoon, tweezers. | Wipe with rubbing alcohol before use. |
| Extras | Labels, gloves, alcohol wipes. | Label shades for easy touch-ups later. |
Optional but Awesome: use a mini stainless‑steel mixing palette. It keeps colours clean and helps you design new shades before melting.
Step‑by‑Step: Melt Lipsticks Safely Without Mess
Step 1: Prep Your Workspace
- Lay down a heatproof surface (ceramic tray, marble board) and sanitize every tool with rubbing alcohol. Clean, dry surfaces = longer product life.
Step 2: Scoop and Slice
- Cut a small portion of each lipstick bullet using a spatula. Keep the rest stored away in case you need future refills.
Step 3: Melt Slowly
- Place lipstick pieces in a metal spoon or small bowl. Hold it above (not inside) a flame or heat it with a hair dryer on low. Stir gently until it turns fluid.
Do not boil or overheat! Too much heat will destroy the creamy texture and change scent.
Step 4: Pour & Cool
- Pour melted lipstick into the palette wells. Tap gently to remove bubbles, then set at room temperature for a few minutes before refrigerating for 15–20 minutes.
Step 5: Label and Enjoy
- Write shade names or mix ratios (e.g., “MAC Twig + Nude Lust = My Daily Nude”) for easy recreations later.
Pro Beauty Tips
- Add a drop of lip balm or oil before melting for extra hydration.
- Don’t mix long‑wear matte with creamy formulas unless you like experimenting; they behave differently once cooled.
- Mix shades with a spatula before heating to preview your final colour.
- Reuse old magnetic palettes or empty eyeshadow cases—it’s eco‑friendly and satisfying.
Storage, Safety, and Hygiene
- Store your palette in a cool, dark place—a vanity drawer or cosmetic fridge works best.
- Avoid bathroom humidity; moisture can alter formulas.
- Use a clean lip brush or silicone spatula—never fingers—to preserve hygiene.
Lifespan: about 12–18 months after melting for wax‑based lipsticks.
Fixing Common Issues
| Problem | Cause | Solution |
| Cracky surface | Overheated formula | Melt in shorter bursts; stir constantly. |
| Sticky texture | Too much oil added | Remelt and add a small piece of matte lipstick. |
| Discolored after cooling | Excess heat or poor storage | Always cool at room temp first. |
Creative Uses for Your New Palette
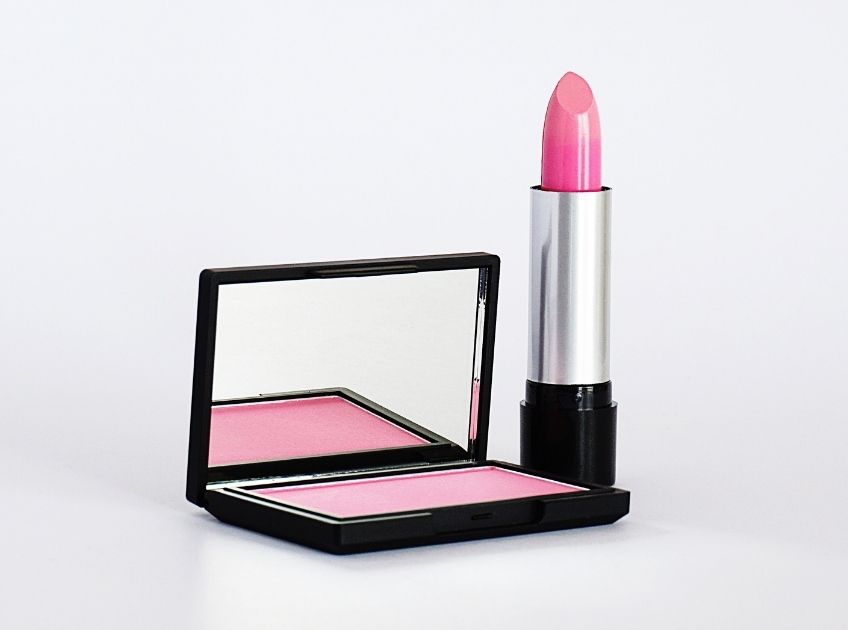
- DIY blush tint: Tap a pink shade on cheeks for a natural flush.
- Custom lip topcoat: Add shimmer gloss over melted shades for dimension.
- Portfolio‑ready: Great for makeup artists to showcase shade combos.
Melting lipsticks is part upcycling, part artistry. Instead of letting forgotten shades expire in drawers, you’re giving them a second life—and saving tons of space.
If you try this at home, tag your palette photo with MeltedLipPalette and share your dream shade combos on social media by tagging BeautyEpic.


