Important: This article is for informational purposes only. Please read our full disclaimer for more details.
Builder gel nails are loved for their strength and flawless finish, but when it’s time to remove them, acetone is often the go-to solution. If you want to save money on salon visits and safely remove builder gel at home, this step-by-step guide will help you do it the right way, without damaging your natural nails.
Why Acetone Is the Best Choice for Builder Gel Removal
Acetone is a powerful solvent that breaks down builder gel quickly and effectively. While it can be drying, when used properly, it offers the fastest, safest way to remove gel buildup without excessive filing or scraping that could harm your nails.
Gather Your Tools: What You’ll Need for Builder Gel Removal at Home
Before getting started, prepare these essential tools to ensure a smooth removal process:
- 100% pure acetone (nail polish remover with acetone won’t work as well) (Buy Here)
- Cotton balls or pads
- Aluminum foil strips (large enough to wrap each fingertip) (Buy Here)
- Nail file (180-240 grit) (Buy Here)
- Cuticle pusher or orange wood stick (Buy Here)
- Nail buffer (Buy Here)
- Cuticle oil or natural oil (coconut, jojoba, or olive oil) (Buy Here)
- Moisturizing hand cream (Buy Here)
- Small bowl for warm water (optional)
Having everything ready will make the process more efficient and comfortable.
Step-by-Step Process: How to Remove Builder Gel at Home with Acetone:
Step 1: File Off the Shiny Top Layer
- Use a medium grit nail file (180-240 grit) to gently file the glossy topcoat of the builder gel.
- Focus on removing the shine without filing down to your natural nail to avoid damage.
- This helps acetone penetrate the gel layers more effectively during soaking.
Step 2: Soak Cotton Balls or Pads in Pure Acetone
- Take cotton balls or pads and saturate them thoroughly with 100% pure acetone.
- Avoid using regular nail polish remover, as it contains less acetone and won’t dissolve the gel well.
- Ensure the cotton is soaked but not dripping to prevent a mess.
Step 3: Wrap Each Finger with Acetone-Soaked Cotton and Foil
- Place an acetone-soaked cotton ball or pad directly on top of each nail.
- Wrap each fingertip tightly with a small strip of aluminum foil to hold the cotton in place.
- The foil wrap creates a sealed environment that traps heat and acetone vapors, speeding up the gel removal process.
- Repeat for all ten fingers.
Step 4: Let Your Nails Soak for 15-20 Minutes
- Leave the foil wraps on your nails for at least 15-20 minutes.
- Avoid removing the wraps too early, as the acetone needs time to dissolve the builder gel layers fully.
- If your room is cool, placing your hands near a gentle heat source (like a warm towel) can help accelerate the process.
Step 5: Remove Foil and Cotton, Check Gel Softness
- After 20 minutes, carefully unwrap one finger at a time.
- The builder gel should appear softened, lifted, and may look wrinkled or flaky.
- If the gel still feels hard and resistant, reapply acetone-soaked cotton and foil on that nail, and soak for an additional 5-10 minutes.
Step 6: Gently Push Off the Softened Builder Gel
- Use a cuticle pusher or orange wood stick to carefully lift and push off the loosened builder gel.
- Start at the cuticle area and push the gel gently toward the nail tip.
- Avoid forcing or scraping too hard, as this can damage your natural nail bed.
- If the gel doesn’t come off easily, soak a little longer instead of applying pressure.
Step 7: Buff Away Any Remaining Gel Residue
- After most of the gel is removed, use a fine nail buffer to gently smooth any remaining rough patches.
- Buff lightly to avoid thinning the natural nails too much.
- This step ensures a clean, smooth nail surface, perfect for your next manicure or letting your nails breathe.
Step 8: Nourish and Hydrate Your Nails and Cuticles
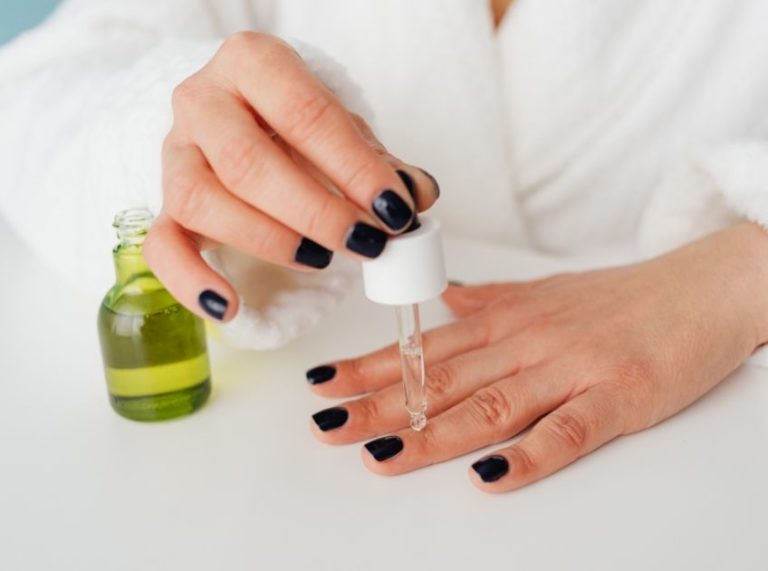
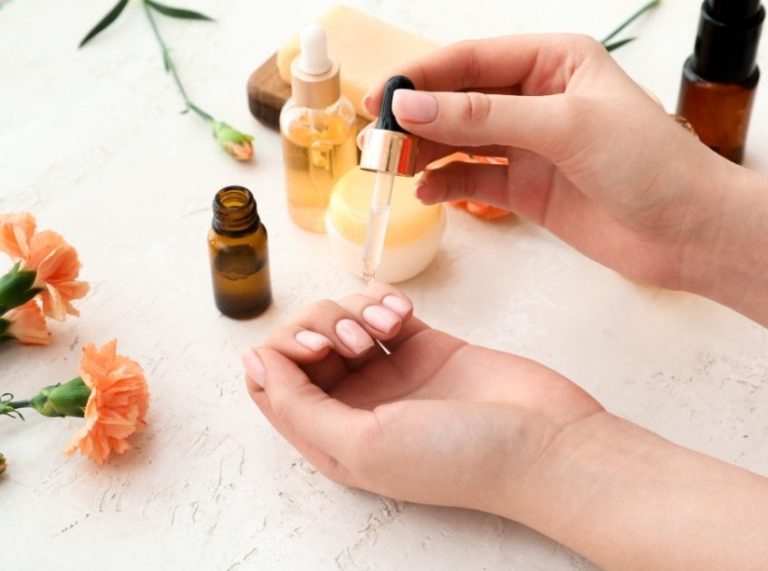
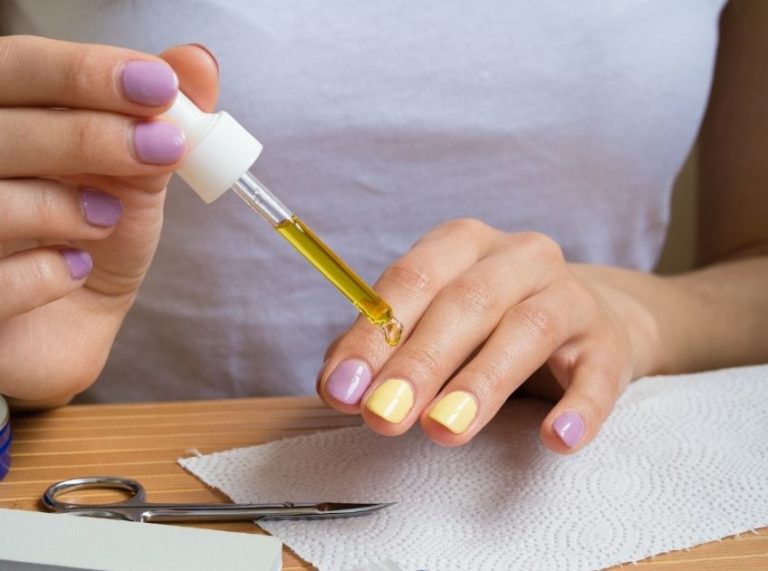
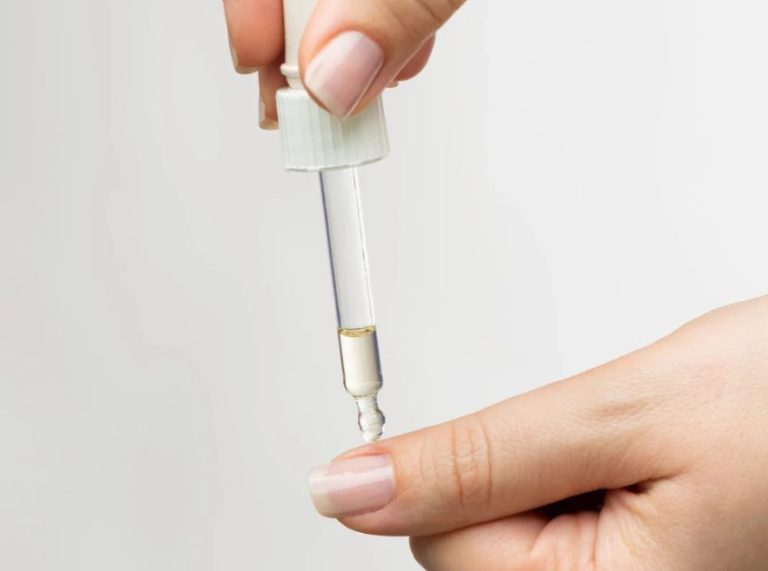
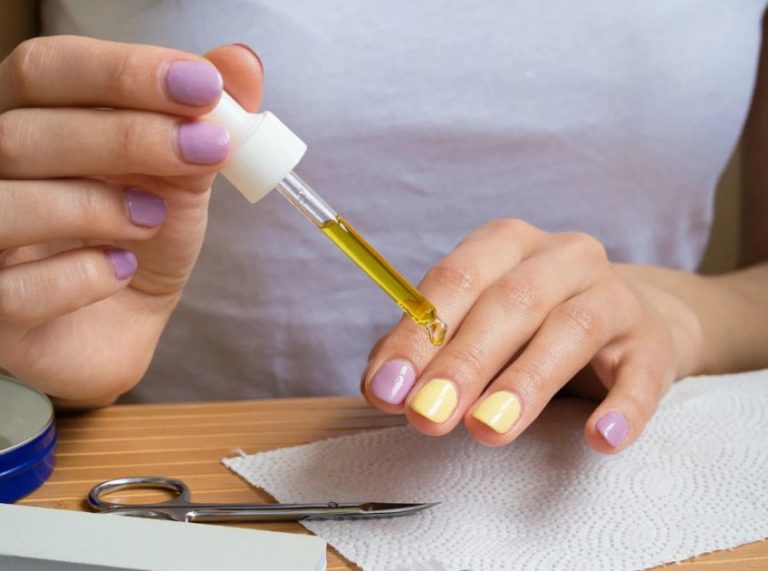
- Acetone can dry out nails and skin, so apply cuticle oil immediately after gel removal.
- Massage the oil well into the nail plate and surrounding cuticles to replenish moisture and promote healing.
- Follow up with a rich hand cream to hydrate the skin around your nails.
- For extra care, consider using a nail strengthener or protective base coat before your next manicure.
Frequently Asked Questions (FAQ’S)
Q1: Can I use regular nail polish remover instead of pure acetone?
A. No, regular nail polish removers typically have less acetone and won’t effectively dissolve builder gel. Always use 100% pure acetone for best results.
Q2: How often can I safely remove builder’s gel with acetone at home?
A. Limit removal to every 2-3 weeks to allow nails time to recover. Frequent acetone exposure can dry out and weaken nails if not properly moisturized afterward.
Q3: What should I do if my nails feel very dry after removal?
A. Give your nails a break from polish for a few days and apply nourishing oils daily. Using a strengthening base coat can also help rebuild nail health.
Final Thoughts: Mastering Builder Gel Removal at Home with Acetone
Removing builder gel at home using acetone is quick and effective when done carefully. Following this step-by-step routine protects your natural nails while saving time and money. Remember to hydrate your nails after every removal to keep them healthy and strong.
With patience and proper care, at-home builder gel removal with acetone can be a safe, salon-quality experience.
