Important: This article is for informational purposes only. Please read our full disclaimer for more details.
Builder gel nails are strong, durable, and gorgeous—but when it’s time to remove them, things can get tricky. Done the wrong way, you risk peeling, thinning, or even tearing your natural nails. The good news? You can remove builder gel at home safely—without drills, harsh scraping, or a trip to the salon.
Article Contains
This step-by-step guide shows you how to gently remove builder gel while keeping your natural nails healthy and strong.
What You’ll Need
Before diving in, gather the right tools to protect your nails throughout the process:
- Nail file (100/180 grit) (Buy Here)
- Acetone (100% pure is best) (Buy Here)
- Cotton balls or pads
- Foil wraps or clips (Buy Here)
- Cuticle pusher or orangewood stick (Buy Here)
- Nail buffer (Buy Here)
- Cuticle oil (Buy Here)
- Hand cream or lotion (Buy Here)
Step-by-Step: How to Remove Builder Gel Without Damage
Step 1: Start by Filing the Topcoat
To begin the removal process, gently file the shiny top layer of the builder gel using a coarse nail file (around 100 grit). This step is crucial because the gel’s topcoat creates a seal that prevents acetone from penetrating effectively. Filing breaks this seal, allowing the acetone to work its magic.
How to do it:
- Hold your nail file at a slight angle and file in one direction rather than a back-and-forth motion to avoid weakening the nail.
- Focus on the surface of the gel only. You’ll notice the nail surface turning from shiny to matte and powdery—that’s the sign you’ve filed enough.
- Avoid over-filing or pushing too hard, as that can damage your natural nail underneath.
Why it matters: Without this step, the acetone will struggle to soften the builder gel, making the removal longer and more damaging.
Step 2: Soak Cotton in Acetone and Wrap Each Nail
Next, soak a cotton ball or cotton pad in 100% pure acetone. Place the soaked cotton on top of your nail, then wrap the finger tightly with aluminum foil or use a nail clip to hold it in place. This setup creates a mini-steam chamber, helping the acetone break down the builder gel layers.
Tips for success:
- Warm your acetone slightly by placing the bottle in warm water beforehand—this can speed up the softening process.
- To help retain heat, wrap your hands in a warm towel after applying the foil wraps.
- Soak for at least 15 to 20 minutes. If the gel remains stubborn, add another 5 to 10 minutes.
What to expect: You may notice a slight smell of acetone and feel a mild warming sensation as the gel softens. This is normal.
Step 3: Gently Push Off the Softened Gel
After soaking, carefully remove the foil and cotton from one finger at a time. Using a cuticle pusher or an orangewood stick, gently nudge the softened gel from the base near the cuticle toward the tip.
How to do it safely:
- Work slowly and lightly—apply gentle pressure only.
- The gel should come off in soft flakes or chunks. If it’s still sticking tightly, don’t force it. Rewrap and soak for a few more minutes.
- If you meet resistance and start peeling the nail surface, stop immediately to avoid damage.
Sensory tip: The gel should feel soft and crumbly under the tool, not hard or gritty.
Step 4: Buff Away Residue and Smooth the Surface
Once the bulk of the builder gel is removed, some residue may still cling to your nails. Use a fine-grit buffer (around 180 grit or higher) to gently smooth and even out the surface.
How to do it right:
- Buff in gentle, circular motions.
- Be mindful not to over-buff, which can thin your natural nails and cause sensitivity.
- If needed, use a glass nail file to tidy up rough or uneven edges.
Outcome: Your nails should feel smooth and look natural, without any visible gel patches.
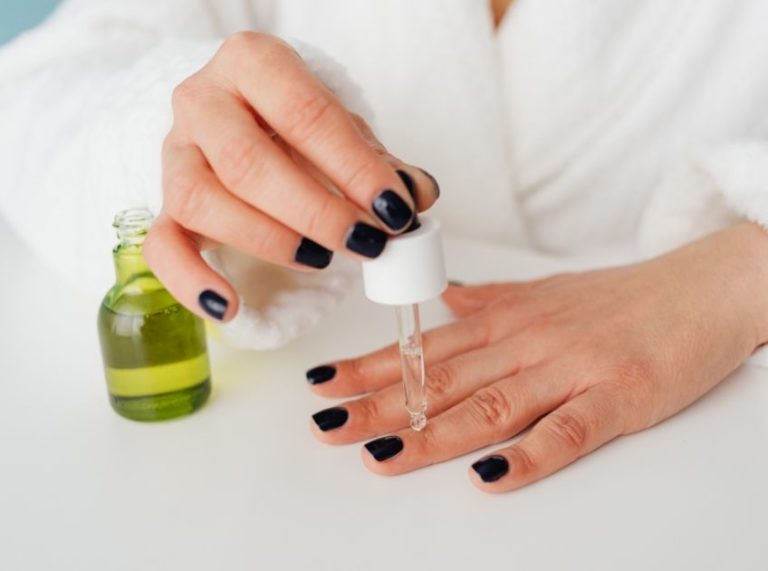
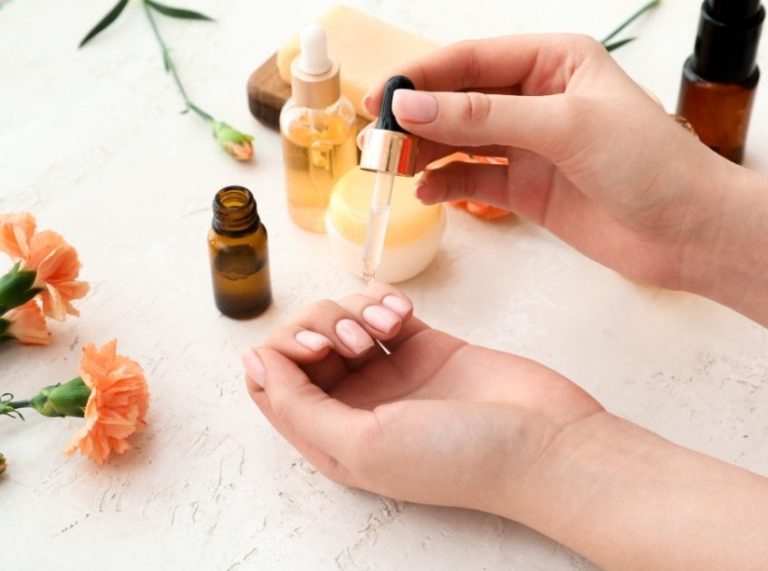
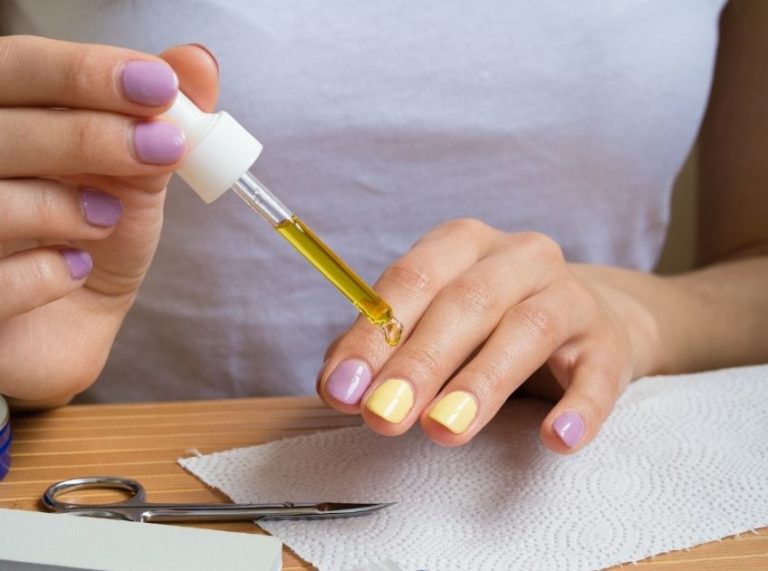
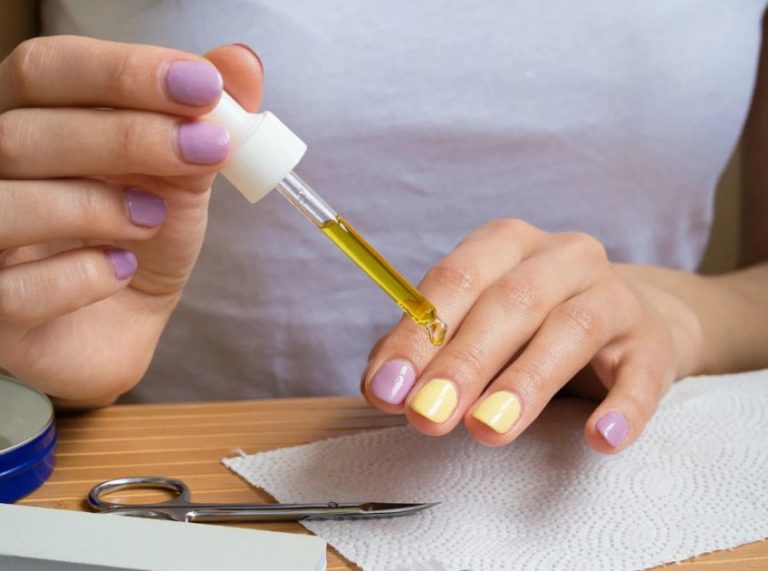
Step 5: Hydrate Your Nails and Cuticles
Removing builder gel with acetone tends to dry out your nails and skin. To restore moisture and promote nail health, apply a generous amount of cuticle oil. Massage it into each nail and the surrounding skin to boost circulation and encourage nail growth.
Additional care:
- Follow with a rich hand cream or lotion to seal in hydration.
- For extra care, consider using a nourishing nail serum or treatment designed to strengthen natural nails.
What works: Keeping your nails hydrated post-removal prevents brittleness, splitting, and peeling.
Step 6: Give Your Nails a Break
After removal, it’s beneficial to let your nails rest before applying another builder gel or other nail enhancements. Give them a few days or weeks to breathe and fully recover.
Tips for nail recovery:
- Use nail-strengthening treatments or natural oils like jojoba or almond oil during this time.
- Avoid harsh chemicals or excessive water exposure, which can weaken nails further.
Common Mistakes to Avoid
- Skipping the filing step: Without removing the topcoat, acetone won’t work effectively.
- Using force to peel gel: This thins and damages the natural nail.
- Not moisturizing afterward: Builder gel removal can dehydrate nails—always restore moisture.
Frequently Asked Questions (FAQ’S)
Q1. Can I remove builder’s gel without acetone?
A. Technically, yes, but it’s much harder. Acetone-free removal methods (like filing or using hot water and oil) are gentler but require more time and patience.
Q2. How long should I soak my nails in acetone?
A. 15 to 20 minutes is ideal for most builder gels. Re-soak if the gel doesn’t lift easily.
Q3. Will removing builder’s gel at home damage my natural nails?
A. Not if you follow a gentle, step-by-step process like this one. The key is to avoid peeling or rushing through the soak.
Final Thoughts
Builder gel may feel like armor on your nails, but it doesn’t take a salon visit to remove it safely. With the right tools, a bit of patience, and gentle technique, you can take off builder gel at home without damage.
Treat your nails with care during removal, and they’ll stay strong, smooth, and ready for their next glam moment.