Important: This article is for informational purposes only. Please read our full disclaimer for more details.
Dip powder nails are gorgeous and durable, but when it’s time to take them off, doing it the wrong way can lead to brittle, peeling nails. The good news? You don’t need a salon visit to remove dip nails safely. With a few expert tricks and the right tools, removal can be gentle, easy, and damage-free.
This step-by-step guide walks you through the best way to remove dip powder at home without ruining your natural nails.
What You’ll Need: DIY Removal Toolkit
Before you begin, make sure you have the following tools ready:
- Nail file (100/180 grit) (Buy Here)
- Acetone (100% pure, not nail polish remover) (Buy Here)
- Cotton balls or pads
- Aluminum foil or nail clips (Buy Here)
- Cuticle pusher or orangewood stick (Buy Here)
- Nail buffer (Buy Here)
- Cuticle oil or nourishing hand cream (Buy Here)
Optional but helpful:
- Bowl of warm water
- Paper towels
- Nail strengthening treatment
Step-by-Step: The Smart Way to Remove Dip Nails at Home
Step 1: Buff Off the Top Coat (Don’t Skip This!)
Dip nails are sealed with a tough top coat. Removing it first allows acetone to do its job faster.
How to do it:
Use a coarse nail file (100 grit) to gently buff off the shiny top layer of each nail. Focus on just the top, not the color layers beneath. You’ll know you’re done when the nails look matte and dusty.
Pro Tip: Avoid over-filing. This step should take 1–2 minutes per hand.
Step 2: Soak with Acetone (The Gentle Way)
Acetone is essential for breaking down the dip layers, but soaking the whole hand isn’t ideal. The foil wrap method protects skin and speeds up removal.
How to do it:
- Soak a cotton ball in acetone
- Place it directly over your nail
- Wrap tightly with a small piece of aluminum foil or use a nail clip
- Repeat for all fingers
- Let it sit for 15–20 minutes
Expert Note: Want faster results? Warm up a bowl of water and rest your foil-wrapped fingers on top (not in the water). The heat helps the acetone work quickly.
Step 3: Gently Push Off the Dip Powder
Once soaked, the dip powder should look soft and bubbly.
How to do it:
- Unwrap one finger
- Use a cuticle pusher or an orangewood stick to gently push off the softened product.
- If the powder doesn’t slide off easily, rewrap and soak for another 5–10 minutes
- Avoid scraping or digging at your nail.s
Why this matters: Forceful removal causes peeling, splitting, and damage to the natural nail underneath.
Step 4: Buff and Smooth
After the dip powder is gone, the nails may feel uneven or chalky.
How to do it:
- Use a fine-grit buffer to lightly smooth the nail surface
- Buff only until the nail looks and feels even
- Don’t overdo it—your nails are already vulnerable
Optional: Follow with a nail strengthener or ridge filler.
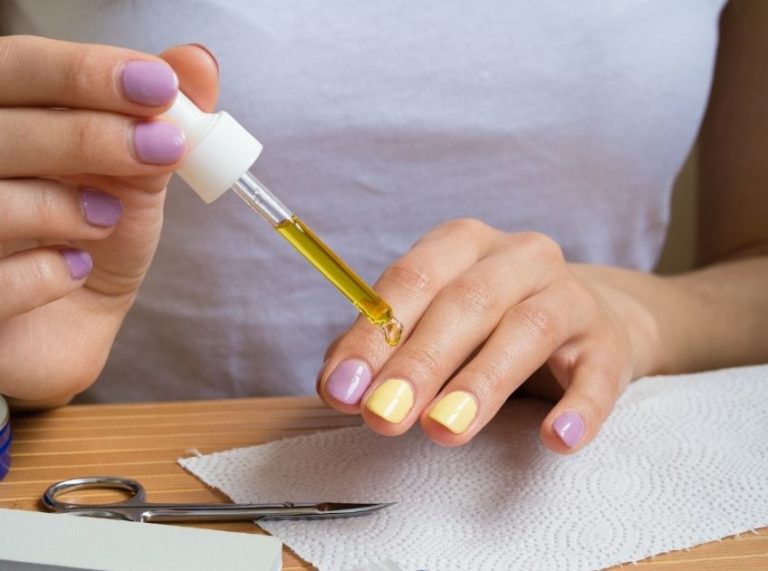
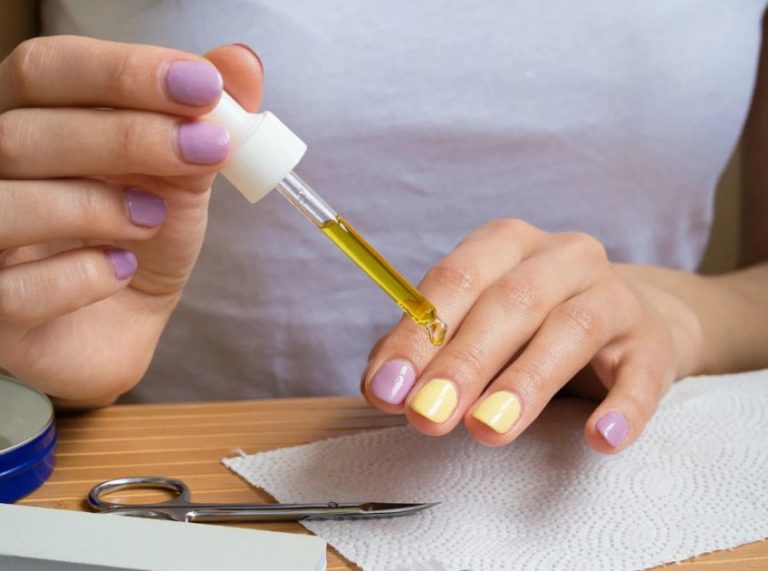
Step 5: Rehydrate and Repair
Acetone strips away moisture, so hydration is key to restoring healthy nails.
How to do it:
- Apply cuticle oil generously around each nail
- Massage into the skin and nail beds
- Follow with a nourishing hand cream
- Do this daily for the next few days to help your nails bounce back
Pro Tip: If nails feel especially dry or thin, skip polish for a week and focus on recovery.
Common Mistakes to Avoid During Removal
- Don’t peel or pick at dip nails—this rips layers of your real nail with it.
- Don’t skip buffing the top coat—acetone can’t penetrate otherwise.
- Don’t soak in nail polish remover—you need 100% acetone.
- Don’t use metal tools harshly—stick to gentle pushing.
Final Thoughts: Patience = Healthy Nails
Removing dip powder at home doesn’t have to be stressful or damaging. With a little patience and the right technique, your nails can look (and feel) healthy after every set. Always prioritize gentleness over speed and make aftercare a non-negotiable part of the process.
If you’re planning to reapply dip, give your nails 2–3 days to recover and breathe. A little TLC now ensures every future manicure looks flawless.