Important: This article is for informational purposes only. Please read our full disclaimer for more details.
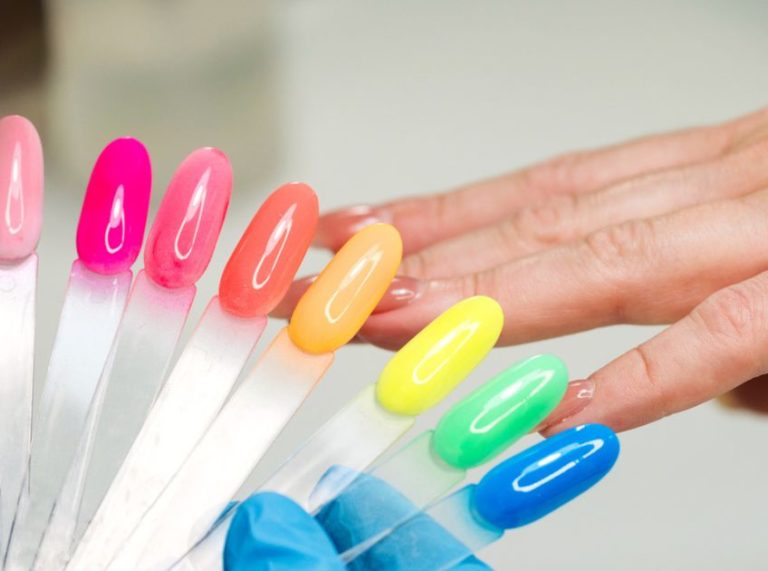
Dip powder nails are strong, long-lasting, and give a polished, chip-free finish that rivals any salon manicure. But when the time comes to remove them, many make the mistake of peeling or picking, leading to thin, brittle, and damaged natural nails. The good news? You can safely remove dip nails at home using acetone with minimal effort and zero harm to your natural nails. This expert-approved guide walks you through everything you need to know—tools, prep, removal techniques, and aftercare—to do it the right way.
What You’ll Need: Your DIY Dip Nail Removal Kit
Before you begin, gather the following tools:
- 100% pure acetone (non-diluted works best) (Buy Here)
- Nail file (coarse grit like 100/180) (Buy Here)
- Cotton balls or pads (preferably lint-free)
- Aluminum foil (cut into 10 strips, large enough to wrap fingertips) (Buy Here)
- Cuticle pusher or orangewood stick (Buy Here)
- Nail buffer (Buy Here)
- Cuticle oil or vitamin E oil (Buy Here)
- Moisturizing hand cream (Buy Here)
- Glass bowl (optional if using soak method)
- Paper towels or a towel to protect your surface
How to Remove Dip Powder Nails at Home with Acetone – Step by Step Process
Step 1: File the Top Layer – Let the Acetone Work Smarter, Not Harder
The powder is sealed with a hardened top coat that’s acetone-resistant. Gently filing this layer off helps the acetone penetrate more quickly and evenly.
- Use a coarse nail file to buff the surface of each nail.
- Focus on removing the shiny topcoat, not the color underneath.
- Avoid aggressive filing; you don’t want to hit the nail.
- Once the nails look matte and powdery, you’re ready for the next step.
Pro Tip: Doing this over paper towels makes cleanup easier.
Step 2: Choose Your Soak-Off Method – Two Ways to Melt the Powder
Both methods use acetone, but you can choose based on your preference.
Method A: The Classic Foil Wrap (Less Messy)
- Soak a cotton ball with pure acetone.
- Place it over the entire nail, then wrap tightly with aluminum foil.
- Repeat on each nail.
- Let them sit for 20–25 minutes.
- This method keeps heat in and speeds up softening.
Method B: The Bowl Soak (Faster but Messier)
- Pour acetone into a small bowl.
- Soak your fingertips for 15–20 minutes.
- Place the acetone bowl inside a larger bowl of warm water to keep the solution warm, but never heat acetone directly.
Sensory Tip: During soaking, you may feel a slight tingling or cooling effect—this is normal.
Step 3: Gently Push Off the Dip Powder – No Force Needed
Once soaked, the dip powder should start lifting off with minimal resistance.
- Remove the foil or take your fingers out of the bowl.
- Use a cuticle pusher or an orangewood stick to gently push the softened powder from the base of the nail upward.
- If it resists, re-soak for 5–10 minutes instead of scraping aggressively.
What Changed Everything for Me: Working in sections—left hand first, then right—gives better control and avoids rushing.
Step 4: Smooth the Surface – Bring Back That Natural Shine
After the dip powder is fully removed, your nails might look a bit dull or uneven.
- Use a soft nail buffer to lightly smooth the surface of each nail.
- Focus on evening out any residual bits and reducing ridges.
- Wipe with a clean towel or cotton pad to remove dust.
Sensory Detail: Buffed nails should feel smooth, not gritty or flaky.
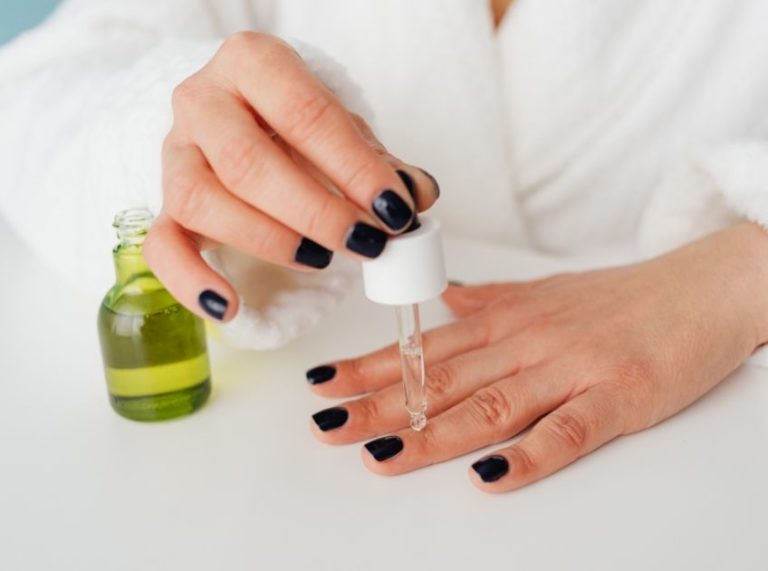
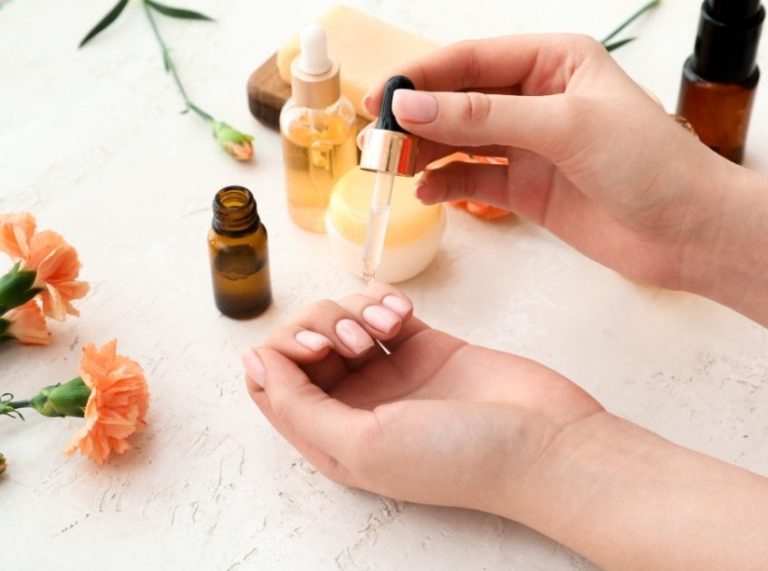
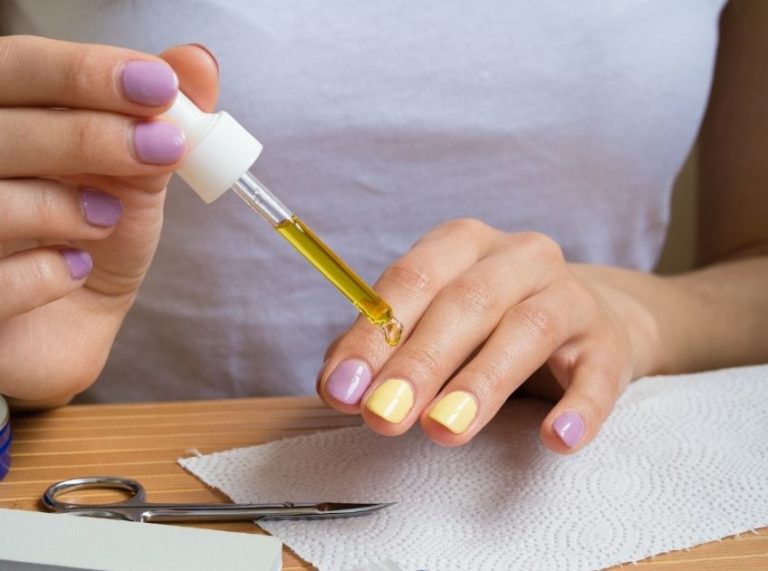
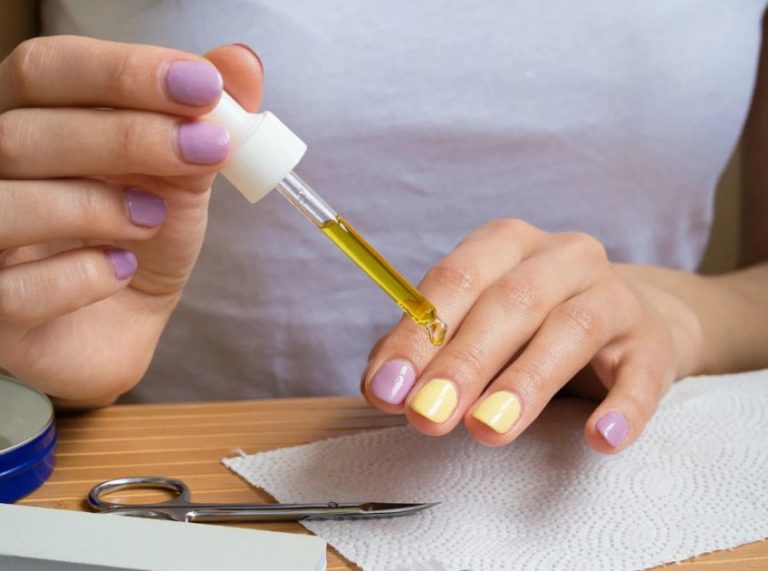
Step 5: Hydrate, Heal, and Strengthen – Your Nails Deserve It
Acetone can strip moisture from both your nails and skin. Aftercare is essential.
- Apply a generous amount of cuticle oil to nourish the nail beds.
- Massage using circular motions.
- Follow with a hydrating hand cream or lotion.
- For deeper healing, soak nails in warm olive oil or vitamin E oil for 10 minutes.
Pro Tip: Take a 7–10 day break before applying new dip powder or gel polish to let your nails recover naturally.
Common Mistakes to Avoid
- Don’t peel or pick: This weakens your natural nails.
- Don’t skip the filing step: Acetone alone can’t break through the top coat.
- Don’t rush: Impatience leads to damaged nails and regret later.
Frequently Asked Questions (FAQ’S)
Q1: Can I use diluted acetone or regular polish remover instead?
A. No. Only 100% pure acetone is strong enough to break down the resin in dip powder. Regular remover won’t work effectively.
Q2: My nails feel thin after removal—what can I do?
A. That’s normal after several applications. Take a break and apply nail hardeners, biotin treatments, or natural oils to rebuild strength.
Q3: How often can I safely remove dip nails at home?
A. Try to wait at least 3–4 weeks between full removals, and always give your nails time to recover before reapplying.
Final Thoughts
Removing dip powder nails at home doesn’t have to be a struggle. With the right method, tools, and patience, you can enjoy flawless removal without a single chip or tear in sight. Just remember: prep, soak, and moisturize like a pro. Whether you’re in between colors or just giving your nails a break, healthy removal is the secret to long-lasting nail beauty.