Important: This article is for informational purposes only. Please read our full disclaimer for more details.
Removing fiber gel from your nails at home may sound intimidating, but with the right method, it’s a simple, safe, and salon-worthy process. Whether you’re looking to refresh your manicure or take a break from enhancements, knowing how to remove fiber gel properly helps protect the health of your natural nails.
Below is a step-by-step expert guide to remove fiber gel nails efficiently, without causing peeling, dryness, or breakage.
What Is Fiber Gel and Why Proper Removal Matters
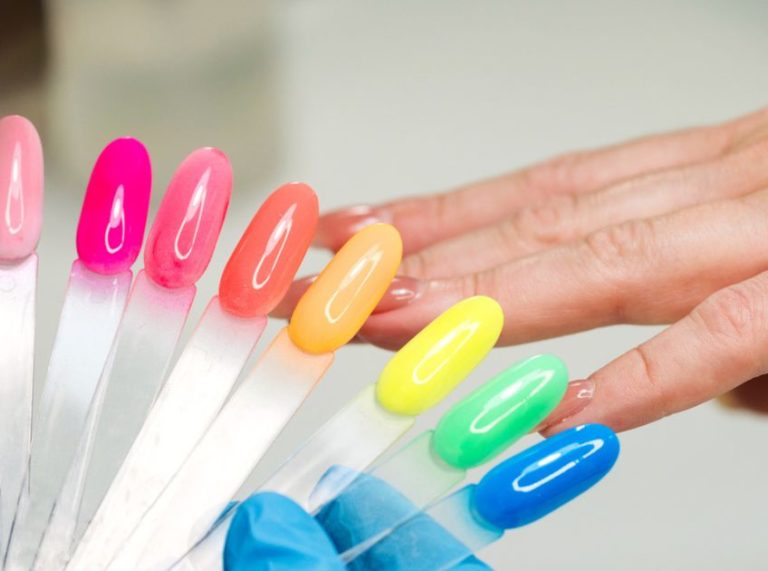
Fiber gel is a nail enhancement that combines gel resin with fiberglass strands to add strength and length to natural nails. It’s thinner than acrylic but more durable than standard gel polish.
While fiber gel offers durability and flexibility, improper removal can lead to nail thinning, brittleness, or lifting. That’s why a careful, step-by-step approach is essential when doing it yourself at home.
What You’ll Need for Safe Fiber Gel Removal
Before you begin, gather the following items:
- 100% pure acetone (Buy Here)
- Nail file (100/180 grit) (Buy Here)
- Buffer block (Buy Here)
- Cotton balls or pads
- Aluminum foil or nail clips (Buy Here)
- Cuticle pusher or orangewood stick (Buy Here)
- Petroleum jelly or cuticle oil (Buy Here)
- Hand cream or nail-strengthening oil (Buy Here)
Optional: A small bowl for the soak-off method and a towel to trap warmth.
Step-by-Step Guide: How to Remove Fiber Gel from Nails at Home
Removing fiber gel nails at home can be simple and gentle when done correctly. This detailed breakdown will help ensure that you avoid nail damage and leave your natural nails strong and healthy.
Step 1: Gently File the Top Coat
Before using acetone, it’s essential to break the protective seal of the fiber gel.
- Use a coarse 100/180 grit nail file to file away the top shiny layer of the fiber gel.
- Focus on removing just the glossy top coat, not the entire thickness of the product.
- File in one direction to avoid excessive friction and nail plate damage.
Expert Tip: Be careful not to over-file into your natural nail. Stop once the surface looks matte instead of shiny.
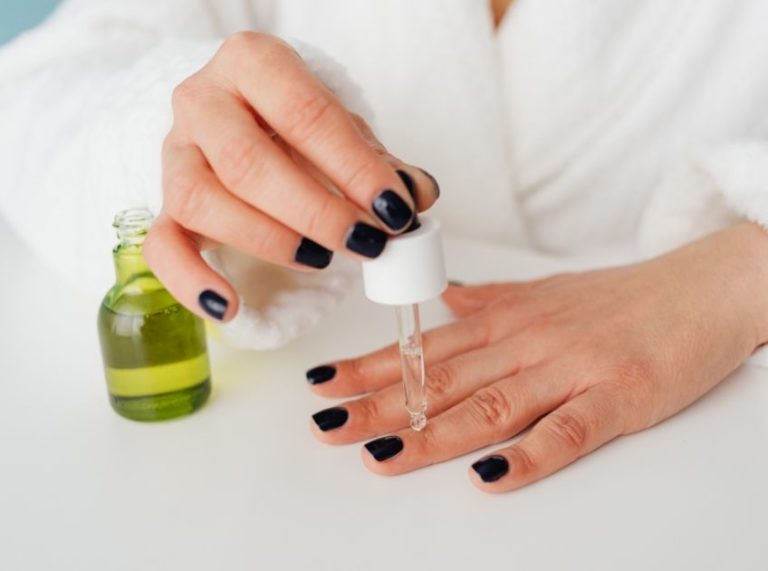
Step 2: Apply Petroleum Jelly or Cuticle Oil Around Nails
Acetone is very drying, so it’s important to protect your surrounding skin.
- Apply a thin layer of petroleum jelly or cuticle oil on the skin around your nails and fingertips.
- This acts as a moisture barrier to prevent redness, irritation, or dryness during the soaking process.
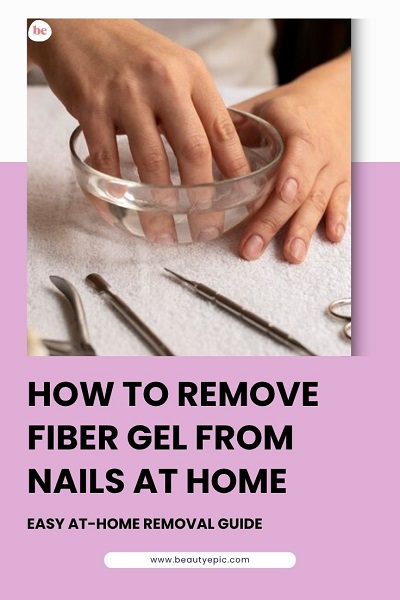
Step 3: Soak Cotton Pads with Acetone
Now it’s time to prepare your acetone wraps.
- Cut cotton pads or balls into small pieces, large enough to cover your nails.
- Soak each piece thoroughly with 100% pure acetone.
- Place a soaked pad directly on each fingernail.
Step 4: Wrap Fingers in Foil or Use Nail Clips
This step traps heat and helps acetone work more effectively.
- Wrap a small piece of aluminum foil over each fingertip to hold the cotton in place.
- Alternatively, you can use nail clips designed specifically for acetone soaking.
- Leave the wraps on for 25–30 minutes.
Pro Tip: For extra effectiveness, wrap your hands in a warm towel while waiting. The warmth helps soften the gel faster.
Step 5: Check and Gently Push Off the Gel
After 25–30 minutes, check one nail to see if the gel is lifting.
- If softened, use a cuticle pusher or an orangewood stick to gently scrape off the loosened fiber gel.
- Do not force any gel that is still hard—this can peel and damage your natural nail.
- If needed, rewrap the nail and wait another 5–10 minutes before trying again.
Step 6: Buff Away Any Remaining Residue
Once most of the fiber gel is removed:
- Use a soft buffer block to smooth the nail surface.
- Gently buff away thin remaining layers of gel, if any.
- Avoid aggressive buffing—light pressure is enough to polish and even out the nail bed.
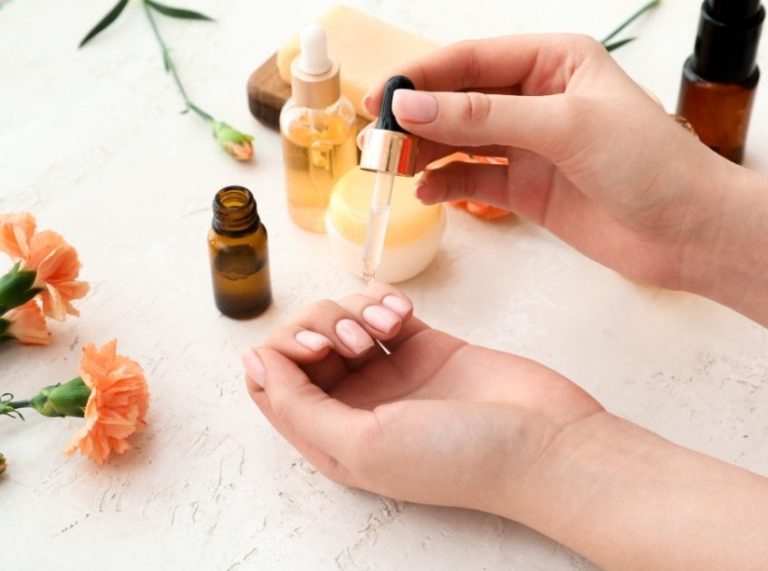
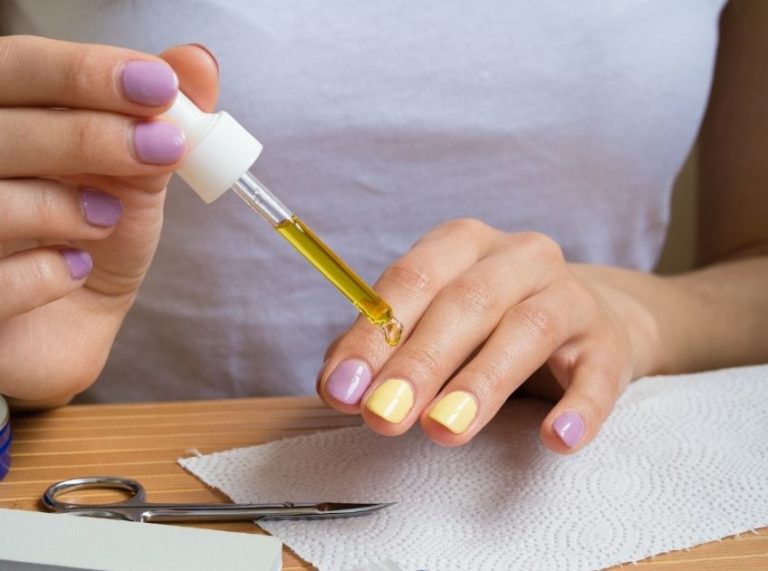
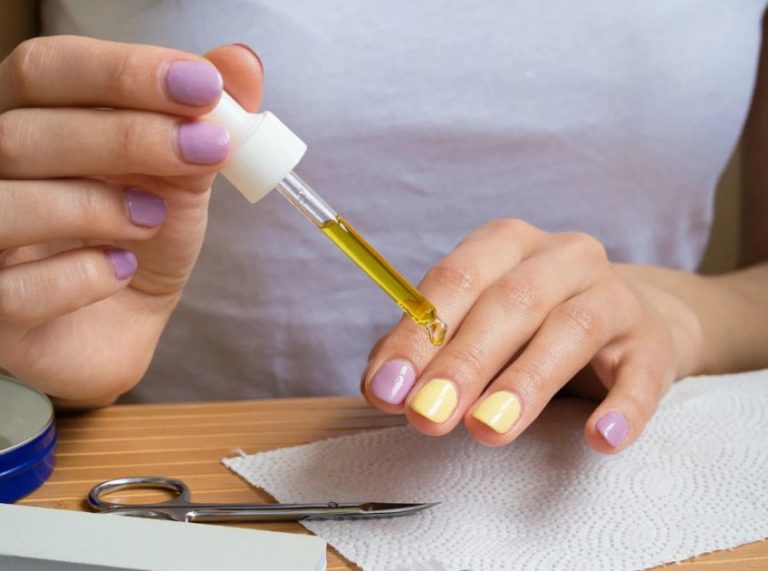
Step 7: Hydrate and Nourish Your Nails
After exposure to acetone, your nails and skin will need moisture.
- Massage cuticle oil into your nail beds and surrounding skin.
- Apply a hydrating hand cream or nail strengthener to restore softness.
- For the next few days, continue applying cuticle oil and moisturizer daily.
Bonus Tip: Avoid applying new enhancements immediately. Give your nails at least a few days to recover naturally.
Frequently Asked Questions (FAQ’S)
Q1. Can I remove fiber gel without acetone?
A. Technically, no. Fiber gel is too strong for non-acetone removers. Acetone is needed to soften the gel for safe removal.
Q2. How long should I soak my nails in acetone?
A. Typically, 20–30 minutes is sufficient. For thicker applications, a second soak may be needed.
Q3. Will my nails feel weak after removing fiber gel?
A. Some softness or dryness is normal right after removal. Consistent use of cuticle oil and nail strengtheners can help your nails bounce back quickly.
Safely Remove, Gently Restore
Removing fiber gel nails at home doesn’t require salon appointments or expensive tools—just the right steps and a little patience. By protecting your natural nails and nourishing them afterward, you’ll keep your fingertips looking fresh and healthy in between sets. Whether you’re transitioning to a new look or taking a nail break, this guide ensures you do it damage-free and like a pro.