Important: This article is for informational purposes only. Please read our full disclaimer for more details.
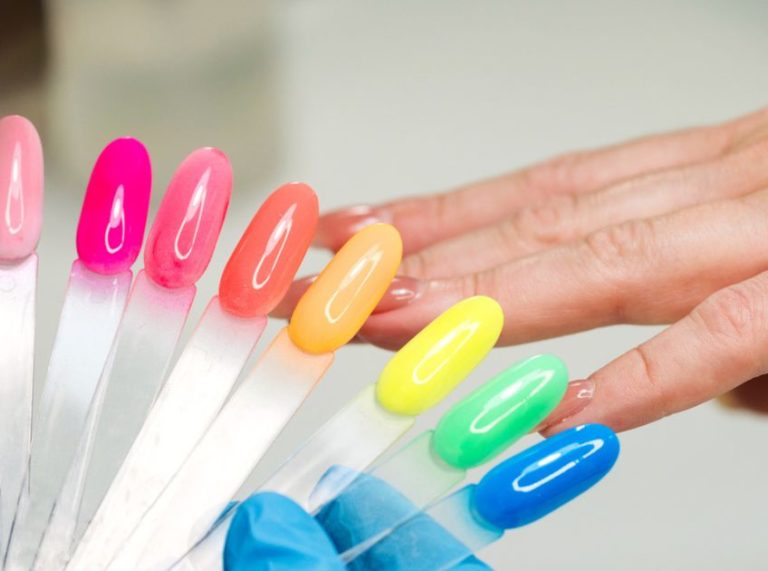
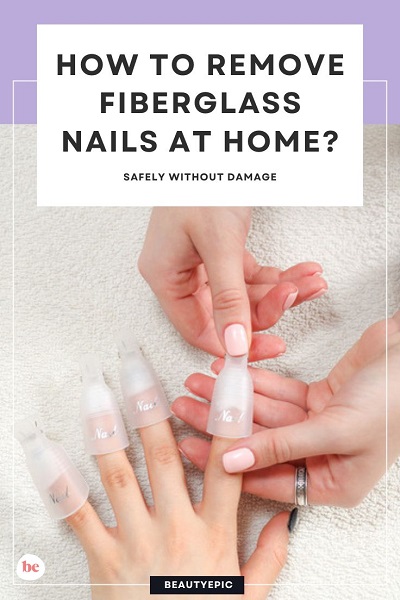
Fiberglass nails are a strong, lightweight alternative to acrylics, offering durability without the bulk. But when it’s time to remove them, many rush to salons or attempt harsh at-home methods that can harm the natural nail. If you want a safe, effective, and expert-backed way to remove fiberglass nails at home, this guide is your go-to resource.
In this post, we’ll walk you through everything you need—from prep to aftercare—so your nails stay healthy and happy post-removal.
What You’ll Need Before You Start
Before diving into the removal process, gather the following tools to ensure a smooth and safe experience:
- Nail clippers (for trimming excess length) (Buy Here)
- Coarse and fine nail files (100/180 grit) (Buy Here)
- Pure acetone (100%) (Buy Here)
- Cotton balls or pads
- Aluminum foil (or nail clips) (Buy Here)
- Cuticle pusher or orangewood stick (Buy Here)
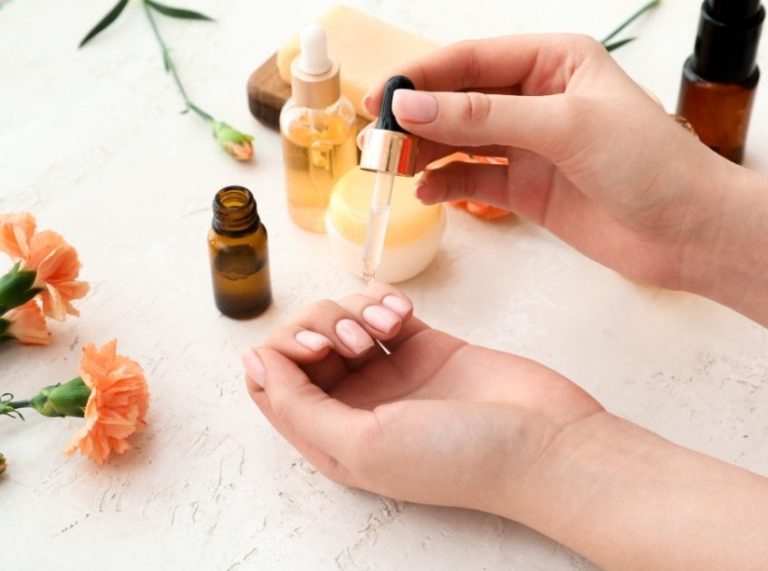
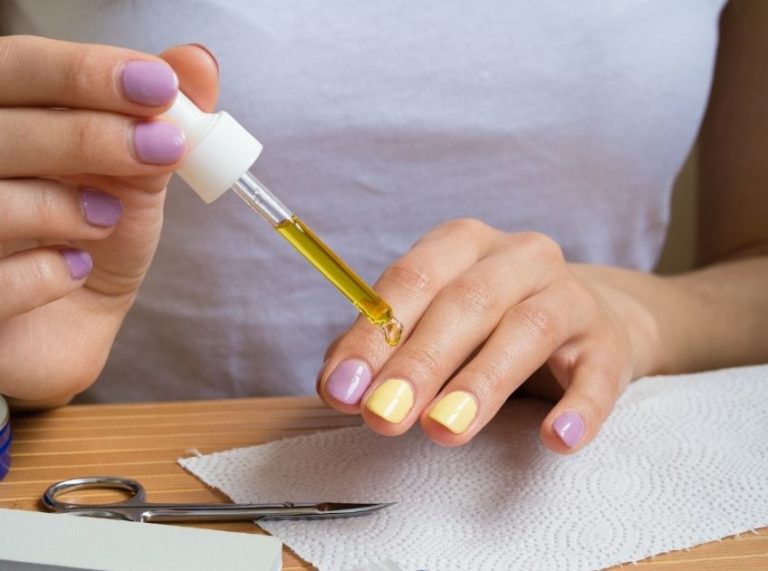
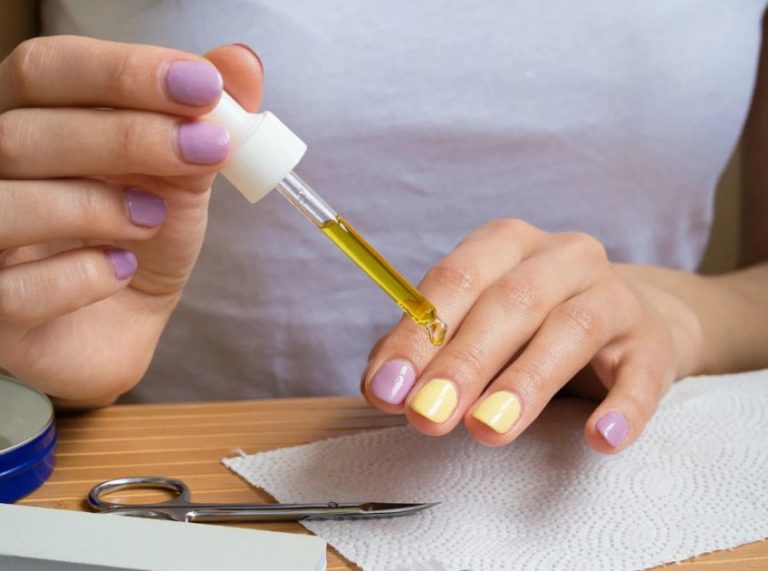
- Cuticle oil or petroleum jelly (Buy Here)
- Nail buffer (Buy Here)
- Nourishing hand cream or lotion (Buy Here)
- Optional: a bowl for soaking (if not using foil method)
Step-by-Step Guide to Remove Fiberglass Nails at Home
Step 1: Trim the Fiberglass Nail Extensions
Why it matters:
Longer nails hold more product, making removal slower. Trimming reduces the bulk and speeds up the process.
What to do:
- Use nail clippers to trim down the extensions as close to your natural nail as possible.
- Be careful not to clip into the natural nail or cause cracks in the fiberglass that could lead to splitting.
Pro Tip: Clip straight across, then round off the edges to prevent snags.
Step 2: File Down the Top Layers
Why it matters:
Fiberglass nails are sealed with resin or gel. Filing off the topcoat breaks that seal so that acetone can penetrate more effectively.
What to do:
- Use a coarse grit nail file (100 grit) to file the surface of the nail.
- Remove the shine and most of the gel or topcoat layer.
- File in one direction to avoid excessive heat or damage to the natural nail.
Pro Tip: Focus more on the middle and tip of the nail where the product is thickest.
Step 3: Protect the Skin Around Your Nails
Why it matters:
Acetone is very drying. Applying a barrier helps protect your skin and cuticles.
What to do:
- Rub a generous amount of petroleum jelly or cuticle oil around each nail bed and fingertip.
- Avoid getting it directly on the nail itself, as this could reduce acetone effectiveness.
Pro Tip: If you have sensitive skin, wear latex gloves with the fingertips cut off to protect your hands during soaking.
Step 4: Soak the Nails in Acetone
Why it matters:
Acetone softens the resin and fiberglass, making it easy to lift away without force.
Two methods:
Option A: Foil Wrap Method
- Soak a cotton ball in 100% acetone.
- Place it directly on the nail.
- Wrap tightly with a small piece of aluminum foil.
- Repeat on all fingers and let sit for 20–30 minutes.
Option B: Soak Bowl Method
- Pour warm (not hot) acetone into a glass or ceramic bowl.
- Soak your fingertips for 15–20 minutes.
- Optional: Place the bowl inside another bowl with warm water to keep the acetone warm.
Pro Tip: Keep your hands warm using a towel wrap to speed up the soak.
Step 5: Gently Push Off the Fiberglass
Why it matters:
Forcing off the product can peel or split your natural nails. Patience is key.
What to do:
- After soaking, remove foil or fingers from the bowl.
- Use a cuticle pusher or an orangewood stick to gently scrape away the softened resin and fiberglass.
- If the product resists, re-wrap or re-soak for another 5–10 minutes.
Pro Tip: Work one hand at a time to ensure the acetone stays effective and the product stays soft.
Step 6: Buff the Nail Surface Smooth
Why it matters:
Post-removal, some product may remain, and the nail surface may feel rough.
What to do:
- Use a fine-grit buffer (240 grit or higher) to smooth out the nail plate.
- Buff gently to avoid thinning your natural nails.
- Focus on evenness, not perfection—avoid over-buffing.
Pro Tip: Always follow the curve of your natural nail when buffing.
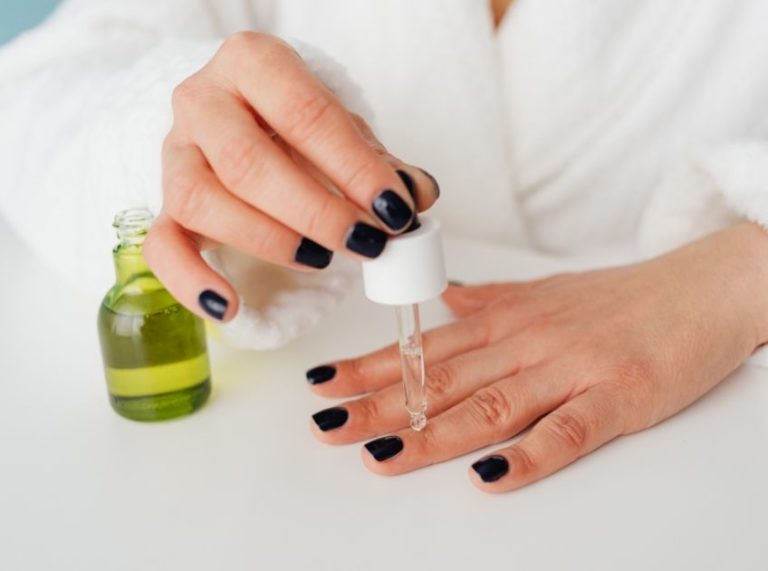
Step 7: Hydrate and Nourish
Why it matters:
Acetone strips moisture from nails and skin. Rehydrating helps prevent breakage and peeling.
What to do:
- Apply cuticle oil to each nail and massage it in.
- Follow with a deep hand cream or moisturizer.
- Continue applying cuticle oil daily for the next week to aid recovery.
Pro Tip: Use products with jojoba oil, vitamin E, or biotin to accelerate nail repair.
Frequently Asked Questions (FAQ’S)
1. Can I use regular nail polish remover instead of acetone?
A. No. Regular polish removers lack the strength to dissolve the resin and fiberglass layers. Always use 100% acetone for effective removal.
2. How long does it take to fully remove fiberglass nails at home?
A. It typically takes 30 to 45 minutes, depending on how thick the resin is. If nails were heavily built up, it might take longer or require a second soak.
3. Will my natural nails be damaged after removal?
A. If removed gently and with proper aftercare, your natural nails will remain healthy. Avoid forceful scraping, and always hydrate afterward to maintain nail strength.
Removing fiberglass nails at home doesn’t have to be a nightmare. With the right tools, a gentle touch, and a little patience, you can safely say goodbye to your extensions without risking nail damage. Always follow up with hydration and care—your natural nails will thank you!