Important: This article is for informational purposes only. Please read our full disclaimer for more details.
Polygel nails offer the strength of acrylics and the flexibility of gels—but when it’s time to take them off, a salon visit isn’t your only option. You can safely and effectively remove polygel nails at home using acetone. This expert-backed guide walks you through each step to preserve your natural nails while saying goodbye to your manicure.
What You’ll Need Before You Start
Gather these essentials before starting the removal process:
- Nail clippers (Buy Here)
- Nail file (medium and fine grit) (Buy Here)
- 100% pure acetone (Buy Here)
- Cotton balls or pads
- Aluminum foil (or reusable nail clips) (Buy Here)
- Cuticle pusher or orangewood stick (Buy Here)
- Nail buffer (Buy Here)
- Cuticle oil or moisturizing hand cream (Buy Here)
- Optional: Bowl, warm towel, or heating pad for faster soaking
Step-by-Step Guide: How to Remove Polygel Nails at Home with Acetone
Step 1: Trim the Polygel Extensions
Before starting the removal process, begin by trimming the extended part of the polygel nails.
- Use a straight-edge nail clipper to cut off the length of the extension carefully.
- Clip as close to your natural nail as possible, but don’t clip too close—you want to avoid hurting or cracking the natural nail.
- Trimming down the length helps reduce the soaking time and makes the removal more manageable.
Step 2: File Down the Surface Layer
Polygel nails are sealed with a strong top coat, which needs to be filed off before acetone can penetrate.
- Take a medium-grit nail file (around 100/180 grit) and gently file the top layer of the polygel.
- Focus on removing the shiny top coat and thinning down the bulk of the gel.
- Use even, single-direction strokes rather than sawing back and forth to avoid friction heat.
- This step is essential—if the top layer is intact, acetone won’t soak in properly.
Pro Tip: Wear a face mask while filing to avoid inhaling dust.
Step 3: Protect the Skin Around Your Nails
Since acetone can be harsh and drying, it’s wise to prep the skin before applying it.
- Apply a thin layer of petroleum jelly or cuticle oil around the nail bed and cuticles.
- This acts as a barrier, helping to prevent dryness, redness, or irritation caused by the acetone.
Step 4: Soak Cotton Balls in Pure Acetone
Now, it’s time to bring in the acetone.
- Use 100% pure acetone for best results (available at beauty supply stores or online).
- Soak small cotton balls or pads in the acetone until fully saturated.
Avoid using regular nail polish remover—it doesn’t contain enough acetone to break down polygel effectively.
Step 5: Wrap the Nails
Each nail needs to be sealed to allow the acetone to work effectively.
- Place the soaked cotton ball directly on your nail.
- Wrap each fingertip in a small square of aluminum foil to hold the cotton in place and trap heat.
- Alternatively, you can use reusable nail clips for convenience and eco-friendliness.
Let the nails soak for 15 to 25 minutes.
Optional: Wrap your hands in a warm towel or place them on a heating pad to speed up the soaking process.
Step 6: Gently Push Off the Softened Polygel
Once the soaking time is up, remove the foil wraps one at a time.
- Use a cuticle pusher or an orangewood stick to gently push off the polygel.
- Start from the cuticle area and push outward toward the tip.
- If the gel is not lifting easily, don’t force it. Re-soak that nail for another 5–10 minutes.
Tip: Be gentle—scraping or pulling can damage your nail plate.
Step 7: Buff and Smooth Your Natural Nails
After all the polygel has been removed:
- Use a fine-grit buffer to lightly smooth the surface of each nail.
- Buff in circular motions to eliminate any leftover gel residue and refine the nail shape.
- Don’t over-buff—this can weaken your nails.
Step 8: Moisturize and Nourish Your Nails
Acetone is effective but very drying. Rehydrating your nails and skin is crucial.
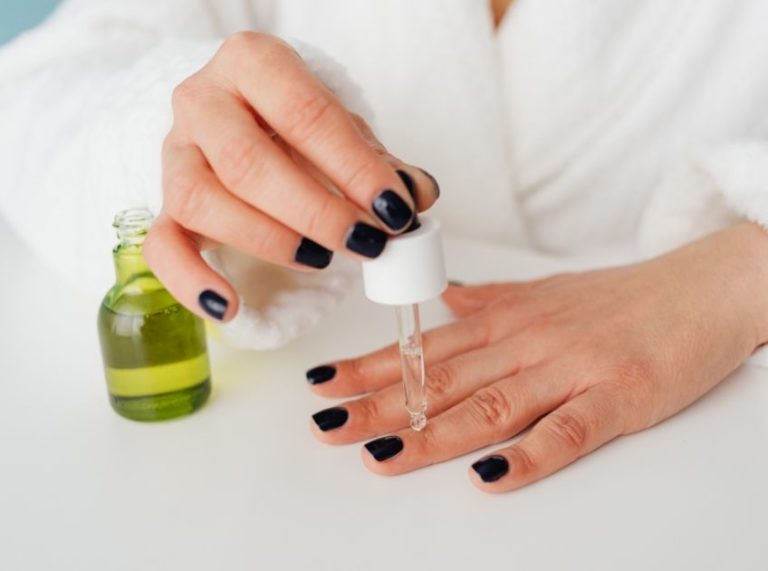
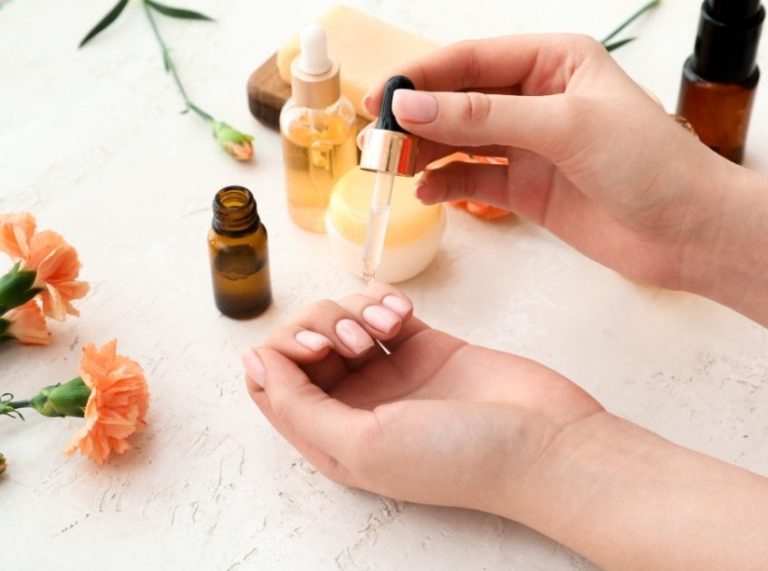
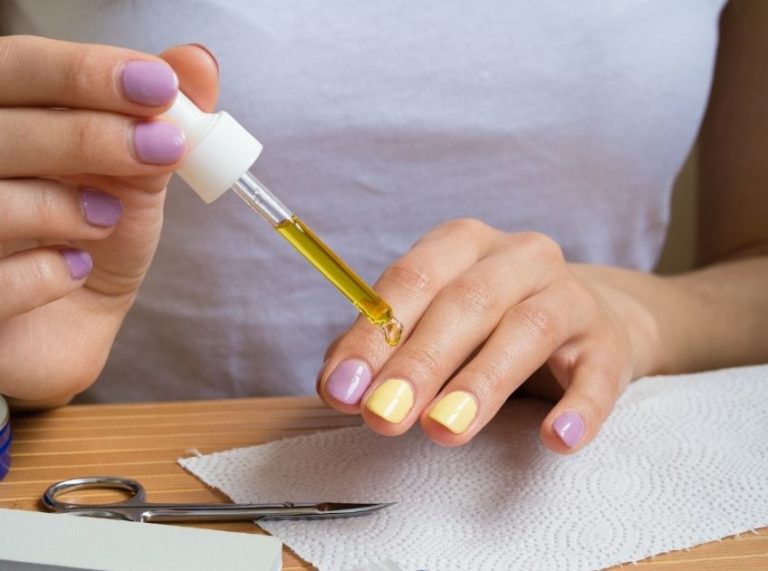
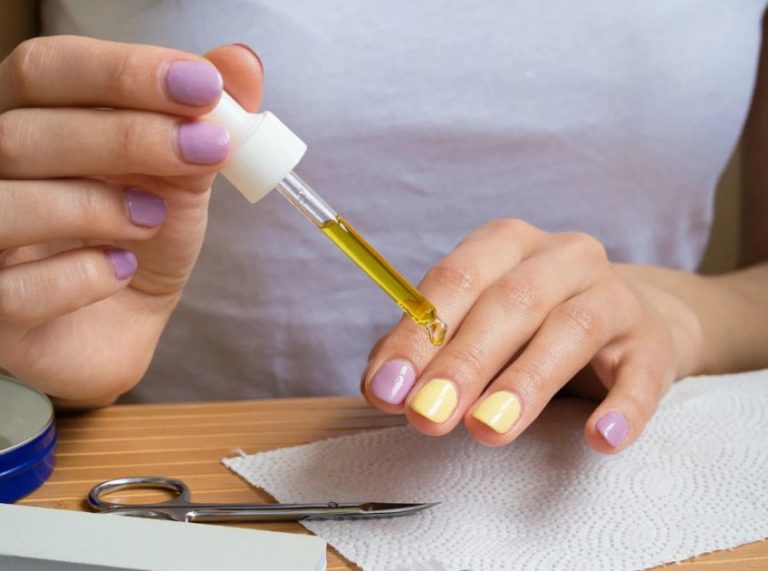
- Apply cuticle oil generously around each nail to restore moisture.
- Follow with a thick, nourishing hand cream or lotion.
- Massage the oil and lotion into improve circulation and encourage healthy nail regrowth.
Repeat the hydration routine daily for the next week to fully repair any dryness or sensitivity.
Frequently Asked Questions (FAQ’S)
1. Is acetone safe for natural nails?
A. Yes, acetone is generally safe when used occasionally, but it can be drying. Always moisturize after use and avoid frequent exposure.
2. Can I use acetone with nail clips instead of foil?
A. Absolutely. Nail clips are reusable, easy to apply, and less messy than foil, making them a great alternative for DIY nail removal.
3. What if the polygel won’t come off after soaking?
A. If it doesn’t lift easily, re-soak for another 5–10 minutes. Avoid scraping or prying as it can damage your nail plate.
Final Thoughts: Your Nails Deserve Gentle Care
Removing polygel nails with acetone at home is simple with the right tools, a bit of patience, and a gentle touch. By following this step-by-step method, you’ll keep your natural nails healthy and ready for your next look, whether you go bare or dive into a new set of nail art.