Important: This article is for informational purposes only. Please read our full disclaimer for more details.
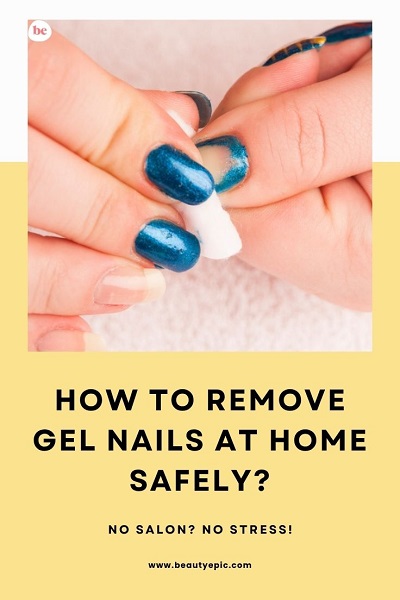
Gel nails look amazing and last longer than regular polish, but what happens when it’s time to remove them and you can’t get to the salon? Picking or peeling them off is tempting, but can seriously damage your natural nails. The good news? You can remove gel nails safely at home with the right method and a little patience.
This step-by-step guide will walk you through everything you need to know to remove gel nails without compromising your nail health.
Things You’ll Need: Your At-Home Removal Kit
Gather the following items before you start:
- Nail file (preferably 180-grit) (Buy Here)
- Pure acetone (not regular polish remover) (Buy Here)
- Cotton balls or pads
- Aluminum foil (cut into 10 small squares) (Buy Here)
- Cuticle pusher or orangewood stick (Buy Here)
- Nail buffer (Buy Here)
- Cuticle oil (Buy Here)
- Hand cream (Buy Here)
Optional but helpful: a nail clipper, warm towel, or steaming bowl to speed up the soaking process.
Step-by-Step Guide to Safely Remove Gel Nails at Home
Summary of Steps:
- File down the shiny top coat
- Soak cotton balls in pure acetone
- Wrap each nail with foil and soak for 15–20 minutes
- Gently push off the softened gel
- Buff and cleanse your nails
- Moisturize with cuticle oil and cream
Step 1: Clip and File Down the Gel Polish
Start by trimming your nails slightly if they’re long. Then, using a 180-grit nail file, gently file off the top shiny layer of your gel polish.
- Why: The glossy top coat is designed to resist normal polish removers. Filing it off allows acetone to penetrate more deeply and quickly.
- How to do it: Use gentle, even strokes and avoid over-filing. Stop once the nails look matte and dull.
- Expert Tip: File in one direction instead of a back-and-forth sawing motion to prevent damage to your natural nail.
Step 2: Soak Cotton Balls in Pure Acetone
Cut 10 small pieces of cotton balls or cotton pads and soak them in 100% pure acetone.
- Why: Pure acetone is strong enough to break down gel polish layers. Regular nail polish remover often isn’t effective.
- Pro Tip: Warm up the acetone slightly (by placing the bottle in a bowl of warm water—never microwave!) to enhance effectiveness.
Step 3: Wrap Each Nail with Foil
Place the soaked cotton onto your nails and wrap each fingertip with a small square of aluminum foil.
- Why: The foil traps heat and acetone against your nail, which speeds up the gel breakdown process.
- How long to wait: Let the wraps sit for 15–20 minutes. Keep your hands still during this time.
- Bonus Tip: For better results, wrap both hands at once and cover with a warm towel or use heated mittens to intensify the soak.
Step 4: Check and Gently Push Off Gel
After 15–20 minutes, test one nail. Use a cuticle pusher or an orangewood stick to gently push off the softened gel.
- How to do it: Start from the base of your nail and push toward the tip using light pressure.
- What if it resists? If the gel doesn’t come off easily, rewrap that nail for another 5–10 minutes and try again.
- Caution: Never force or scrape the gel harshly—it can damage your natural nail bed.
Step 5: Buff and Clean the Nail Surface
Once all the gel is removed, use a fine-grit buffer to lightly smooth your nail surface.
- Purpose: This helps remove any leftover residue and evens out the nail.
- Optional: Use a nail cleanser or rubbing alcohol on a lint-free pad to remove any oily or sticky residue left behind.
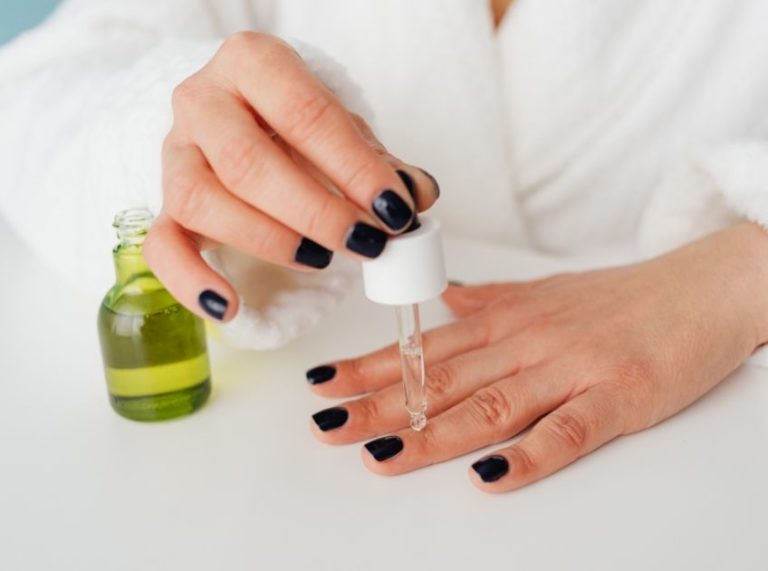
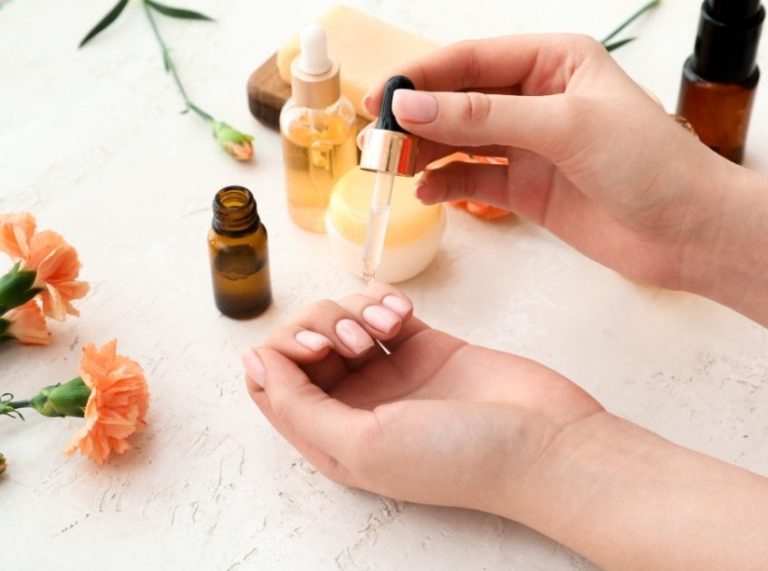
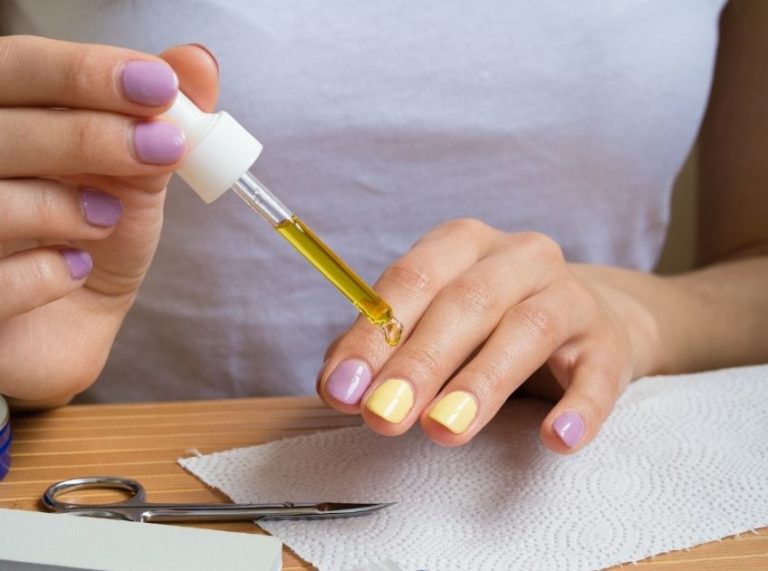
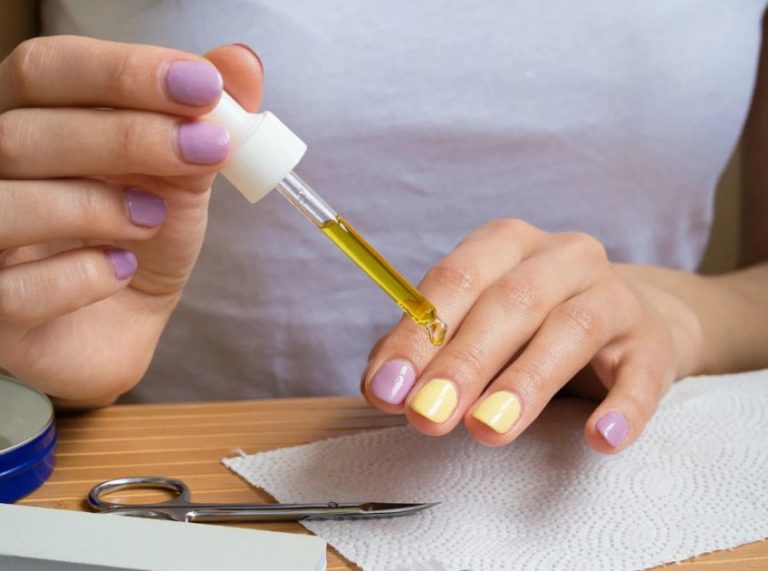
Step 6: Rehydrate with Cuticle Oil and Hand Cream
Finish your gel removal routine by massaging cuticle oil into your nail beds and applying a rich hand cream.
- Why it matters: Acetone can be very drying. Rehydrating helps restore your nail and skin barrier.
- Expert Tip: Do this step daily for at least a week post-removal to strengthen and nourish your nails.
Frequently Asked Questions (FAQ’S)
1. Can I remove gel nails without acetone?
A. Yes, but it’s much slower. Non-acetone methods (like soaking in warm water and oil) require multiple sessions and won’t fully break down professional-grade gel. Acetone is still the most effective method when used safely.
2. Is it okay to peel off my gel nails?
A. Not. Peeling off gel pulls layers of your natural nail with it, leading to weak, brittle, and even painful nails. Always soak and soften first.
3. How long should I wait before applying gel again?
A. Wait at least 7–10 days before reapplying gel polish to allow your nails to recover. In the meantime, use a nail strengthener and moisturize daily.
Treat Your Nails with Care
Removing gel nails at home doesn’t have to be stressful or damaging, as long as you follow a safe, methodical process. Acetone, when used correctly, is a reliable way to remove gel polish without harming your natural nails. Add in some post-removal TLC with cuticle oil and hand cream, and your nails will be back in top shape in no time.
If you’re planning to do gels again, make sure to give your nails a break and show them some love in between. Happy soaking!