Important: This article is for informational purposes only. Please read our full disclaimer for more details.
Coffin nails—also known as ballerina nails—are a timeless and sleek shape that gives your hands an elongated, elegant appearance. Whether you’re working with natural nails or extensions, getting that sharp, tapered shape can make all the difference in the final result. This guide walks you through the exact process to shape flawless coffin nails, just like a pro nail technician would.
Article Contains
Things You Need
Before you start shaping your coffin nails, make sure you have the right tools on hand:
- Nail scissors or nail clippers (Buy Here)
- 80/100 grit hand file (Buy Here)
- Buffer block (Buy Here)
- Cuticle pusher (Buy Here)
- Carbide bit and electric file (optional but recommended for acrylics) (Buy Here)
- Acrylic brush (#8 or #14 if encapsulating) (Buy Here)
- Cleanser: 99% alcohol and/or pure acetone (Buy Here)
- Gel top coat (Buy Here)
Step-by-Step Guide to Shape Coffin Nails
1. Start with Prepped and Trimmed Nails
Before you begin shaping, ensure your nails are properly prepped:
- Remove any old polish or gel
- Push back and trim the cuticles
- Trim the nail tip to your desired length (coffin nails look best when they’re medium to long)
Then, using nail scissors, clip both sides of the nail at a diagonal angle. This will help you create the tapered effect typical of coffin nails. Don’t worry about being perfect here—the file will do the precision work.
Pro Tip: The initial trimming is just to remove bulk. Precision comes later with filing.
2. Create the Coffin Shape with a Hand File
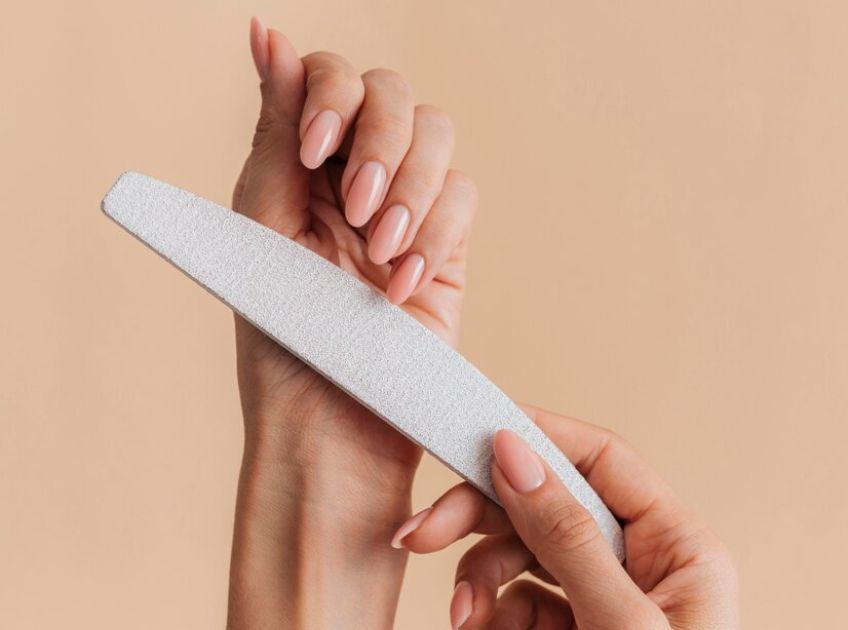
Use an 80/100 grit nail file and begin shaping both sides of the nail into a straight, tapered line. The goal is to create a sharp, clean edge that narrows slightly toward the tip but ends with a flat edge, not a point.
Steps:
- Hold the file at a slight angle
- File the sidewalls in straight strokes
- Do not curve your strokes inward or downward—this results in an almond or rounded shape
- Flatten the tip across to create that distinct coffin edge
Important: Avoid over-filing the tip. You want the end to stay flat and sharp.
3. Perfect the Shape Before Acrylic Application (Optional)
If you’re applying acrylics or builder gel, it’s helpful to get your shape as close to perfect as possible before product application. This helps guide your brush and keeps your structure consistent.
Steps:
- Check the angles on each side
- Make sure both sides are symmetrical
- Confirm the tip is flat and straight
Pro Tip: This step saves time on filing after acrylic application.
4. Apply Acrylic or Gel Extensions (If Needed)
For those enhancing with acrylics, now is the time to apply them. Many coffin nails feature ombre or baby boomer styles, which blend colors for a soft, modern look.
What to Use:
- Use a #8 acrylic brush for color
- Use a #14 brush if encapsulating glitter or designs
Let the acrylic fully cure before continuing to file.
5. Refine the Shape with an E-File
Once the acrylic is hardened, it’s time to define and smooth your coffin shape using a carbide bit with your electric file (e-file). Use a C-motion technique to maintain a natural arch and smooth apex.
C-Motion Areas:
- Tip of the bit: Cuticle area and edges
- Middle of the bit: Apex or high point of the nail
- End of the bit: Free edge (the part that extends beyond the fingertip)
Pro Tip: Applying consistent pressure and following this curved motion results in a balanced and elegant nail.
6. Fine-Tune with a Hand File
After e-filing, go back in with your hand file for finishing touches. This step ensures both sidewalls are even and the tip is perfectly straight.
Finishing Tips:
- Hold the hand file vertically to sharpen the side edges
- Check your work from multiple angles
- Flip your hand over and view the underside of the nail—this helps you spot and fix asymmetries.
Pro Tip: This is a secret trick pros use to ensure coffin nails aren’t crooked or uneven.
7. Cleanse and Top Coat
Once you’re happy with the shape, finish by cleaning and sealing the nail:
Steps:
- Dust off the nail using a soft brush
- Clean the nail thoroughly with 99% alcohol or acetone to remove oils and debris
- Apply a gel top coat for shine and protection
- Cure under a UV/LED lamp (if using gel top coat)
Frequently Asked Questions (FAQ’S)
Q1. Can I shape coffin nails on natural nails?
A. Yes, but natural nails must be strong and long enough to hold the flat tip. For shorter nails, extensions or acrylics may be necessary.
Q2. How do I prevent my coffin nails from looking too round?
A. Make sure to file at a consistent angle and avoid curving the sides in too much. The shape should gradually taper to a squared-off tip, not a pointed one.
Q3. What’s the best way to fix uneven coffin nails?
A. Flip your hand over and look at the underside. This gives a clearer view of asymmetries. Use a hand file to make small adjustments rather than over-filing from the top.
Master the Shape, Elevate Your Style
Shaping coffin nails takes patience and precision, but once you get the hang of the angles and filing technique, the results are stunning. Whether you’re going for a classic nude or a bold ombre look, the coffin shape adds a touch of drama and elegance to any manicure. With the right tools and a step-by-step approach, you can confidently create salon-worthy coffin nails at home.


