Important: This article is for informational purposes only. Please read our full disclaimer for more details.
Stiletto nails are bold, stylish, and scream confidence. But let’s be real—they also look like a salon-only achievement. Good news? You can shape stunning stiletto nails from home. Whether you’re new to nail shaping or ready to upgrade from squoval, this guide walks you through every step of creating sharp, sleek stilettos that turn heads.
Step 1: Prep Like a Pro
Before you grab the nail tips and files, prepping the natural nail is essential.
- Push back your cuticles gently using a cuticle pusher or wooden stick. This opens up the nail bed for more surface space and cleaner application.
- Buff away the shine from your natural nails using a fine-grit buffer. This helps tips adhere better and prevents lifting.
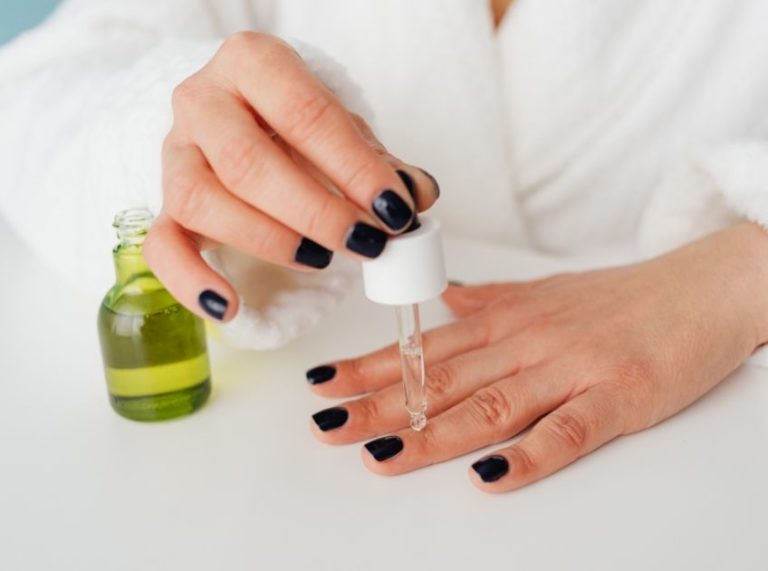
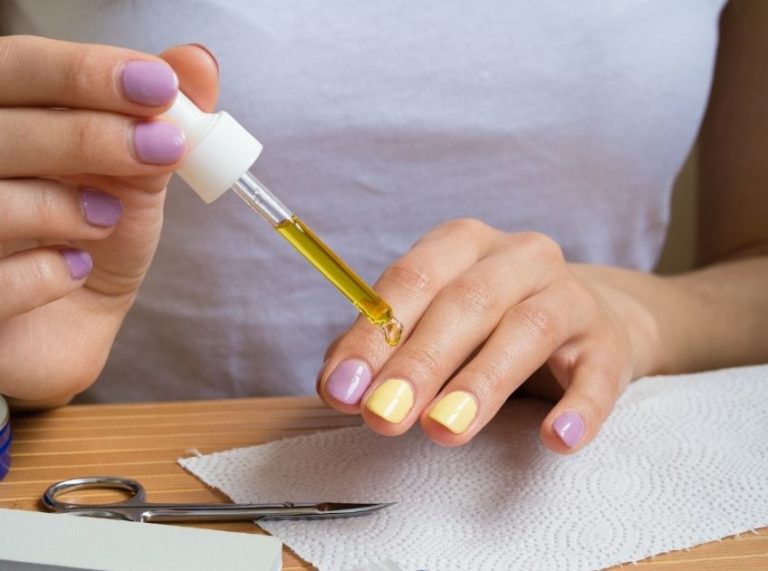
- Clean the nail surface with rubbing alcohol or acetone to remove oils and dust.
Prep ensures your base is clean, smooth, and ready for sculpting.
Step 2: Tip Talk – Apply & Choose Your Length Wisely
Stiletto nails are all about the drama, and that starts with length. Here’s what to consider:
- Apply your artificial tips securely using nail glue. Make sure they’re centered and press down to avoid air bubbles.
- Pick a longer length if you’re going for maximum impact. Longer nails make the stiletto shape more pronounced and elegant.
Pro tip: Always double-check that the tips are even before trimming.
Step 3: The Snip Strategy – Trim to Shape
Now comes the part where your nails start looking like stilettos.
- Visualize a center line down the middle of the nail.
- Using sharp scissors or nail clippers, cut diagonally from each side toward that imaginary center, creating a soft triangle.
- Repeat on the other side, making sure both angles are even.
This step reduces bulk and saves tons of time on filing. Trust the geometry!
Step 4: File Like a Nail Artist
Filing is where the real shaping magic happens. Get it wrong and you’ll have uneven edges. Get it right and your nails will slay.
- Use a 100/180 grit hand file and start shaping from one side wall to the tip, then switch sides.
- Keep your strokes consistent and controlled. Don’t saw back and forth—this weakens the nail.
- Check your work from all angles, especially from your point of view and the client’s perspective (if you’re working on someone else).
- Clear out dust or residue underneath the nail, which can create visual illusions of uneven shaping.
Stay patient and precise—stiletto nails are a statement, not a rush job.
Step 5: Shape Check – Don’t Skip This Final Review
Even pros step back to assess their shape.
- Turn the hand palm-up and view the nails from underneath. This helps you catch any asymmetry.
- Look down the barrel of the nail to see if the tip points straight.
- Use a clean file to do finishing touches and smooth the edges.
Remember: One over-filed side can ruin the stiletto symmetry. Keep checking!
Common Mistakes to Avoid
- Filing too aggressively and damaging the nail bed
- Skipping cuticle prep, which leads to lifting
- Choosing a length too short to achieve the stiletto effect
- Using low-quality tips that crack during trimming
Frequently Asked Questions (FAQ’S)
1. Can I shape my natural nails into stilettos?
A. Yes, but only if they’re long and strong enough. Otherwise, artificial tips or overlays are better to prevent breakage.
2. What’s the best file for stiletto shaping?
A. A 100/180 grit file is perfect—coarse enough to remove material quickly, but gentle enough for precision.
3. How do I prevent breakage with stiletto nails?
A. Avoid using your nails as tools, apply a strengthening top coat, and always wear gloves while doing chores.
Final Touch: Fierce Nails Start with Good Technique.
Shaping the perfect stiletto nail at home is achievable with patience, prep, and precision. Don’t rush the process—every cut and file stroke builds toward that final, fierce look. Practice makes perfect, and soon, you’ll be serving sharp, show-stopping nails without ever stepping into a salon.