Important: This article is for informational purposes only. Please read our full disclaimer for more details.
Want that snatched, lifted look without going under the knife? With the right makeup placement and tools, you can create the illusion of a facelift using nothing but cosmetics. It’s all about using light, shadow, and structure to enhance your natural features. Here’s how to do it like a pro.
Article Contains
What You’ll Need for a Makeup Face-Lift
Before you start, gather the right products to sculpt, lift, and define your face.
Essentials
- Lightweight foundation or skin tint (Buy Here)
- Cream or powder blush (peach or rose tones work best) (Buy Here)
- Cool-toned contour stick or powder (Buy Here)
- Brightening concealer (Buy Here)
- Eyeliner (brown or black) (Buy Here)
- Volumizing mascara (Buy Here)
- Brow pencil or gel (Buy Here)
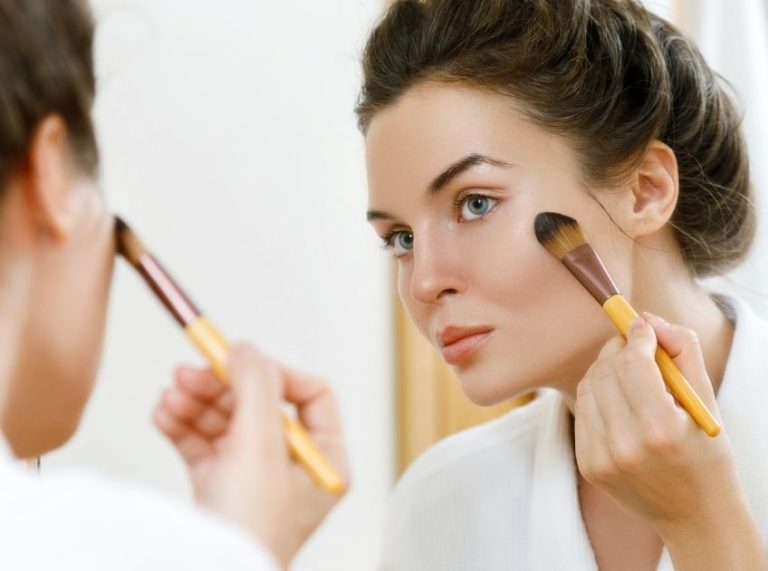
- Beauty sponge or blending brush (Buy Here)
Blush Placement: Your Secret Weapon for a Lift
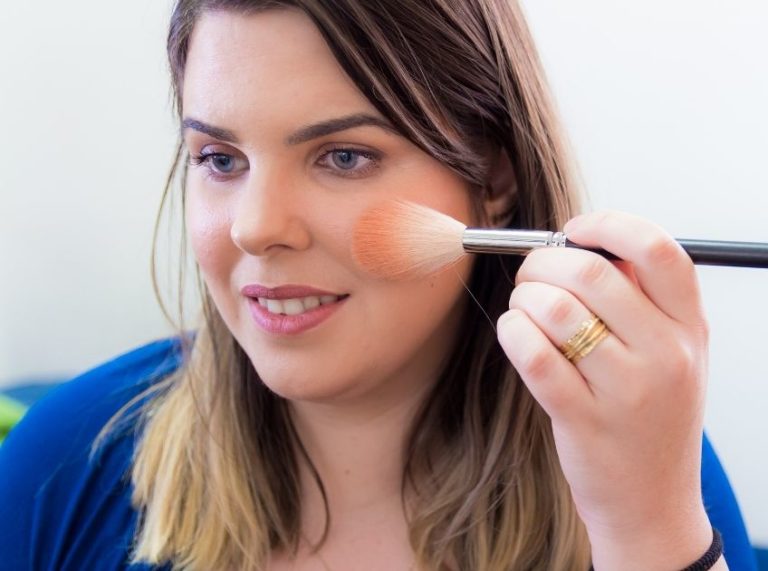
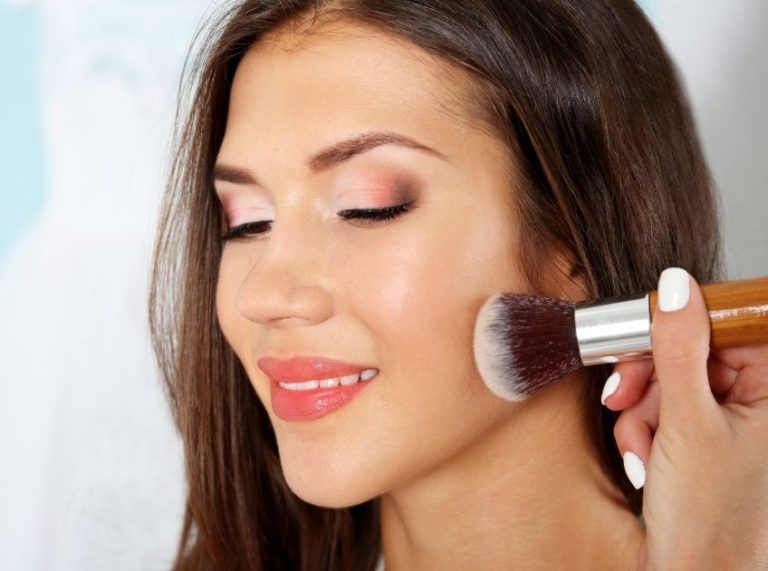
Traditional blush placement—right on the apples of the cheeks—can make the face appear rounder and heavier, especially when you smile. To fake a lifted look, think like a sculptor. Instead of applying blush low and center, apply it higher and angled.
How to Do It Right
- Smile gently, then locate the highest point of your cheekbones—not the apples.
- Using a cream or powder blush, begin application from the mid-cheek and blend diagonally upward toward the temples.
- Avoid bringing the blush too close to the nose, which can make the face appear flat.
Why It Works
This placement draws attention to the upper third of your face, visually pulling everything upward. It mimics the effect of a facelift without altering your natural bone structure.
Best Products
Use a satin or cream blush (like a stick or liquid formula) for better blending and a natural, skin-like finish. Shades like soft coral rose, and peach flatter most tones and add a healthy glow.
Pro Tip: Blend using a damp sponge or a duo-fiber brush for a seamless, diffused finish. Avoid shimmery blush if you have texture or fine lines in this area.
Blend Contour Up, Not Down
Contouring, when applied with a light hand and proper direction, can define your face while giving the illusion of lift and structure. But the key is placement—contouring too low or too heavily can have the opposite effect and make your features look weighed down.
How to Apply for a Lifted Look
- Use a cool-toned contour product (stick or powder) to mimic natural shadows.
- Start just under the cheekbone, about an inch from the corner of your mouth.
- Apply in a diagonal line heading toward the top of your ear, but do not extend it all the way—stop mid-cheek for the most natural look.
- Blend upward using a contour brush or damp sponge.
Contour Zones for a Face-Lift Effect
- Under Cheekbones: Defines a structure
- Jawline: Sharpens and tightens appearance
- Temples: Adds balance to lifted cheekbones
- Sides of the Nose: Slims and elongates
Avoid: Pulling contour too far down the cheeks or under the jaw, which can create a “sagging” look.
Pro Tip: Stick to matte finishes for contouring—shimmer can blur the sculpting effect.
Ditch the Heavy Under-Eye Concealer
One of the biggest makeup mistakes that add years to your face is applying a thick layer of concealer under the eyes. This can settle into fine lines and highlight puffiness instead of concealing it.
The Better Approach
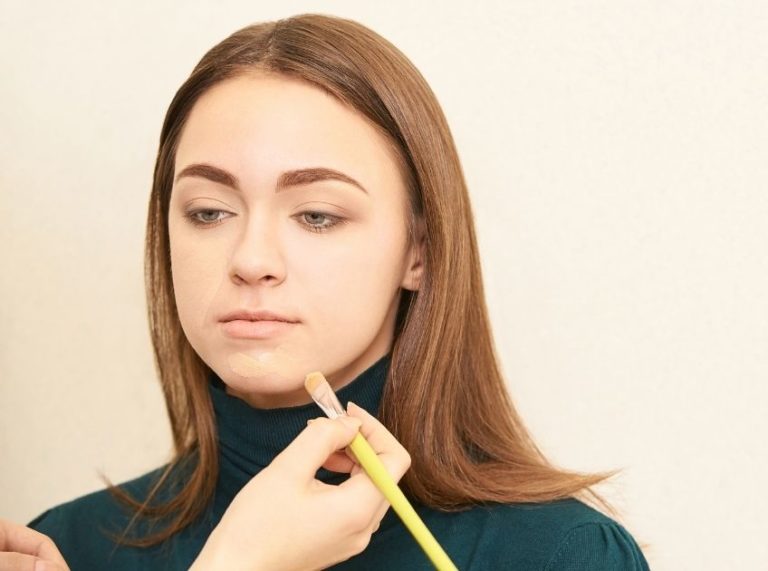
Use a lightweight, brightening concealer with a slightly peach or yellow undertone to cancel dark circles.
Apply a small dot only to the inner corner of the under-eye and one at the outer corner.
Blend using your ring finger or a damp sponge to keep the coverage light and seamless.
Why It Lifts
By only brightening the inner and outer corners, you bring light to those strategic points, creating the illusion of a lifted eye and cheekbone area without clicking on the product.
Pro Tip: Set lightly with a fine translucent powder only if needed. Over-powdering the area can enhance dryness and lines.
Go Light on the Forehead Contour
Contouring your forehead helps balance a high hairline or elongate a round face, but overdoing it can compress the appearance of your face, making it seem shorter or more closed off.
Minimalist Forehead Contour
- Apply a small amount of contour just along the outer edges near your hairline (especially near the temples).
- Blend thoroughly so no harsh lines remain.
- Avoid dragging contour too far down the forehead—it can close off your face and work against your lifting efforts.
Pro Tip: Focus instead on highlighting the center of your forehead to keep it open and fresh-looking.
Lift Your Eyes with Strategic Eyeliner
Thick, downward eyeliner can make eyes look tired and droopy. A modern eyeliner lift technique opens and elongates the eyes, making them appear more awake and youthful.
How to Master It
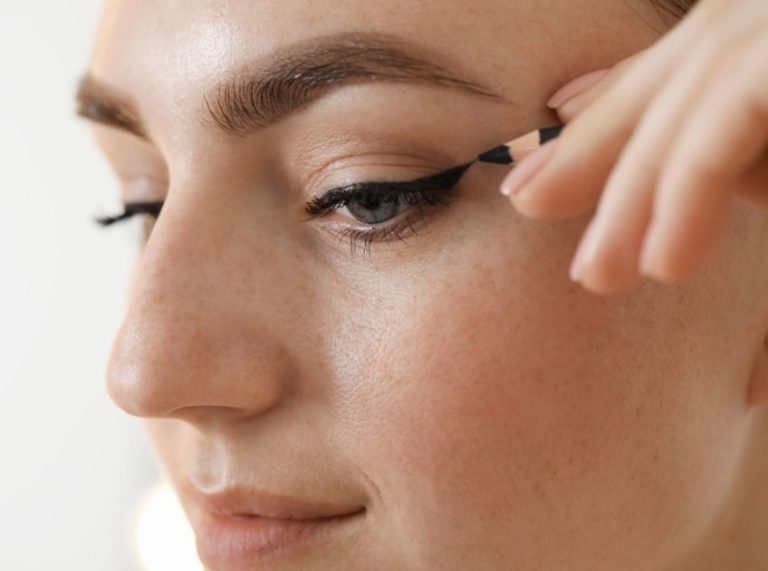
- Use a pencil or liquid liner and start lining only the outer third of your upper lash line.
- Angle the line slightly upward toward the tail of the brow to create a soft flick or mini wing.
- Skip the bottom lash line altogether, or only tight line with a nude pencil to keep eyes looking bigger.
Why This Works
This technique draws the eye outward and upward, giving a naturally lifted shape rather than closing off the eye with heavy liner.
Bonus Tip: Tightline the upper waterline using a black or dark brown pencil to add intensity without weight.
Focus Mascara on the Center Lashes
Most people apply mascara evenly across the entire lash line, but strategic application can change the perceived shape of your eyes.
Lifted Mascara Technique
- Curl your lashes thoroughly before applying mascara.
- Apply one coat across all lashes, but go back in and add a second coat to the center lashes—just above the pupil.
- Use a separating spoolie to fan them out and avoid clumps.
Why It Helps
Adding emphasis to the center of your eyes creates a wide, open, and elevated effect, which naturally draws attention upward and makes your gaze appear lifted.
Avoid: Over-coating outer lashes or using a clumpy formula that can weigh the lashes down.
Shape Brows with a Subtle Arch
Brows frame your face and have the power to change your entire expression. A lifted, lateral brow can elongate your eye area and give your face a fresher, more youthful appearance.
How to Shape for Lift
- Brush brow hairs upward and outward using a spoolie.
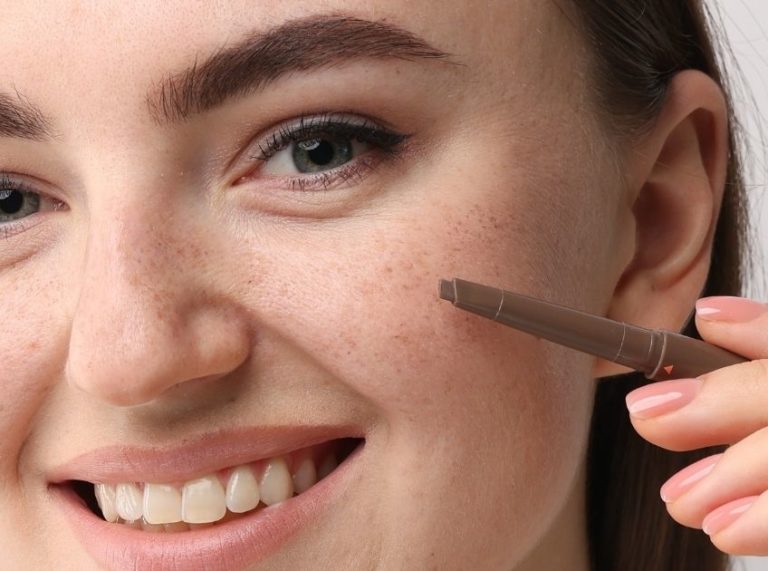
- Fill in sparse areas with a brow pencil or powder, keeping the arch soft but slightly elevated.
- Extend the tail of the brow slightly upward—avoid dragging it down, which can make the eyes look droopy.
- Set with a strong-hold brow gel to maintain lift throughout the day.
Pro Tip: Use a brow highlighter or light concealer just under the arch to further enhance the lifted look.
Frequently Asked Questions (FAQ’S)
Q1: Can I do this look with mature skin?
A. Absolutely. These techniques are especially effective for mature skin, as they create a natural, lifted appearance without exaggerating fine lines.
Q2: Should I use cream or powder products for a lifting effect?
A. Cream products tend to blend better and look more natural, especially on dry or mature skin. However, powders work well if you prefer a matte finish.
Q3: How long does this lifted makeup look last?
A. With proper prep and setting spray, this look can last all day. Use a primer and setting powder in areas prone to shine or creasing.
Final Thoughts: Your Makeup Can Do the Lifting
You don’t need injections or surgery to get that sculpted, youthful look. With just a few changes in placement and technique, your makeup can lift, define, and enhance your natural beauty. Practice these pro tips and see the transformation for yourself—no needles required.

