Important: This article is for informational purposes only. Please read our full disclaimer for more details.
Want to master a soft, romantic eye look that’s equal parts sultry and sophisticated? The rose gold smokey eye is your go-to. Whether you’re heading to a wedding, a date night, or just want to glow up for the day, this look flatters every skin tone and eye shape. Follow this expert-approved tutorial to achieve that flawless rose gold smokey eye with a stunning, luminous finish.
Article Contains
- Prep the Eyelids for a Smooth Base
- Build the Transition with Warm Neutrals
- Apply the Rose Gold Shade on the Lid
- Deepen the Outer Corners for a Smokey Finish
- Define the Lower Lash Line
- Highlight the Inner Corner and Brow Bone
- Line and Define
- Final Touch: Clean Up and Perfect
- Complete the Look: What Goes With Rose Gold Eyes?
Why Rose Gold is a Must-Try Shade
Rose gold combines warm pink and soft gold tones, making it universally flattering. It adds dimension without being too bold and gives your eyes a gentle sparkle that feels both feminine and modern. Perfect for both day and evening wear, it’s the ultimate soft-glam staple.
Step 1: Prep the Eyelids for a Smooth Base
Start with a clean canvas to ensure your eyeshadow glides on smoothly and stays all day.
- Cleanse your lids using micellar water or a gentle cleanser.
- Prime your eyes using an eyeshadow primer or a light layer of concealer (only if your lids aren’t oily). This step locks the eyeshadow in place and prevents creasing.
- Set with powder to avoid patchiness when blending your transition shades.
Pro Tip: If you have oily lids, skip concealer and go straight for a mattifying eye primer.
Step 2: Build the Transition with Warm Neutrals
Before diving into rose gold, lay down a neutral base for seamless blending.
- Use a fluffy blending brush to apply a soft brown or peachy nude shade into your crease.
- Blend in circular motions to create depth and dimension.
- This acts as a buffer for the rose gold shimmer, helping it blend beautifully into your skin tone.
Step 3: Apply the Rose Gold Shade on the Lid
This is where the magic begins.
- Use a flat shader brush or your fingertip to apply your rose gold shimmer or metallic eyeshadow on the mobile lid.
- Press the product onto the lid rather than sweeping it—this helps with maximum pigment payoff.
- Blend out the edges slightly using a small blending brush to diffuse the shimmer into your crease.
Recommended Palettes:
- Huda Beauty Rose Gold Remastered
- Natasha Denona Mini Nude
- ColourPop “Blush Crush” palette
Step 4: Deepen the Outer Corners for a Smokey Finish
To bring in that smoky element:
- Dip into a medium to deep brown matte shade.
- Apply it to the outer corner of your eye in a “V” shape using a small, tapered brush.
- Blend inward toward the rose gold to create a gradient effect.
- Add more pigment gradually—build rather than over-apply.
Pro Tip: Avoid using pure black for a soft glam look; browns or plum-based tones are more forgiving and easier to blend with rose gold.
Step 5: Define the Lower Lash Line
No smoky eye is complete without attention to the lower lash line.
- Use a pencil brush to apply the same transition shade along the lower lashes.
- Add the darker shade from your outer corner on the outer third of the lower lash line.
- For a soft glow, tap a bit of the rose gold shimmer right at the center of the lower lash line.
Step 6: Highlight the Inner Corner and Brow Bone
Adding light to key points enhances your eye shape and brightens the overall look.
- Use a champagne or pale gold shimmer to highlight the inner corners of the eyes.
- Lightly tap the same highlight under the arch of your brows.
This small detail makes a big difference, especially for photos or evening glam.
Step 7: Line and Define
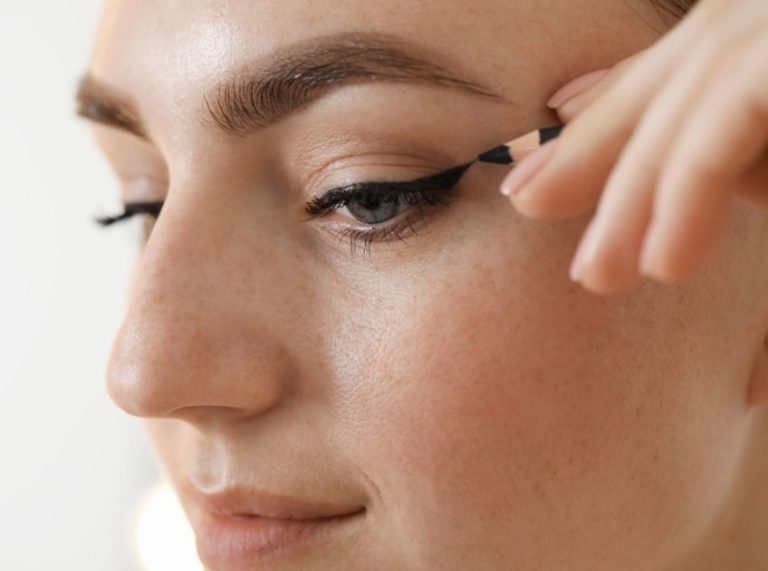
- Eyeliner: Tightline your upper lash line using a brown or black gel liner for a soft definition. You can add a subtle wing or keep it tight to the lash line.
- Mascara: Curl your lashes and apply two coats of volumizing mascara. Optional: Add wispy false lashes for a more glam effect.
Mascara Tip: Focus on the outer lashes for a lifted, cat-eye effect that complements the smoky style.
Final Touch: Clean Up and Perfect
- Clean any fallout with a cotton swab dipped in micellar water.
- Sharpen the outer edge of your eyeshadow with a bit of concealer for a clean, lifted finish.
- Make sure both eyes are symmetrical—step back and check your blending.
Complete the Look: What Goes With Rose Gold Eyes?
To balance this soft-glam eye look:
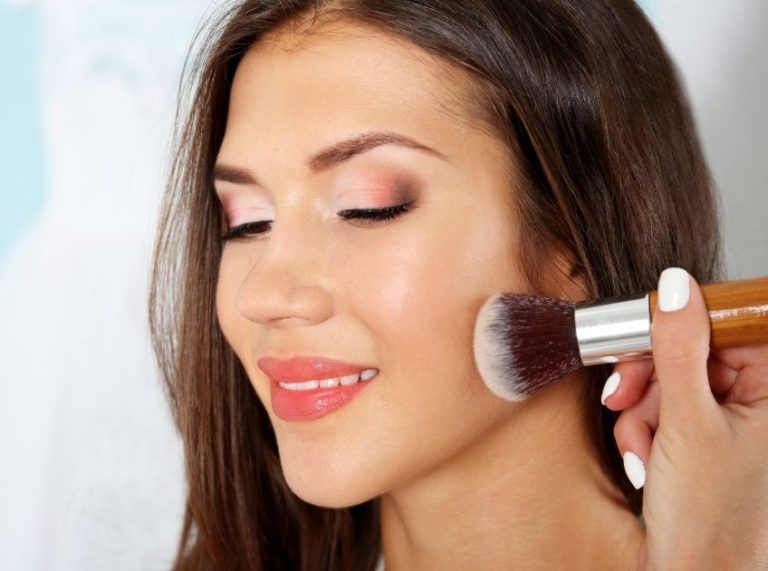
- Blush: Opt for rose or peach tones.
- Highlighter: A gold-champagne or rose gold highlighter ties everything together.
- Lips: Nude-pink, peach, or mauve lip shades work beautifully. For extra glam, top with a gloss that has golden or rose shimmer.
Frequently Asked Questions (FAQ’S)
Q1: Can I wear this look during the day?
A.Absolutely. Skip the dark outer corner shade and opt for matte rose tones for a daytime-friendly version.
Q2: Does rose gold suit all skin tones?
A.Yes. It blends warm and cool undertones, making it universally flattering on light to deep complexions.
Q3: What brushes are essential for this look?
A.You’ll need: a fluffy crease brush, a flat lid brush, a small blending brush, and a pencil brush.
Q4: How can I make the shimmer pop more?
A.Use your fingertip or dampen your brush with setting spray before applying the shimmer.
The rose gold smokey eye is a perfect fusion of elegance and edge. It works for weddings, festive occasions, date nights, even just when you want to feel gorgeous. With the right technique and a little blending patience, you’ll achieve a radiant eye look that draws attention in the best way possible.

