Important: This article is for informational purposes only. Please read our full disclaimer for more details.
You’ve followed the tutorial step by step, used your favorite palette, and blended to your heart’s content—but your eyeshadow still looks patchy and uneven. Sound familiar? You’re not alone. Patchy eyeshadow is a common frustration, but the good news is: it’s fixable. As a makeup educator and beauty content creator, I’m breaking down the real reasons your eyeshadow looks blotchy—and how to fix it for a flawless finish every time.
Article Contains
- Start With a Clean, Oil-Free Canvas
- Set Your Primer (Especially the Crease Area)
- Invest in Good-Quality Eyeshadows (That Doesn’t Mean Expensive)
- Use the Right Brush and the Right Pressure
- Build Up in Thin Layers (Don’t Pile It On!)
- Fix Patchy Spots with a Lighter Transition Shade
- Use Powder Shadows Over Creams for Better Blendability
- Keep Shimmers on the Lid—Not the Crease
- Final Blend is Crucial: Always Use a Clean Brush
- Seal the Look: Liner and Mascara Bring It All Together
- Eyeshadow Application: Dos and Don’ts
1. Start With a Clean, Oil-Free Canvas
Before you even think about applying shadow, make sure your lids are clean.
- Why it matters: Natural oils, leftover skincare, or even sweat can break down pigment and cause blotchy patches.
- Pro Tip: Use a Q-tip soaked in micellar water to gently wipe your eyelids. This clears away excess oil and preps the skin for makeup.
If you have oily lids, skip creamy concealers as they can add more oil. Instead, go straight for a true eyeshadow primer—like the Urban Decay Eyeshadow Primer Potion. It’s designed to grip pigment and control oil without creasing.
2. Set Your Primer (Especially the Crease Area)
Even with a great primer, applying shadow directly on a tacky base can cause skipping and uneven blending.
- Quick Fix: Lightly set your primer with a translucent setting powder, especially through the crease and brow bone.
- Recommended: Try Too Faced Born This Way Setting Powder. It blurs and mattifies without dulling pigment payoff.
This step helps your brush glide effortlessly and ensures your transition shades blend seamlessly.
3. Invest in Good-Quality Eyeshadows (That Doesn’t Mean Expensive)
Not all eyeshadows are created equal. Low-quality shadows can be dry, chalky, or overly pigmented with poor binders, making blending nearly impossible.
- Best Picks: High-end palettes like Natasha Denona Peak Palette are fantastic, but don’t sleep on drugstore heroes like Wet n Wild’s Rose in the Air Palette.
- What to Look For: Smooth texture, rich pigmentation, and buildable formula.
4. Use the Right Brush and the Right Pressure
Your brush technique can make or break your eyeshadow look.
- Hold It Right: Gripping your brush close to the bristles gives you less control and applies too much pressure, causing blotchy patches.
- Instead, hold your brush farther down the handle. This applies softer, diffused pressure—perfect for blending.
Brush Types Matter Too: Use a fluffy blending brush for transition shades and a flat shader brush for packing pigment. Brands like Rosenben Beauty offer great quality tools that won’t break the bank.
5. Build Up in Thin Layers (Don’t Pile It On!)
One major mistake? Applying too much product at once.
- Why It Fails: Heaping pigment onto a sticky or powdery base leads to fall-out, caking, and uneven deposits of color.
- The Fix: Start with a light layer and slowly build up intensity. This gives you more control and avoids harsh edges or clumps.
6. Fix Patchy Spots with a Lighter Transition Shade
Already applied your shadow and see a rough spot? Don’t panic.
- Easy Trick: Take a clean blending brush and dip it into your original transition shade. Gently go over the edges of the patchy area.
- Why It Works: The lighter pigment helps blur the borders and blend out uneven sections, making the entire look more seamless.
7. Use Powder Shadows Over Creams for Better Blendability
Cream or liquid eyeshadows can look beautiful, but they’re notoriously tricky to blend.
- Why Powder Wins: Powder shadows layer and blend more evenly, especially on set or primed lids.
- When to Use Creams: Stick to cream shadows for single-shade looks or as a base layer only.
8. Keep Shimmers on the Lid—Not the Crease
Shimmers, metallics, and glitters reflect light, which can enhance texture if placed incorrectly.
- Best Practice: Apply them with your finger or a flat brush directly on the center of your eyelid.
- Avoid the Crease: Keep shimmers off textured or uneven areas like the crease, where they can highlight blotchiness.
9. Final Blend is Crucial: Always Use a Clean Brush
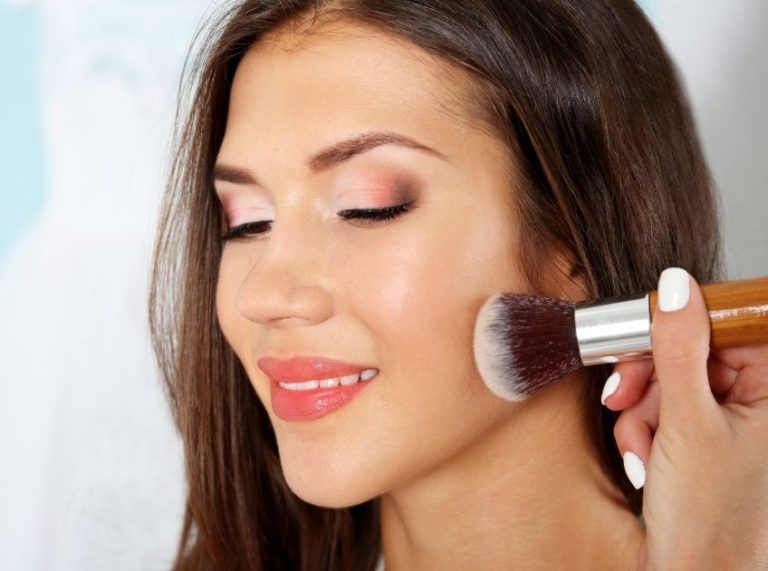
Once your colors are placed and you’re happy with the intensity, always finish with a clean blending brush.
- What This Does: It softens harsh lines, merges shades together, and gives that professional gradient finish.
- Bonus Tip: Blend in small circular motions only on the edges—don’t over-blend the entire lid or you’ll lose color payoff.
10. Seal the Look: Liner and Mascara Bring It All Together
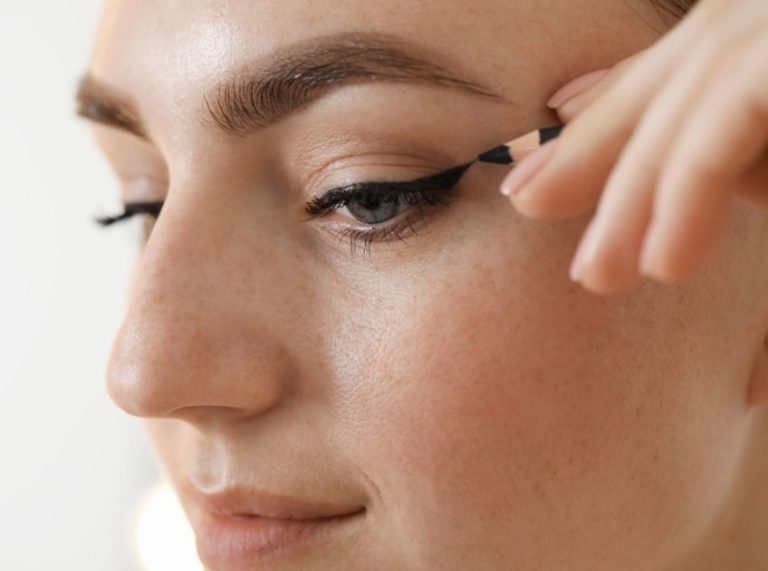
Once your shadows are perfectly blended, tie the look together with eyeliner and mascara.
- Use a Gel Liner: For precision, try Inglot Gel Liner with a fine brush for control.
- Choose the Right Mascara: The new Makeup Revolution 5D Lash Extra Dimension Mascara is great—its slim wand makes reaching corners and lower lashes easy.
Eyeshadow Application: Dos and Don’ts
| Dos | Don’ts |
|---|---|
| ✅ Start with a clean, oil-free eyelid (use micellar water). | ❌ Don’t apply shadow over oily or sweaty lids. |
| ✅ Use an eyeshadow primer suited for your skin type. | ❌ Don’t use creamy concealers as a base if you have oily lids. |
| ✅ Lightly set your primer with translucent powder. | ❌ Don’t apply shadow directly on a sticky primer—it’ll cling unevenly. |
| ✅ Choose high-quality, buildable eyeshadows (drugstore or high-end). | ❌ Don’t use chalky or overly pigmented formulas with poor blendability. |
| ✅ Use soft, fluffy brushes for blending and pack with flat brushes. | ❌ Don’t use one brush for everything or apply with your fingers alone. |
| ✅ Hold your brush near the end for light pressure and better control. | ❌ Don’t grip the brush too close to the bristles—it causes harsh pressure. |
| ✅ Apply eyeshadow in light layers and build gradually. | ❌ Don’t pack too much shadow at once—it’ll cake and patch. |
| ✅ Blend with a clean brush to finish for a seamless look. | ❌ Don’t over-blend the lid—you’ll lose pigment and shape. |
| ✅ Use shimmers only on the mobile lid for max effect. | ❌ Don’t apply shimmer or glitter in the crease—it enhances texture. |
| ✅ Fix patchy areas with a lighter transition shade. | ❌ Don’t ignore rough spots or pile more color directly over them. |
Flawless Eyeshadow Starts With Smart Prep
If your eyeshadow looks patchy, the issue is often in the prep and technique, not the product. By cleansing your lids, choosing the right primer, applying in layers, and blending with care, you can elevate your eyeshadow game dramatically.These tips work for any color palette and eye shape. So next time you’re frustrated with blotchy shadow, come back to this guide, tweak your steps, and watch your eye makeup transform.
