![]() Fact checked
Fact checked ![]() We have a team of smart fact checkers. They make sure our content is accurate. They use the best sources like medical journals and government websites. You can find their names and profiles on the articles they check.
We have a team of smart fact checkers. They make sure our content is accurate. They use the best sources like medical journals and government websites. You can find their names and profiles on the articles they check.
Important: This article is for informational purposes only. Please read our full disclaimer for more details.
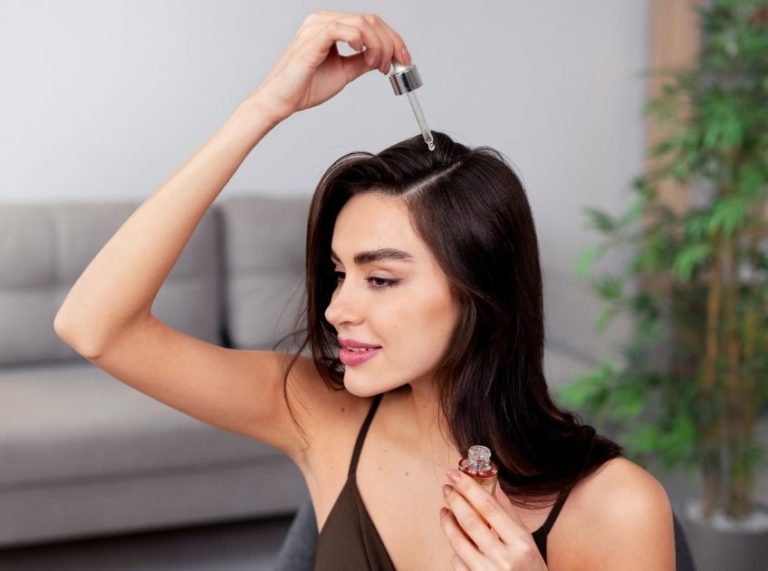
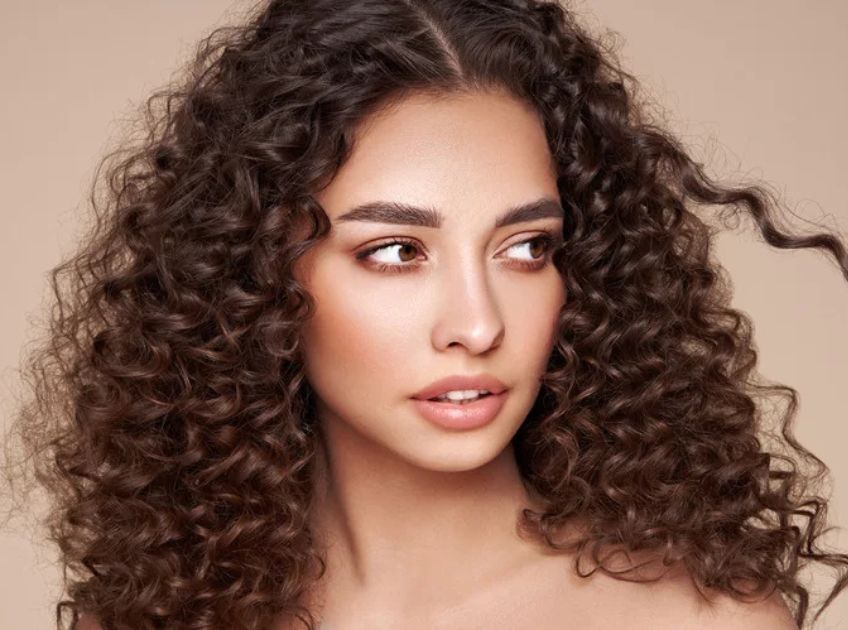
Want curls that are ultra-defined, bouncy, and long-lasting—without a trip to the salon? Finger coiling is one of the most effective and natural ways to enhance your curl pattern. Whether you’re reviving limp curls or transitioning from heat damage, this technique brings out the best in your natural texture. And the best part? It works for almost every curl type—from 2C waves to 4C coils.
The Science Behind Finger Coils and Curl Definition
Defined curls are all about moisture retention and structure. Finger coiling encourages the natural curl memory of your strands by manually shaping them into spirals and allowing them to set. This process is rooted in the concept of “curl training,” which helps hair return to its natural pattern over time with repeated styling and proper hydration (1).
Research published in the International Journal of Trichology explains that curly hair is more elliptical and grows at an angle, making it more fragile and moisture-sensitive (2). The act of finger coiling helps align the cuticle, reduce frizz, and maintain definition by creating uniform clumps of hair, which reduces friction and tangling.
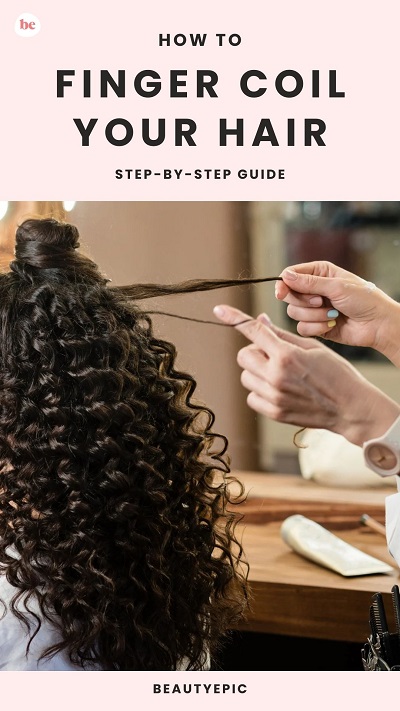
How to Finger Coil Your Hair: Step-by-Step Guide
Step 1: Start with Clean, Hydrated Hair
The foundation of perfect finger coils begins with clean, well-moisturized hair.
- Shampoo: Use a sulfate-free shampoo to gently cleanse your scalp and strands without stripping natural oils.
- Condition: Follow with a rich, hydrating conditioner or deep treatment mask. Let it sit for at least 5–10 minutes before detangling your hair with a wide-tooth comb or your fingers.
- Rinse and Blot: Rinse thoroughly and gently blot excess water using a microfiber towel or an old cotton T-shirt to minimize frizz.
Pro Tip: Finger coiling works best on damp, not dripping-wet, hair.
Step 2: Section Your Hair for Manageability
Dividing your hair into sections makes the process smoother and more precise.
- Create 4–8 sections using clips or hair ties, depending on your hair density and length.
- Start working from the back of your head to the front, as this helps maintain neatness and avoids restyling the parts you’ve already coiled.
- Keep unworked sections clipped away and damp by misting with water when needed.
Smaller sections = tighter, more defined coils.
Step 3: Apply Your Styling Products
Hydration and hold are key for defined, long-lasting coils. Layer your products to achieve both.
- First, apply a leave-in conditioner or a hydrating curl cream to each small section to lock in moisture.
- Follow up with a curl-defining gel or custard for hold and definition. Distribute evenly from roots to ends using the praying hands method or raking with fingers.
- Consider adding a lightweight oil (like argan or jojoba) to seal in all that moisture, especially if you have coarse or high-porosity hair.
Look for ingredients like flaxseed extract, shea butter, aloe vera, or panthenol for added definition and hydration.
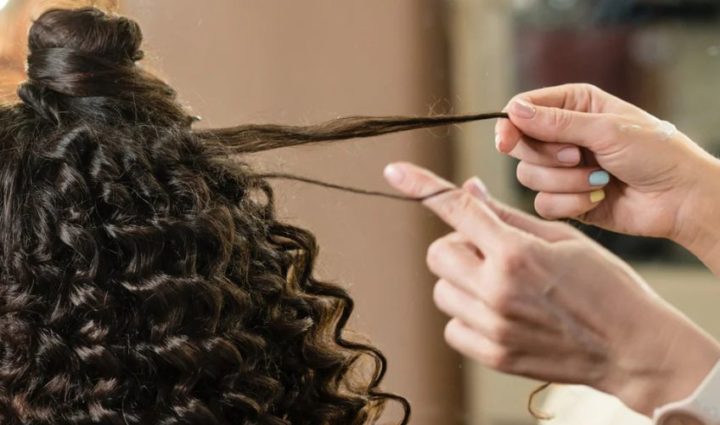
Step 4: Start Coiling Your Strands
Now the magic begins—let’s define those curls!
- Take a small piece of hair (about the width of a pencil) from one section.
- Wrap it around your finger (usually your index finger) from root to tip, twisting consistently in one direction.
- Make sure to keep the coil taut but not overly tight.
- Hold the coil for a couple of seconds to allow the shape to set. Then gently slide your finger out.
Repeat this for every small section until your entire head is coiled. This step takes time, so be patient. The results are worth it!
Step 5: Let Your Coils Set and Dry
You’ve shaped your curls—now they need to set properly.
- Let your coils air dry if you have time and want minimal frizz.
- If you’re short on time or want more volume, use a diffuser on a low or medium heat setting. Gently cup the coils with the diffuser to preserve definition.
Avoid touching or separating the coils during the drying process to maintain their shape and reduce frizz.
Don’t rush this step—disturbed curls while drying = frizzy results.
Step 6: Separate and Fluff (Optional for Volume)
Once your hair is 100% dry, you can separate the coils for added volume.
- Apply a small amount of oil to your fingers to reduce friction.
- Gently separate each coil into 2–3 smaller coils, depending on how much volume you want.
- Use an afro pick or wide-tooth comb at the roots only to lift and fluff your hair.
If you love definition over volume, skip this step.
Frequently Asked Questions (FAQ’S)
Q1. How long do finger coils last?
A. Finger coils can last up to 7–10 days with proper nighttime care, such as using a satin bonnet or pineapple method.
Q2. Can finger coils help train my curls?
A. Yes! Regularly finger-coiling your hair can help encourage your natural curl pattern, especially if you’re transitioning from heat or chemical damage.
Q3. What curl types benefit most from finger coiling?
A. All curl types (2C to 4C) can benefit, but it’s especially great for tighter textures like 3C–4C, which tend to shrink and frizz more easily.
Finger coiling is more than just a styling method—it’s a commitment to loving and enhancing your natural texture. With the right products, patience, and technique, this simple yet effective method can give you days of gorgeous, well-defined curls. Whether you’re embracing your natural hair journey or just looking for a frizz-free style, finger coils might be your new favorite go-to.