![]() Fact checked
Fact checked ![]() We have a team of smart fact checkers. They make sure our content is accurate. They use the best sources like medical journals and government websites. You can find their names and profiles on the articles they check.
We have a team of smart fact checkers. They make sure our content is accurate. They use the best sources like medical journals and government websites. You can find their names and profiles on the articles they check.

Important: This article is for informational purposes only. Please read our full disclaimer for more details.
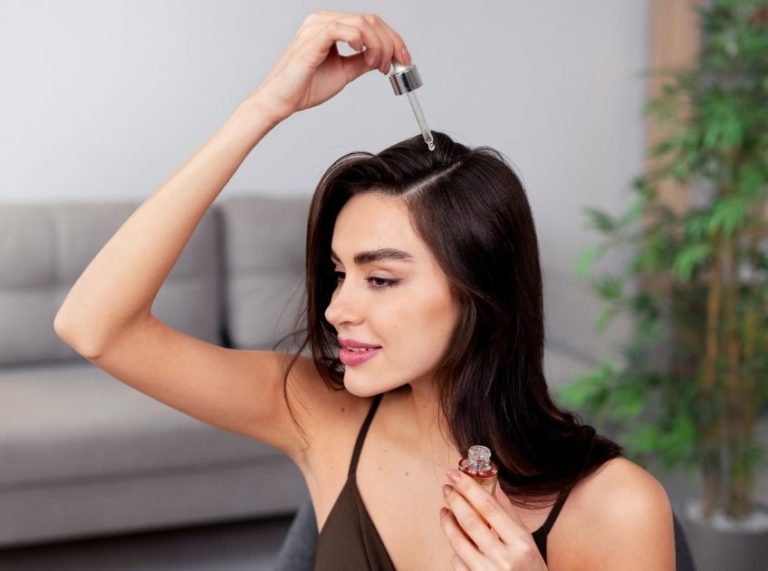
Tired of using mascara every day or paying for expensive lash tints? Coffee, a kitchen staple, might be your secret weapon. This natural hack helps subtly tint your lashes, giving them a darker, fuller look, without harsh chemicals.
Gentle, affordable, and easy to make, a coffee lash tint is ideal for anyone who wants to define their lashes naturally.

Wake Up Your Lashes: Why Coffee Tinting Is Trending
If you’re craving a low-maintenance beauty routine, tinting your lashes with coffee is a gentle, DIY-friendly option. It works best for those with lighter lashes and gives a soft, natural depth without synthetic dyes or salon visits.
What Are the Benefits of Using Coffee for Eyelash Tinting?
- Enhances lash color naturally without irritation
- Adds depth to light or sparse lashes
- An easy, chemical-free method is safe for most skin types
- Affordable and accessible with household ingredients
The Science Behind Coffee as a Lash Tint
Coffee contains tannins, natural compounds that provide pigmentation and staining power (1). These tannins can lightly darken keratin-based fibers, like eyelashes. When used regularly, the caffeine and antioxidants in coffee (2) may also support lash strength and scalp (follicle) health.
Key Components That Make It Work
- Ground coffee or brewed espresso: Contains natural pigments and tannins for a subtle tint
- Coconut oil or aloe vera gel: Helps the mixture adhere to lashes while moisturizing
- Activated charcoal (optional): Boosts pigment intensity naturally
- Vitamin E (optional): Protects lash follicles with antioxidant support
Although limited, anecdotal evidence and natural dye studies support coffee’s ability to provide mild staining to hair and skin.
When Should You Stop Using It?
- If you notice any eye irritation, redness, or excessive tearing
- If the mixture accidentally gets into your eyes
- Discontinue if there’s no visible tint after multiple uses—results vary
- Always patch-test before applying near the eyes.
Can You Adjust the Ingredient Quantities?
Absolutely.
- For deeper color: Increase the coffee-to-oil ratio or add charcoal
- For sensitive skin: Use aloe vera instead of coconut oil
- To thicken the tint: Let the coffee brew sit longer before mixing
Start small and adjust consistency to prevent dripping.
What Skin Types or Lash Types Work Best?
- Fair or light lashes show the most visible results
- Suitable for all skin types if no sensitivity to coffee or oils
- Best for non-waterproof makeup users or minimalist beauty routines
Is It Safe for Regular Use?
Yes—with caution. Use clean tools, fresh ingredients, and avoid contact with the eyes. Avoid overuse if you have allergies or extremely sensitive eyes. A patch test is always recommended.
Best DIY Coffee Eyelash Tint
If you’re looking for a natural, non-toxic way to darken your lashes at home, this coffee-based eyelash tint is gentle yet effective. With just a few kitchen staples, you can enhance your lash color without any harsh chemicals.
Ingredients
- 1 tablespoon finely ground organic coffee or espresso powder
- 1 teaspoon brewed black tea (for added staining power)
- ½ teaspoon coconut oil or aloe vera gel
- ¼ teaspoon activated charcoal (optional, for deeper color)
- 1 capsule of vitamin E oil (optional, for lash conditioning)
- 1 clean spoolie brush or eyeliner brush
- 1 small mixing bowl
Directions to Use
- Brew the black tea and let it cool to room temperature.
- In a bowl, combine the ground coffee and a few drops of the cooled tea to make a thick paste.
- Add coconut oil or aloe vera gel to bind the mix and help it stick to lashes.
- Mix in the vitamin E oil and charcoal (if using) for added benefits and color.
- Stir until the texture is smooth and slightly thick (not runny).
How to Apply
- Start with clean, dry lashes free of mascara or oils.
- Dip the spoolie or brush into the mixture and coat your lashes from root to tip.
- Leave it on for 10–15 minutes while keeping your eyes closed.
- Carefully wipe off the tint with a damp cotton pad and rinse your eyes gently with cool water.
Pro Tip: For a more intense tint, apply a second layer after the first round and leave it on for an additional 10 minutes.
Frequently Asked Questions (FAQ’S)
1. How long does the tint last?
A. The coffee tint is temporary and usually lasts 1–2 days, depending on washing. Reapply regularly for better color retention.
2. Can I use instant coffee instead of brewed?
A. Brewed or ground coffee is recommended for a stronger pigment. Instant coffee may not stain as effectively.
3. Is this safe for contact lens wearers?
A. Use with extra caution. Remove lenses before application and rinse thoroughly before reinserting.
DIY eyelash tinting with coffee is a gentle and budget-friendly alternative to commercial tints. While results are subtle and temporary, the method is safe for most and a great fit for natural beauty lovers. With consistent use and care, you can enjoy enhanced lash definition naturally.