![]() Fact checked
Fact checked ![]() We have a team of smart fact checkers. They make sure our content is accurate. They use the best sources like medical journals and government websites. You can find their names and profiles on the articles they check.
We have a team of smart fact checkers. They make sure our content is accurate. They use the best sources like medical journals and government websites. You can find their names and profiles on the articles they check.

Important: This article is for informational purposes only. Please read our full disclaimer for more details.
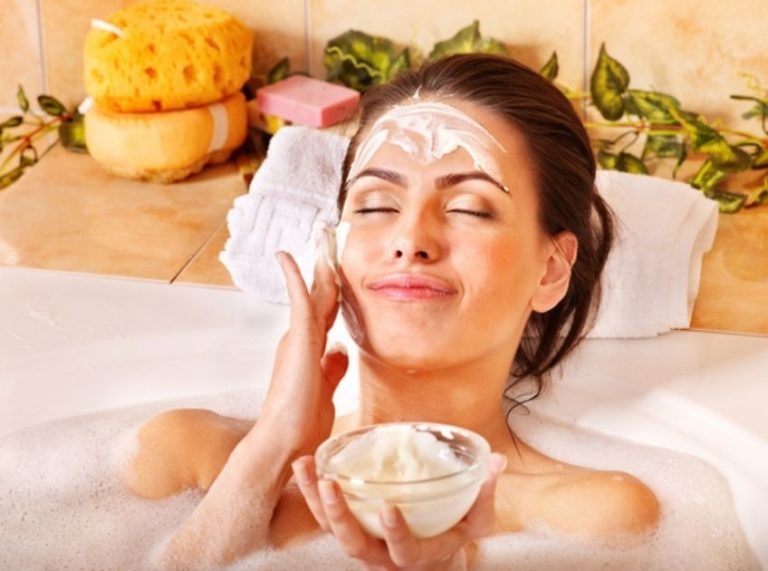
Tired of dull, lifeless skin and expensive products that don’t deliver? A yogurt face mask might be your skin’s new best friend. Rich in nutrients and skin-loving properties, yogurt can refresh, brighten, and soften your face naturally—all from your kitchen.
Article Contains
- Glow Naturally: Why Yogurt Belongs on Your Face
- Yogurt and Skin: The Science You Should Know
- What Makes Yogurt So Effective for Skin?
- When to Take a Break from Yogurt Face Masks
- Personalize Your Mask: Adjust Ingredients Like a Pro
- Who Should Use a Yogurt Face Mask?
- Is It Safe to Use Yogurt on the Face?
- 2 Best DIY Yogurt Face Mask Recipes
Let’s explore how to create and use a DIY yogurt face mask for glowing skin that works.
Glow Naturally: Why Yogurt Belongs on Your Face
This simple ingredient offers powerful skin benefits:
- Instantly hydrates and nourishes
- Gently exfoliates dead skin cells
- Brightens and evens out skin tone
- Calms redness and irritation
It’s a multitasker that delivers results with zero chemicals or synthetic additives.
Yogurt and Skin: The Science You Should Know
Yogurt contains lactic acid (1), a natural alpha-hydroxy acid (AHA) that exfoliates gently while supporting skin renewal.
Other nutrients in yogurt:
- Zinc: Helps reduce inflammation and control excess oil
- Probiotics: Balance the skin’s microbiome
- Vitamin B12 and Riboflavin: Support cell repair and smoothness
According to a study published in the Journal of Cosmetic Dermatology (2015), topical application of yogurt improves skin elasticity and moisture retention (2).
What Makes Yogurt So Effective for Skin?
Each component contributes to a glowing complexion:
- Lactic acid unclogs pores and brightens
- Proteins improve skin texture
- Calcium promotes skin regeneration
This is why a yogurt face mask for glowing skin is more than just a beauty hack—it’s a skin health booster.
When to Take a Break from Yogurt Face Masks
Even natural ingredients can irritate some skin types. Stop using if:
- You experience tingling or burning
- You develop red patches or breakouts
- Your skin becomes flaky or overly dry
Always do a patch test behind your ear or on your inner arm before applying to your face.
Personalize Your Mask: Adjust Ingredients Like a Pro
Different skin types benefit from different add-ons:
- Oily skin: Add lemon juice or turmeric
- Dry skin: Mix in honey or avocado
- Acne-prone skin: Try yogurt with tea tree oil or neem powder
You can adjust yogurt quantity and texture (Greek vs. regular) depending on how thick or mild you want the mask.
Who Should Use a Yogurt Face Mask?
Best suited for
- Normal, combination, and dry skin
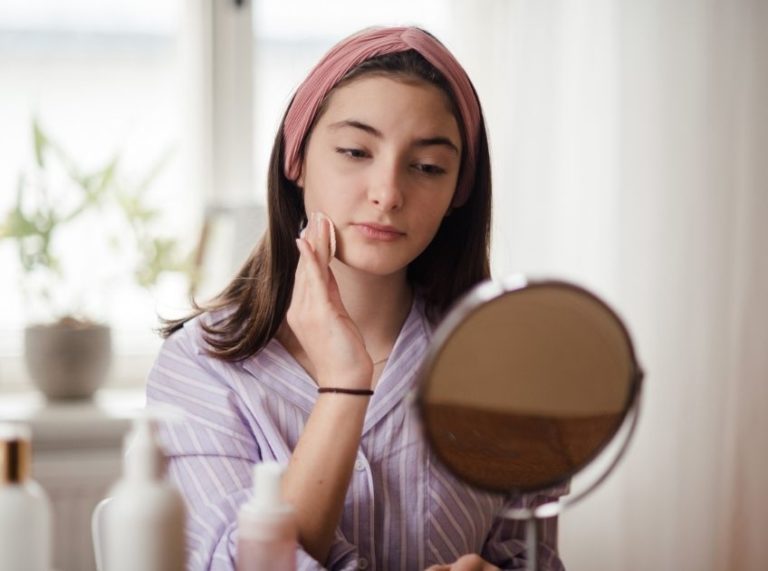
- Dull, tired-looking skin
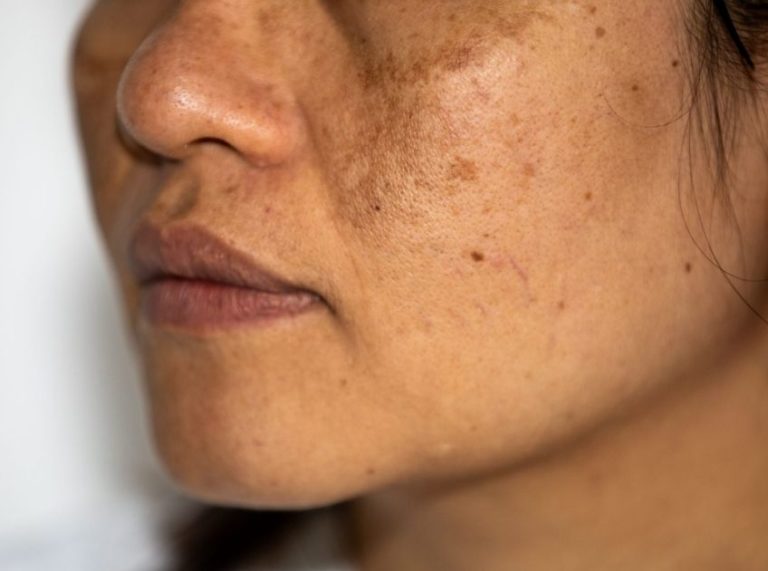
- Skin with mild acne or discoloration
Use with caution if you have
Sensitive skin, eczema, or rosacea—especially if using citrus or turmeric as add-ins.
Is It Safe to Use Yogurt on the Face?
Yes, generally. It’s one of the gentlest and most skin-compatible ingredients. But for maximum safety:
- Use plain, unsweetened yogurt
- Avoid expired or flavored types
- Rinse thoroughly after use
And always store your leftover mix in the fridge (up to 2 days max).
2 Best DIY Yogurt Face Mask Recipes
1. Yogurt and Honey Radiance Mask
A simple, hydrating blend to brighten dry or dull skin and lock in moisture.
Ingredients
- 2 tablespoons plain yogurt (full-fat for extra moisture)
- 1 tablespoon raw honey (preferably organic)
Directions to Use
- In a clean bowl, combine the yogurt and honey.
- Mix well with a spoon or small whisk until the mixture is smooth and creamy.
- Cleanse your face with a gentle face wash and pat it dry.
- Apply the mask evenly across your face using clean fingers or a soft brush, avoiding the eye area.
How to Apply
Leave the mask on for 15–20 minutes. You may feel a light cooling sensation as the yogurt soothes your skin.
Rinse off with lukewarm water using gentle circular motions to boost circulation. Pat your skin dry with a soft towel and follow with a hydrating moisturizer.
Pro Tip: For an extra skin boost, refrigerate the mixture for 10 minutes before applying—it reduces puffiness and adds a refreshing effect.
2. Yogurt, Turmeric & Lemon Brightening Mask
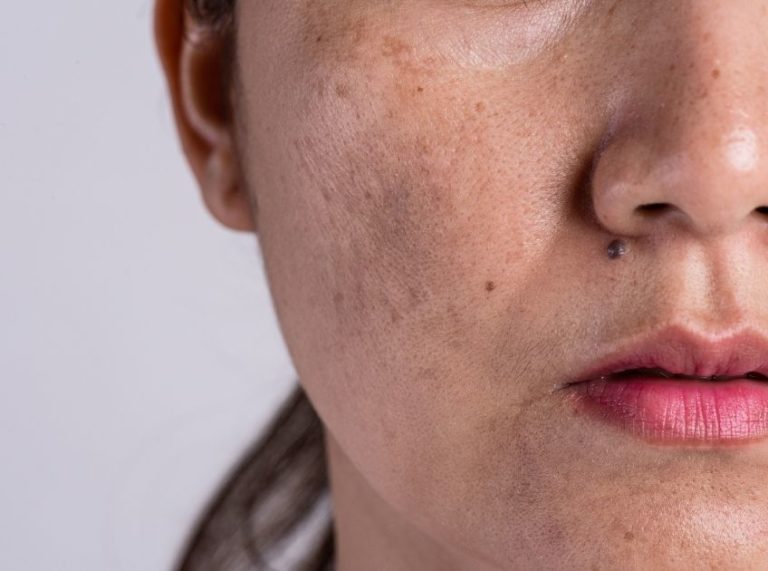
Targets oily skin, dullness, and dark spots with natural brightening ingredients.
Ingredients
- 2 tablespoons plain yogurt (low-fat is fine for oily skin)
- ½ teaspoon turmeric powder (organic, cosmetic-grade)
- ½ teaspoon fresh lemon juice (strain to remove seeds)
Directions to Use
- In a non-metallic bowl, add yogurt, turmeric, and lemon juice.
- Mix thoroughly until the mask is smooth and evenly colored.
- Wash your face with lukewarm water and a mild cleanser to remove any surface oils.
- Using a soft brush or your fingertips, apply the mask all over the face, focusing on areas with pigmentation or uneven tone. Avoid the eye and mouth area.
How to Apply
Leave the mask on for 10–15 minutes only. Do not exceed this time, as lemon juice may cause sensitivity.
Rinse with cool water and use a gentle face cloth if needed to remove the turmeric tint. Moisturize afterward to lock in hydration.
Pro Tip: Use this mask at night and apply sunscreen the next day—lemon can increase sun sensitivity. A little turmeric goes a long way, so avoid overusing it to prevent staining.
Frequently Asked Questions (FAQ’S)
1. How often should I use a yogurt face mask?
A. 2–3 times a week is ideal for most skin types. Use once weekly if you have sensitive skin.
2. Can I leave yogurt on my face overnight?
A. No. Yogurt contains lactic acid and should only stay on your face for 15–20 minutes to prevent irritation.
3. What happens if I use yogurt on my face daily?
A. Overuse can lead to dryness or sensitivity. Stick to a few times a week for best results.
Glow with Confidence, Naturally
DIY yogurt face masks are simple, affordable, and packed with nutrients your skin will love. Whether you’re battling dryness, dullness, or minor breakouts, this creamy remedy has your glow-up covered. Use it smartly, tailor it to your skin, and enjoy the natural radiance it brings.