Important: This article is for informational purposes only. Please read our full disclaimer for more details.
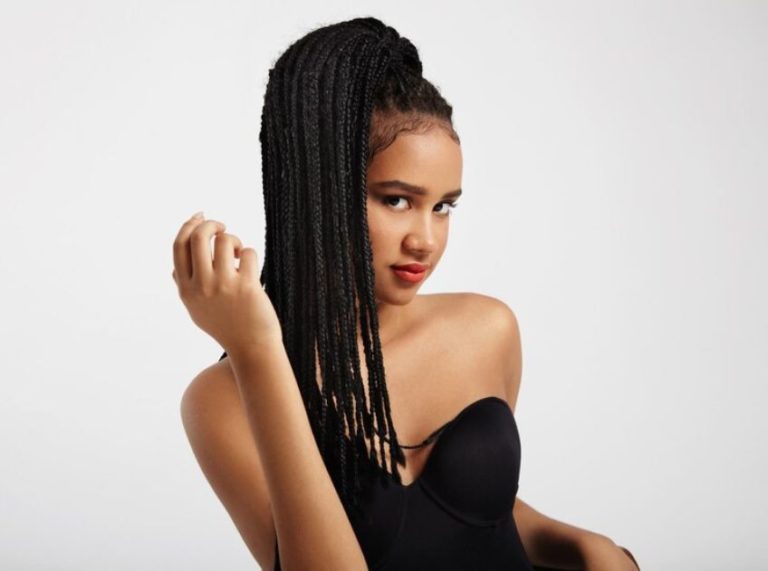
Effortlessly elegant, endlessly versatile—the braided updo is a timeless hairstyle that works for weddings, formal events, and everyday glam. Whether you want a crown braid, a chic low bun with plaits, or something intricately twisted, this style is all about turning heads while keeping your hair secured and stylish.

What Is a Braided Updo?
A braided updo combines braids and pinned-up sections of hair to create a sculpted look that’s both functional and fashionable. From Dutch braids wrapped into buns to fishtail crowns and twisted chignons, the options are as creative as you make them.
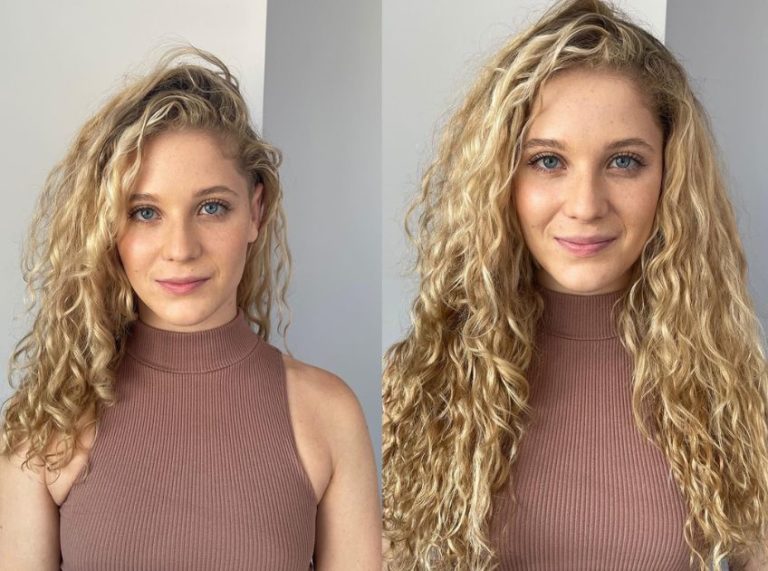
These styles suit all hair types—from sleek straight hair to voluminous curls—and they work well with or without extensions.
How to Create a Stunning Braided Updo

Ready to master the art of the braided updo? Here’s everything you need to get started.
What You’ll Need
Before you dive in, gather the following tools:
- Rat-tail comb (for parting) (Buy Here)
- Hair elastics (preferably clear or color-matching)
- Hairpins or bobby pins
- Edge control or styling gel (Buy Here)
- Hairbrush or detangling comb
- Hairspray or setting mousse (Buy Here)
- Optional: clip-in braiding hair for added volume or length
Pro Tip: Using mousse or texturizing spray gives your hair better grip, making braids cleaner and longer-lasting.
Step-by-Step Braided Updo Tutorial
Follow these steps to create a polished braided updo at home:
1. Prep Your Hair
- Start with clean, detangled hair. You can style it dry or slightly damp for better control.
- Apply edge control or gel to smooth out frizz and define your parts.
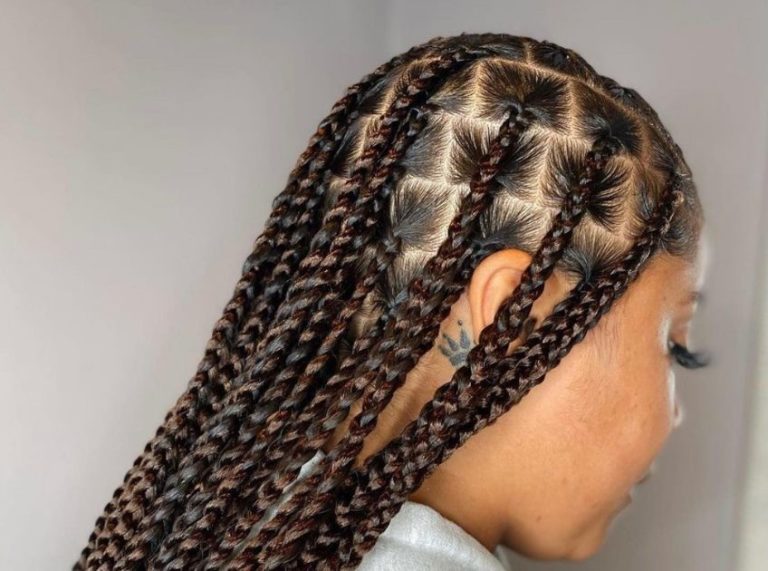
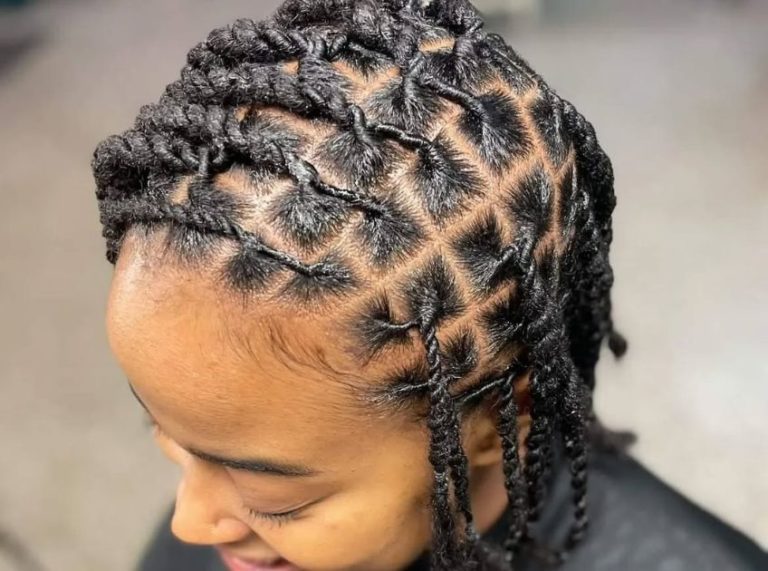
2. Part and Section
- Decide on your braid pattern—classic cornrows, side braids, or French braids all work.
- Part the hair accordingly, and clip sections to stay organized.
3. Begin Braiding
- Braid your sections as desired: tight to the scalp for structure or looser for a softer look.
- Create two or more braids, depending on your updo style.
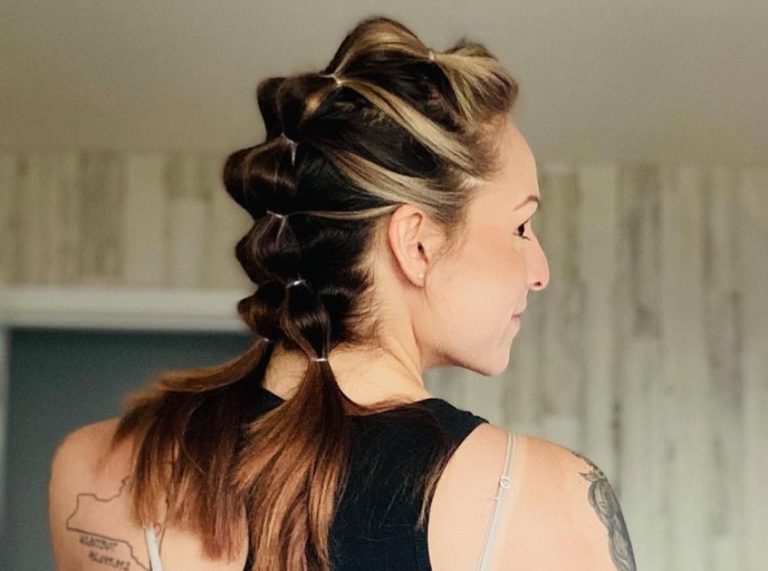
4. Wrap and Pin
- Once braided, gently twist and wrap the braids into a bun or pinned-up shape.
- Secure with bobby pins, making sure the ends are tucked in.
5. Smooth and Set
- Lay edges if you prefer a sleek finish.
- Finish with setting mousse or light-hold hairspray for a polished, all-day hold.
Styling Idea: Leave a few tendrils loose around your face for a romantic, soft-glam touch.
Frequently Asked Questions (FAQ’S)
1. How long does a braided updo last?
A. With proper care, braided updos can last 3–7 days, or longer if done with added extensions and protected overnight with a silk scarf or bonnet.
2. Can I do a braided updo on short hair?
A. Absolutely. If your hair is long enough to braid (about 3–4 inches), you can do a braided updo. Add clip-in extensions for extra volume or length.
3. Is a braided updo protective for natural hair?
A. Yes! Braided updos keep ends tucked away, reduce manipulation, and are great for protective styling, especially when done with minimal tension and moisturized hair.
Try the Braided Updo That Fits Your Vibe
From elegant to edgy, the braided updo is the go-to style for anyone looking to elevate their look. With the right tools, a bit of creativity, and our step-by-step guide, you can rock this timeless hairstyle with confidence, any day, any event.