Important: This article is for informational purposes only. Please read our full disclaimer for more details.
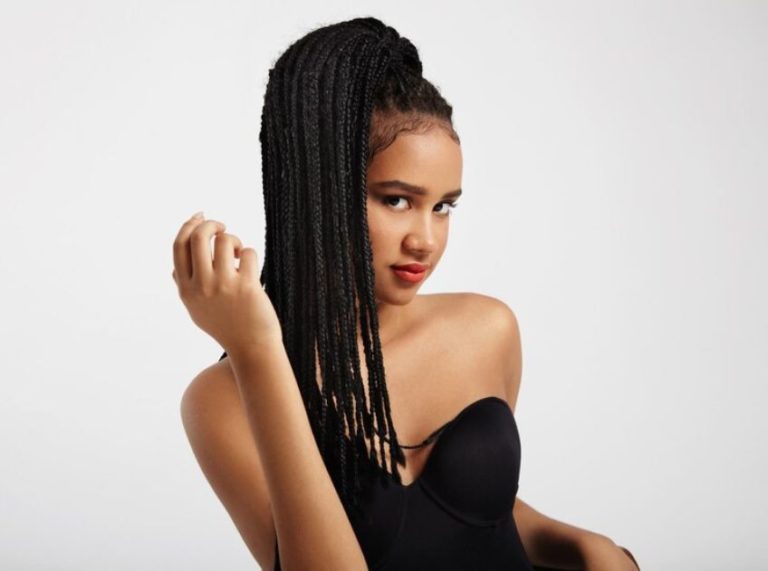
Goddess braids are more than just a hairstyle—they’re a statement of strength, beauty, and tradition. These elegant, protective styles have deep cultural roots and have evolved into a go-to look for modern-day glam. Whether you’re considering trying them for the first time or want to perfect your technique, this guide covers it all.
What Are Goddess Braids?
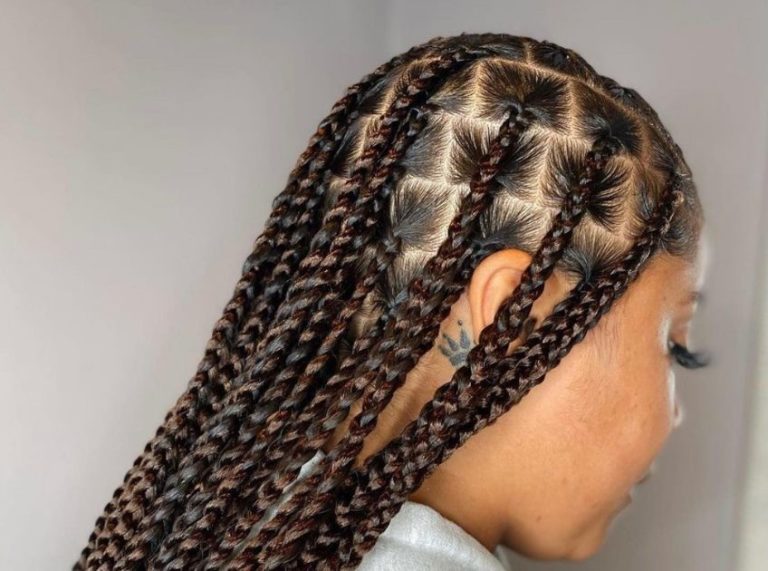
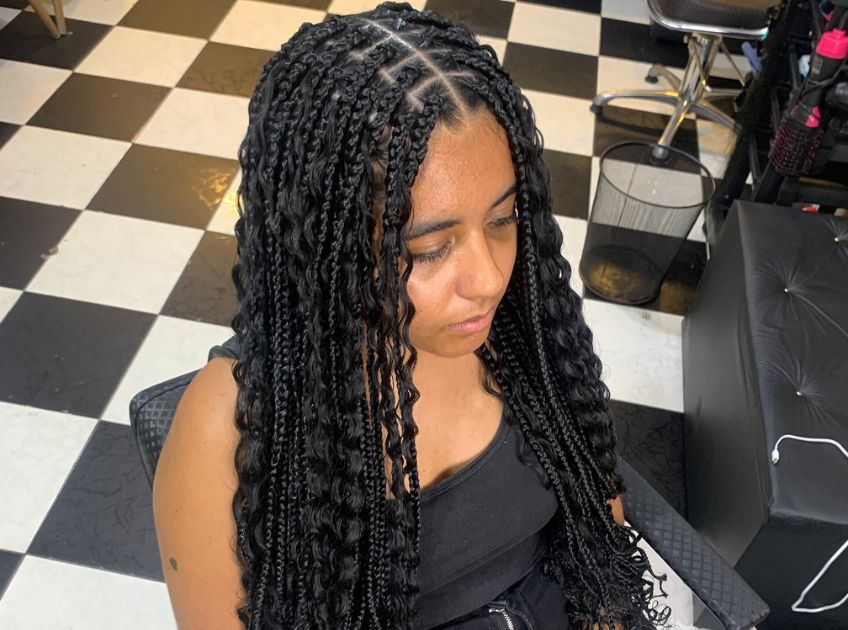
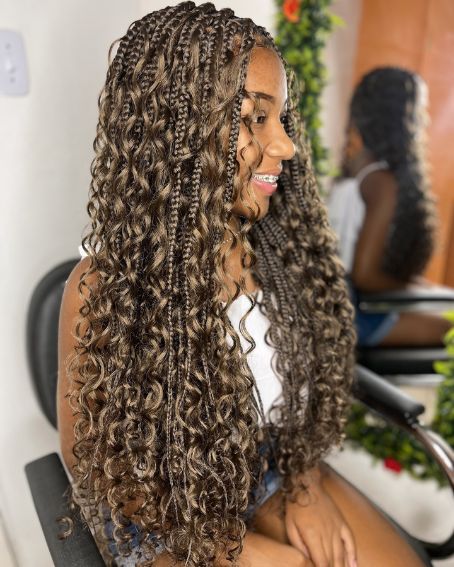
Goddess braids are thick, oversized cornrows often styled close to the scalp and can be enhanced with curly extensions for a soft, boho effect. Traditionally rooted in African culture, they’re known for their regal appearance, versatility, and low-maintenance appeal.
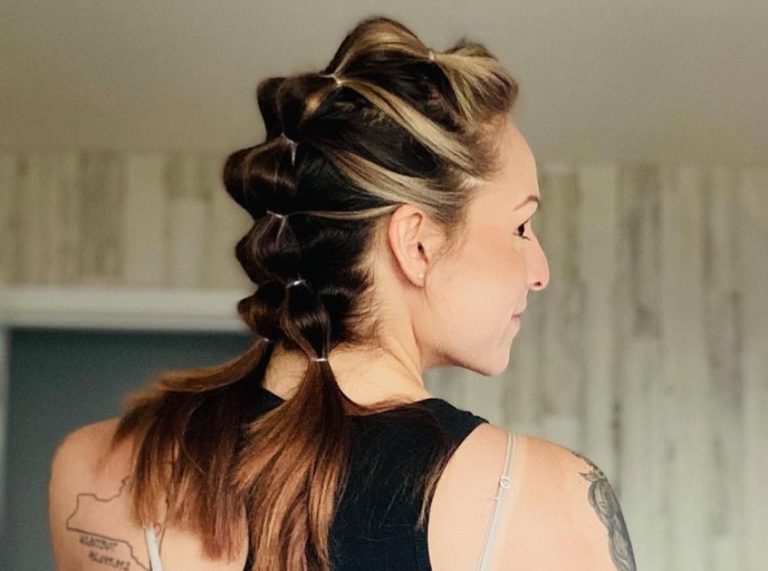
These braids can be worn in a variety of styles—updos, ponytails, or free-flowing—with added curls or accessories like beads, cuffs, or string to elevate the look.
Why You’ll Love Goddess Braids: Top Benefits
- Protective Style: Shields natural hair from daily manipulation and environmental stress.
- Versatile Looks: Can be customized into buns, side parts, half-up styles, and more.
- Low Maintenance: Keeps your hair neat for weeks with minimal daily styling.
- Scalp Health: Gives your hair time to grow and your scalp to breathe.
- Elegant Finish: Perfect for special events, vacations, or everyday wear.
Goddess Braids vs. Boho Braids: What’s the Difference?
| Features | Goddess Braids | Boho Braids |
|---|---|---|
| Base Style | Thick cornrows | Knotless or box braids |
| Added Texture | Curly extensions throughout | Curly strands are placed randomly |
| Vibe | Sleek and defined | Messy, carefree, and beachy |
| Protective Level | High | Moderate |
| Hair Type Friendly | Ideal for Type 3 & 4 curls | Versatile for many hair types |
Ready to Braid? Here’s How to Do Goddess Braids at Home
What You’ll Need
- Rattail comb (Buy Here)
- Edge control gel or braid gel (Buy here)
- Hair clips or sectioning tools (Buy Here)
- Pre-stretched braiding hair
- Curly human or synthetic hair extensions
- Mousse or setting foam (Buy Here)
- Hair oil or leave-in conditioner (Buy Here)
Step-by-Step Styling Guide: How to Do Goddess Braids
Creating Goddess braids may look intricate, but with patience and the right technique, you can achieve a salon-worthy look at home. Follow these detailed steps to get flawless results:
Step 1: Start with Clean, Stretched Hair
- Wash your hair with a gentle, sulfate-free shampoo and deep condition to add moisture.
- Detangle your hair thoroughly using a wide-tooth comb or detangling brush.
- Blow-dry your hair or stretch it using heatless methods like braiding or banding overnight. Stretching helps achieve smoother braids and makes parting easier.
Pro Tip: Apply a leave-in conditioner and a light oil like argan or jojoba to lock in moisture and reduce frizz.
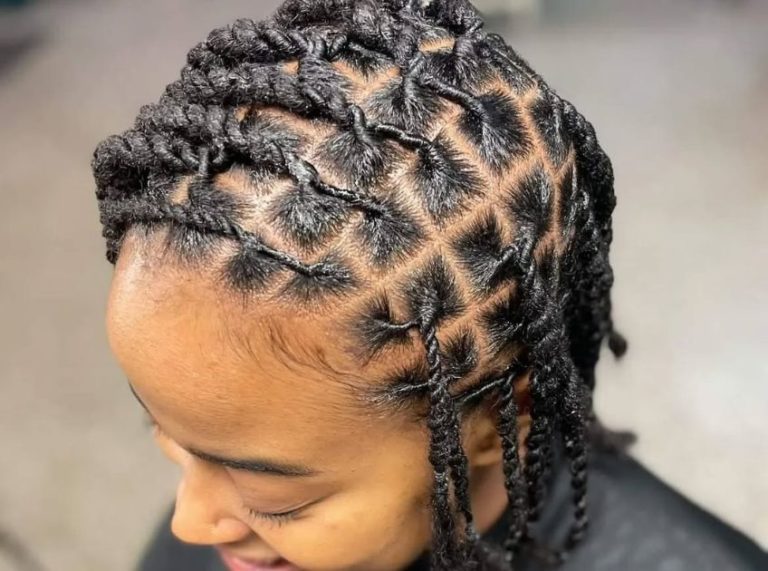
Step 2: Part Your Hair Precisely
- Use a rattail comb to section your hair into the desired braid pattern (straight back, curved, side-swept, etc.).
- Secure each section with clips to prevent flyaways.
- The most common Goddess braid look includes 4–6 large braids with curly pieces added throughout.
Pro Tip: Use a little braid gel or edge control along the part lines to keep them clean and crisp.
Step 3: Add Braiding Hair for Volume
- Start braiding from the hairline and gradually feed in pre-stretched braiding hair as you go.
- Add hair in small sections to avoid bulkiness at the roots and create a seamless transition.
- Braid tightly but not so tightly that it causes pain or tension on the scalp.
Pro Tip: Choose braiding hair that matches your texture and desired length. Kanekalon or synthetic blends work best.
Step 4: Incorporate Curly Extensions
- Halfway through each braid or at random points, add curly synthetic or human hair extensions.
- Leave these curls hanging out for a soft, romantic effect—that’s what gives the braid its “goddess” identity.
- Lightly separate and fluff the curly strands to add volume and bounce.
Pro Tip: Mix loose deep wave curls with your braiding hair to achieve a more dimensional and luxe finish.
Step 5: Finish and Set the Style
- Dip the braided ends in hot water (if using synthetic hair) to seal and soften them.
- Apply a setting mousse generously over the braids to reduce flyaways and define curls.
- Lay your edges using edge control and a small brush or toothbrush.
- Wrap your head in a silk or satin scarf and let it sit for 10–15 minutes.
Pro Tip: Use a blow dryer with a diffuser attachment on low heat to help the mousse set faster without disrupting the curls.
Keeping the Crown Polished: How to Care for Goddess Braids
- Wrap at Night: Use a satin bonnet or scarf to maintain neatness and moisture.
- Scalp Love: Apply light oil to your scalp every few days to prevent dryness.
- Avoid Overwashing: Wash your scalp gently once every 2–3 weeks with a diluted shampoo mix.
- Limit Style Manipulation: Avoid pulling braids into tight styles to reduce tension on your edges.
Frequently Asked Questions (FAQ’S)
1. How long do Goddess braids last?
A. With proper care, goddess braids typically last 2–4 weeks. They can stretch to 6 weeks, depending on hair type and maintenance.
2. Are Goddess braids suitable for all hair textures?
A. Yes, though they work best on Type 3 and 4 textures. Straiter textures may need extra grip products.
3. Can I wash my hair with Goddess braids?
A. Yes! Use a gentle cleansing method focusing on the scalp. Avoid excessive water on the braid length to maintain neatness.
Final Thoughts: Wear Your Crown with Confidence
Goddess braids aren’t just trendy—they’re timeless. With the right prep, styling technique, and aftercare, you can rock a stunning and protective look that honors tradition while embracing your unique style. Whether you’re heading to a wedding, vacation, or just need a break from daily styling, goddess braids are the regal, reliable choice.