Important: This article is for informational purposes only. Please read our full disclaimer for more details.
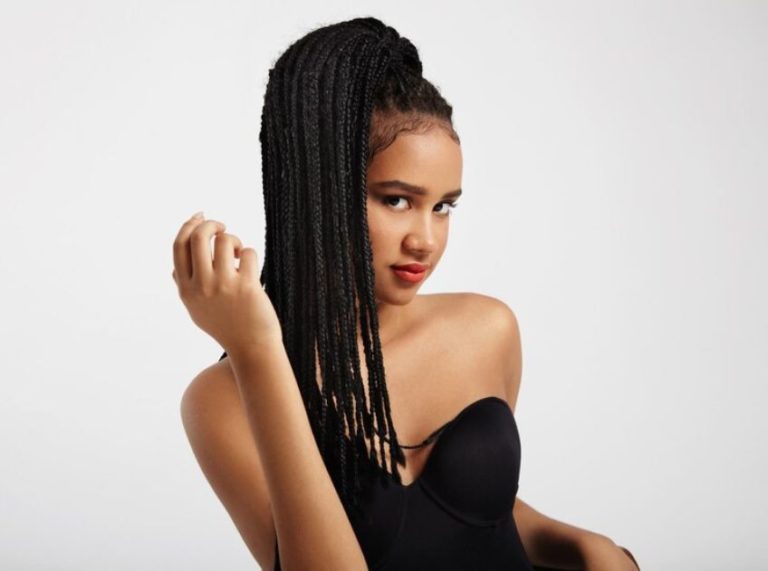
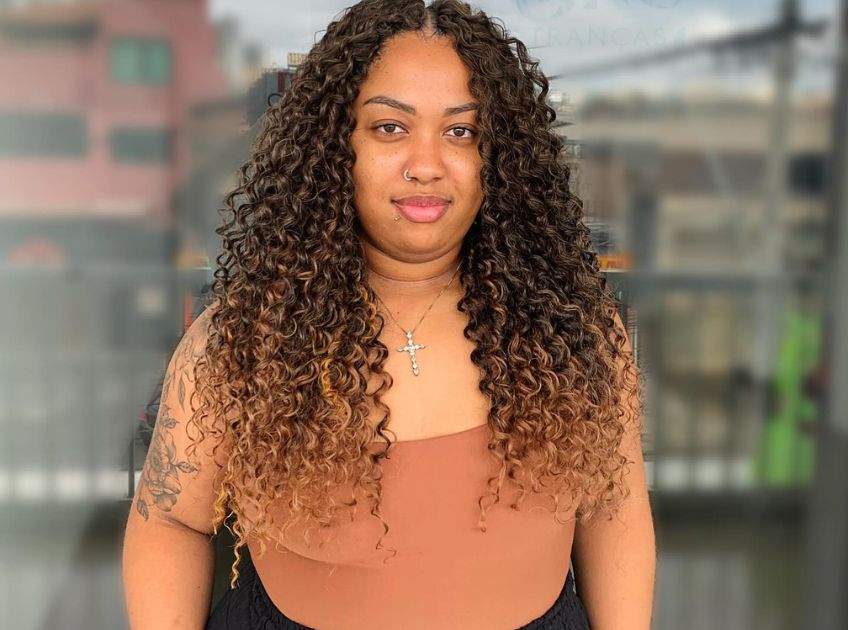
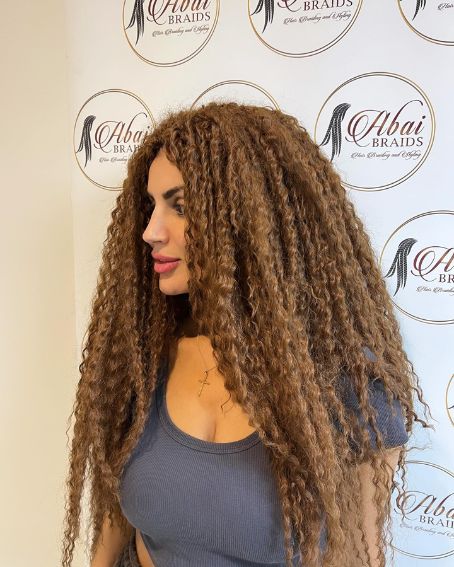
Crochet braids have quickly become a go-to style for women seeking a protective, low-maintenance, and affordable hair transformation. Whether you’re transitioning, protecting natural hair, or simply craving a fresh look, crochet braids offer endless versatility without damaging your strands.
What Are Crochet Braids?
Crochet braids—also known as latch hook braids—are a method of adding extensions to your natural hair using a crochet needle. Unlike traditional sew-ins or glue-ins, the hair is looped through cornrows using a latch hook, allowing for quicker application, less tension, and a natural-looking finish.
Why Crochet Braids Are Worth the Hype
Here’s why so many swear by this protective style:
- Affordable: Cost-effective compared to salon installs and human hair weaves
- Low Maintenance: Minimal upkeep once installed
- Protective Styling: Shields your natural hair from environmental damage
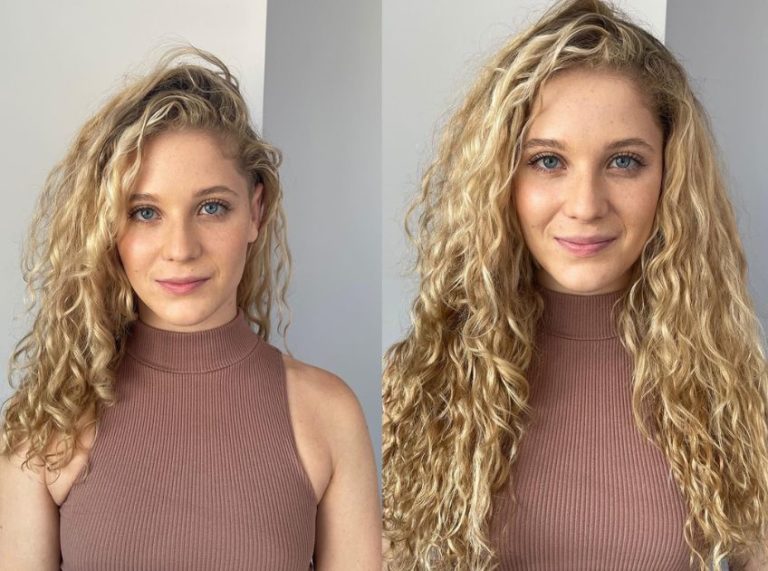
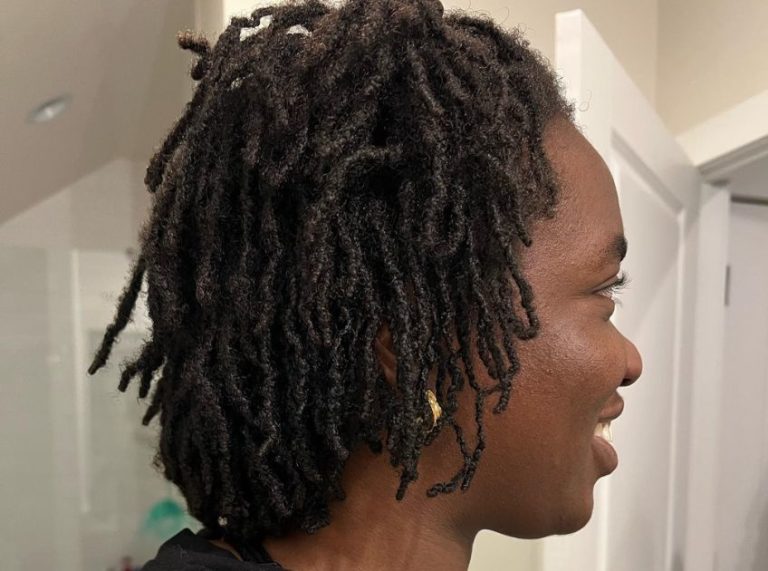
- Versatile Looks: Choose from curly, wavy, or straight extensions
- Easy DIY Option: Can be done at home with a bit of practice
How to Install Crochet Braids Like a Pro
What You’ll Need
- Pre-looped crochet braiding hair (Buy Here)
- Crochet needle (latch hook) (Buy Here)
- Rat-tail comb (Buy Here)
- Hair moisturizer or leave-in conditioner (Buy Here)
- Scissors
- Hair ties or clips (Buy Here)
Step-by-Step Installation Guide: How to Do Crochet Braids
Installing crochet braids is easier than it looks—once you understand the steps, you can create a salon-quality look right at home. Here’s a full breakdown of how to get flawless crochet braids from start to finish:
Step 1: Prep and Cleanse Your Natural Hair
Before installation, it’s essential to start with a clean and healthy scalp:
- Shampoo thoroughly to remove product buildup and dirt.
- Deep condition to strengthen and hydrate your strands before braiding.
- Detangle completely using a wide-tooth comb to avoid knots during the cornrowing process.
- Moisturize your hair and scalp with a leave-in conditioner or hair oil to lock in moisture before styling.
Expert Tip: Dry your hair completely before braiding to avoid mildew or scalp irritation underneath the extensions.
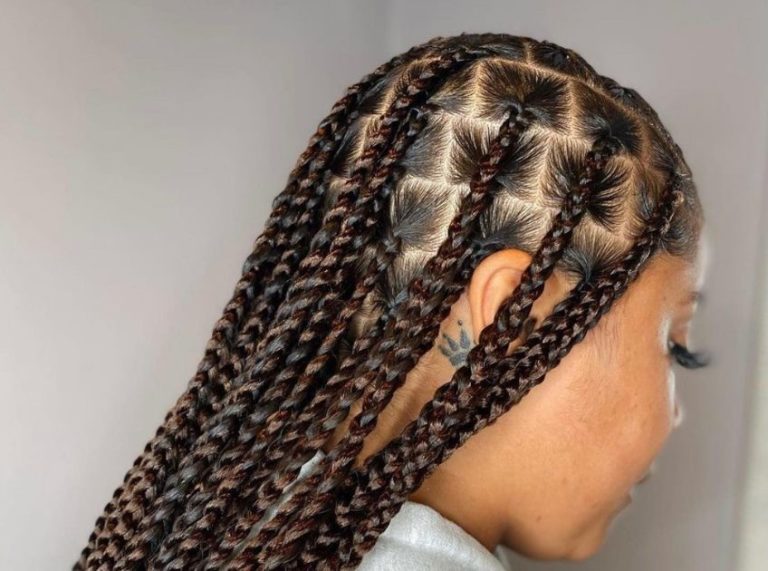
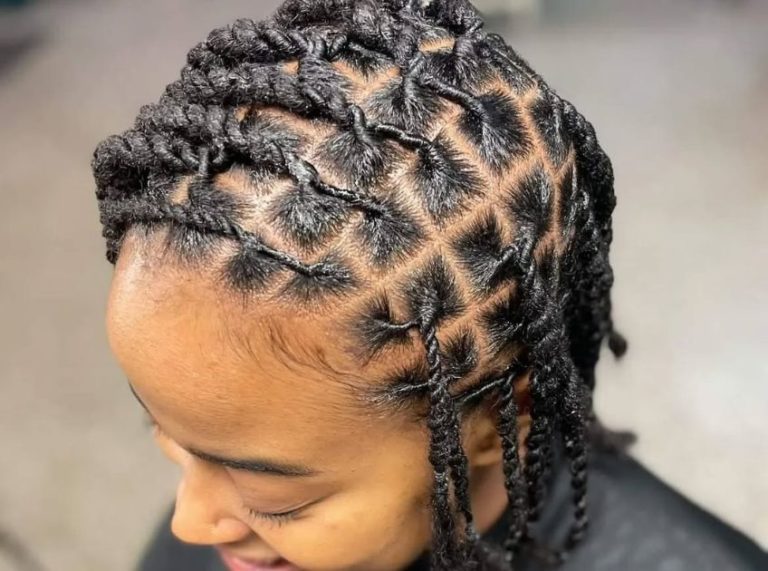
Step 2: Cornrow Your Natural Hair
Your base braid pattern is crucial—it determines the final look and how secure the style will be.
- Part your hair into small, even sections using a rat-tail comb.
- Braid your natural hair into cornrows going straight back, side-swept, or in a circular pattern, depending on your desired parting and style.
- Ensure the braids are firm but not too tight to avoid tension and breakage.
- Use a crochet needle to tuck in any loose ends, or sew them flat with a needle and thread if needed.
Expert Tip: If you’re a beginner, keep the cornrows simple—straight back braids are the easiest to start with.
Step 3: Insert the Crochet Hair Extensions
Now it’s time to add volume and texture with the crochet hair.
- Use a crochet needle (latch hook) to go under the cornrow braid.
- Grab the pre-looped crochet hair with the hook, close the latch, and gently pull it halfway through the braid.
- Pull the ends of the crochet hair through the loop to create a knot and secure it.
- Tighten the knot to hold it in place—repeat this across the head in even rows.
Expert Tip: For a more natural look, install fewer strands at the front and crown. Use denser placement in the back for volume.
Step 4: Fill in and Blend
After looping all the hair, check for even distribution and fullness.
- Add more pieces where necessary, focusing on the crown and perimeter areas.
- Use scissors to trim and shape the crochet braids—this helps blend the extensions into a flattering silhouette.
- Lightly fluff the curls (if using curly hair) for added bounce and realism.
Expert Tip: Use your fingers or a wide-tooth comb to separate curls gently—avoid regular brushes that could cause frizz.
Step 5: Style and Set
Give your new look a polished finish:
- Define your part using edge control or gel if needed.
- Lay your edges with a soft-bristle brush for a sleek hairline.
- Mist with a light setting spray or mousse to reduce flyaways and help the hair hold shape.
Expert Tip: For long-lasting results, avoid over-styling or applying heavy products immediately after installation.
Caring for Your Crochet Braids to Make Them Last
To keep your crochet braids fresh and your natural hair healthy:
- Cleanse the Scalp: Use diluted shampoo on your scalp with a nozzle applicator every 1–2 weeks.
- Moisturize Regularly: Apply leave-in spray or oil to the scalp and braid base.
- Sleep Smart: Wrap hair in a satin bonnet or scarf to reduce frizz.
- Avoid Heavy Products: Use lightweight sprays to avoid build-up.
Frequently Asked Questions (FAQ’S)
1. How long do crochet braids last?
A. Crochet braids typically last 4 to 6 weeks with proper care. Stretching beyond that may cause tension or matting at the roots.
2. Can I wash my hair with crochet braids in?
A. Yes, you can wash your scalp using diluted shampoo. Focus on cleansing the scalp without soaking the entire style.
3. Are crochet braids damaging to natural hair?
A. When installed and maintained properly, crochet braids are considered a protective style and should not damage your natural hair.
The Perfect Blend of Style, Protection, and Simplicity
Crochet braids offer the best of both worlds—protective care for your natural hair and endless styling versatility. Whether you’re new to the technique or a seasoned pro, this affordable and stylish option is worth trying at least once. With the right care and creativity, your crochet braid style can be as bold or as natural as you want it to be.