![]() Fact checked
Fact checked ![]() We have a team of smart fact checkers. They make sure our content is accurate. They use the best sources like medical journals and government websites. You can find their names and profiles on the articles they check.
We have a team of smart fact checkers. They make sure our content is accurate. They use the best sources like medical journals and government websites. You can find their names and profiles on the articles they check.

Important: This article is for informational purposes only. Please read our full disclaimer for more details.
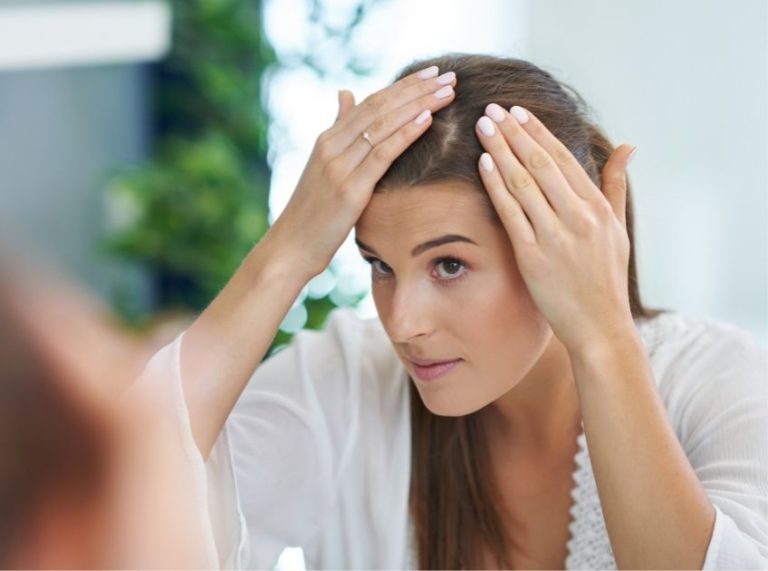
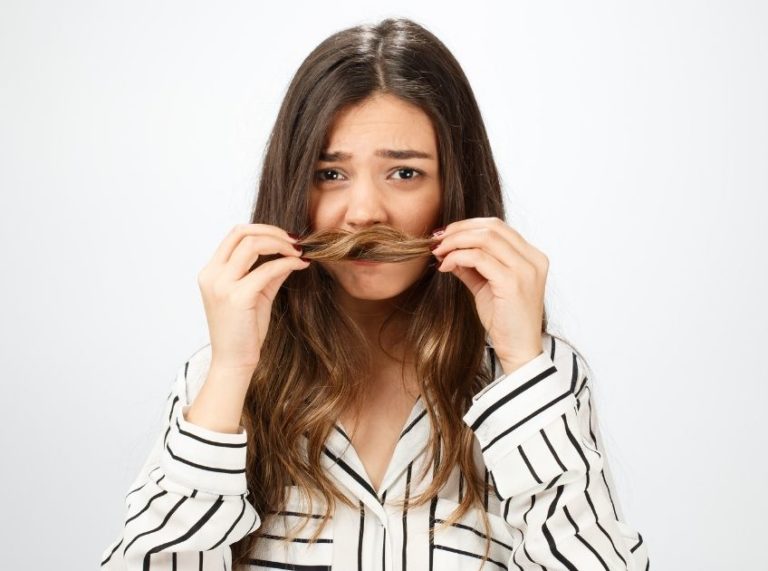
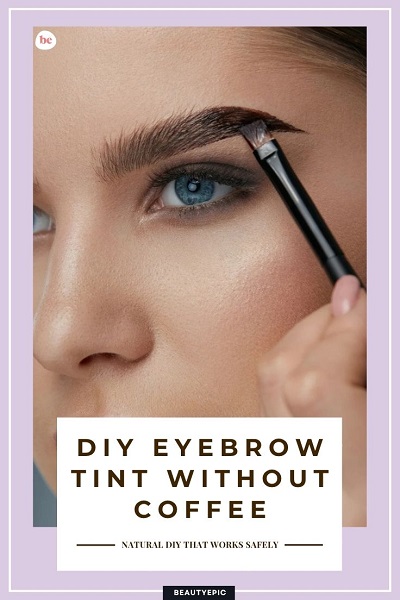
Struggling to darken or define your brows naturally without using coffee? This homemade eyebrow tint gives you a long-lasting tint without relying on staining agents like caffeine. Using skin-safe, gentle kitchen ingredients, this DIY helps achieve bolder, more structured brows. Perfect for those avoiding harsh chemicals or allergens in commercial kits.
Skip the Brew: Why This Natural Tint Is a Brow Game-Changer
Many people love DIY coffee tints, but they aren’t ideal for everyone, especially those with sensitive skin or allergies. Fortunately, this eyebrow tint gives a visible, long-lasting result using all-natural, non-caffeinated alternatives. It’s safe, easy, and budget-friendly.
Top Benefits of This Natural Eyebrow Tint
- Gently defines and darkens light or sparse brows
- Uses non-allergenic ingredients safe for sensitive skin
- Offers a natural look without over-darkening
- Can be customized to match your hair tone
The Science Behind the Tint Ingredients
Natural ingredients like activated charcoal, cocoa powder, and aloe vera contain skin-friendly compounds. Activated charcoal binds to oils and tints the skin and hair subtly. Cocoa powder gives a soft brown tint and is rich in polyphenols, which support healthy skin.
What Makes It Work?
Each ingredient contributes:
- Activated Charcoal: Creates a subtle grayish-black tint. It’s porous and binds well to hair strands.
- Cocoa Powder: Adds warm brown tones and depth without staining too heavily.
- Aloe Vera Gel: Acts as a soothing base and helps blend the powder ingredients while calming the skin.
- Arrowroot Powder: Balances the intensity and helps thicken the mixture for better application.
According to a 2011 study in the Journal of Clinical and Aesthetic Dermatology, aloe vera (1) promotes skin healing and minimizes irritation, making it ideal for sensitive facial areas like brows.
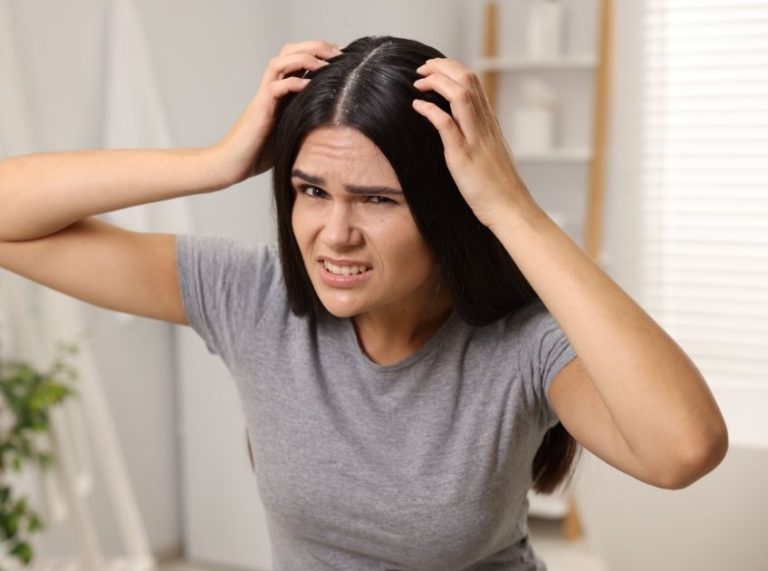
When to Stop Using This DIY
Discontinue if you notice:
- Redness, itching, or irritation after application
- Excessive drying or flaking around the brow area
- Breakouts along the brow line
Can You Adjust the Ingredients?
Yes!
- Add more cocoa powder for a lighter, warmer tone
- Add extra charcoal for a deeper tint
- Use more aloe vera if the mixture feels too thick
- Decrease arrowroot if it’s too powdery
Is This Safe for Skin?
This eyebrow tint is generally safe for all skin types. However, always patch test behind the ear or on your wrist 24 hours before applying it near the eyes. Avoid applying it too close to your eyelids.
Best DIY: Eyebrow Tint Without Coffee
This DIY brow tint offers a natural-looking result without relying on coffee, making it ideal for sensitive skin and those avoiding caffeine-based products. It’s made with skin-safe powders and a soothing gel base that works to both color and condition the brows.
Ingredients
- 1 teaspoon activated charcoal – Adds a soft black tone to the tint
- 1 teaspoon cocoa powder (unsweetened) – Offers warm brown hues for natural contrast
- ½ teaspoon arrowroot powder – Balances pigment and thickens the blend
- 1½ teaspoons aloe vera gel (pure, organic if possible) – Helps bind the mixture and soothes skin
- 1 drop of vitamin E oil – Optional, but nourishes the skin and supports brow hair growth
Directions to Use
- In a small glass or ceramic bowl, combine the activated charcoal, cocoa powder, and arrowroot powder.
- Stir gently to ensure even distribution of dry ingredients.
- Add in the aloe vera gel and mix well until you achieve a smooth, thick paste. You may adjust by adding a tiny bit more gel if it’s too dry.
- Add 1 drop of vitamin E oil if using, and stir again.
- Allow the mixture to rest for about 3–5 minutes, so the powders fully absorb the gel and bind properly.
How to Apply
- Step 1: Clean your brows with a gentle cleanser to remove oils and makeup.
- Step 2: Dab a thin layer of petroleum jelly or thick moisturizer around (not on) the brows to prevent staining the skin.
- Step 3: Use a clean angled brow brush or Q-tip to apply the tint, following your natural brow shape.
- Step 4: Leave the mixture on for 15–20 minutes, depending on how dark you want the tint.
- Step 5: Gently wipe away using a damp cotton pad or soft cloth.
- Step 6: Avoid washing the area with harsh soap for at least 12 hours to let the tint settle.
Pro Tip
For a darker shade, you can increase the ratio of activated charcoal slightly. If your hair is lighter or warm-toned, adjust with more cocoa powder and reduce the charcoal.
Frequently Asked Questions (FAQ’S)
1. How long does the tint last?
A. It can last 3–5 days with gentle cleansing, but results vary depending on skin type and brow hair density.
2. Can I store the leftover tint?
A. Yes, keep it in an airtight container in the fridge for up to one week.
3. Is activated charcoal safe around the eyes?
A. Yes, when cosmetic-grade charcoal is used sparingly and not near the lash line.
Homemade eyebrow tint without coffee is a gentle, effective alternative to standard tints. With natural ingredients and easy customization, it’s a safer way to enhance your brows at home. Just remember to patch test first and adjust the formula to match your perfect shade.
References: