Important: This article is for informational purposes only. Please read our full disclaimer for more details.
Who doesn’t love the feeling of freshly pampered feet? A professional pedicure might be relaxing, but it’s not always budget- or schedule-friendly. The good news? With the right steps and a little self-care, you can recreate that salon-fresh glow right at home. Whether you’re dealing with dry heels, dull nails, or simply in need of a self-care boost, an at-home pedicure can leave your feet soft, healthy, and polished.
In this guide, you’ll learn how to give yourself a rejuvenating pedicure at home using simple tools and expert techniques.
Article Contains
Get Prepped: What You’ll Need
Before diving in, gather the following pedicure essentials:
- Nail polish remover & cotton pads
- Nail clippers and a file (Buy Here)
- A foot soak or a basin with warm water
- Epsom salt or essential oils (optional)
- Foot scrub or pumice stone (Buy Here)
- Cuticle pusher & cuticle oil (Buy Here)
- Moisturizer or foot cream (Buy Here)
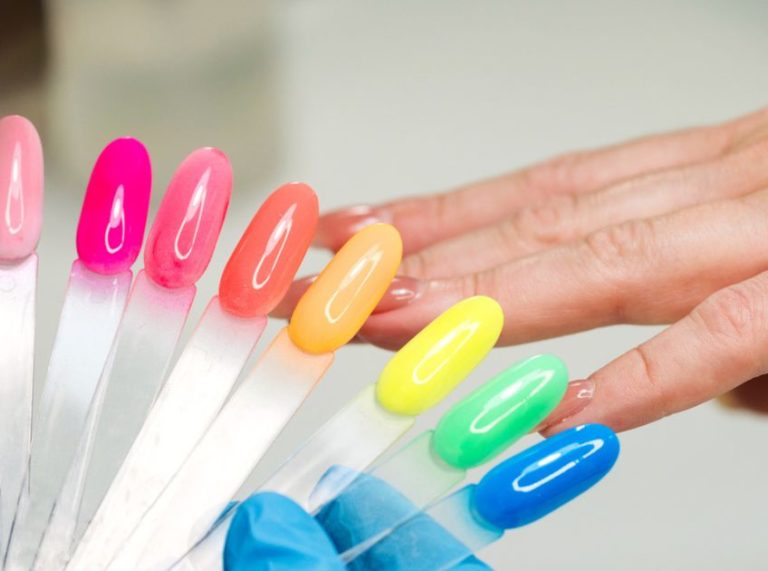
- Base coat, nail polish, and top coat
- Towels and flip-flops for drying
Pro Tip: Set the mood with calming music or a scented candle to make your pedicure feel like a mini spa experience.
Step-by-Step Process
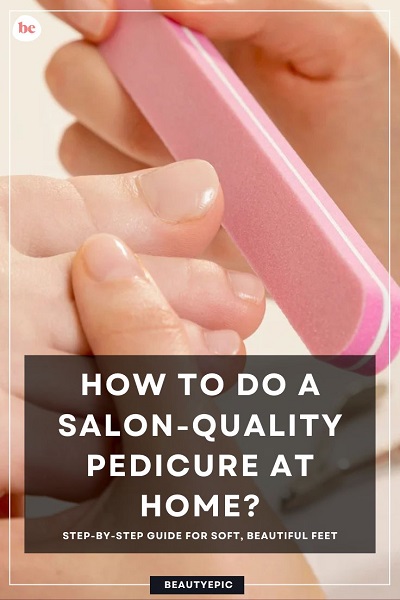
Step 1: Remove Old Polish and Trim Nails
Start with a clean slate. Use a non-acetone nail polish remover to wipe away old polish. Then clip nails straight across to avoid ingrown toenails and use a nail file to shape and smooth the edges.
Expert Tip: Filing in one direction helps avoid splitting and breakage.
Step 2: Soak Your Feet Like a Pro
Soaking is the key to softening rough skin and cuticles. Fill a basin with warm water and add Epsom salt, a few drops of essential oil (like lavender or tea tree), or a foot soak solution.
- Soak for 10–15 minutes.
- Pat dry with a clean towel
This step hydrates skin and makes the rest of your pedicure much easier.
Step 3: Exfoliate and Smooth Rough Spots
Now that your feet are softened, it’s time to slough off dead skin.
- Use a foot scrub or pumice stone to focus on heels, balls of the feet, and any rough patches.
- Be gentle—don’t over-scrub, especially if your skin is cracked or sensitive.
Rinse off any residue and pat your feet dry again.
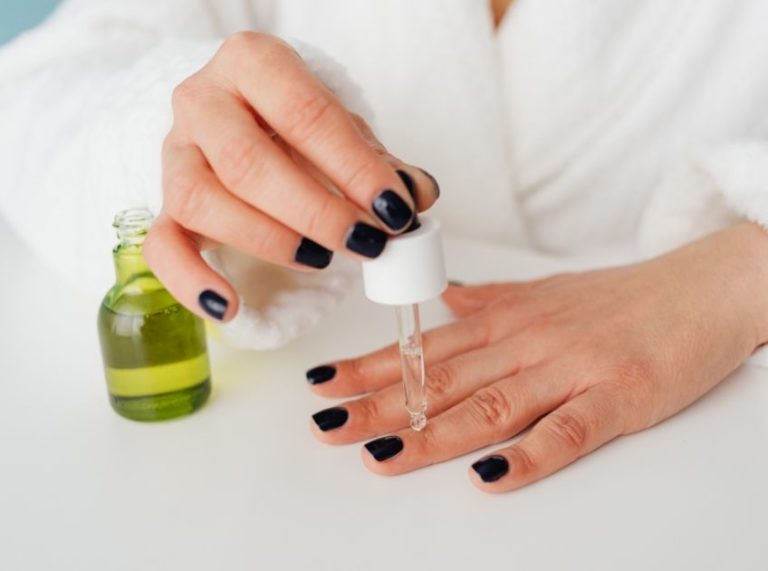
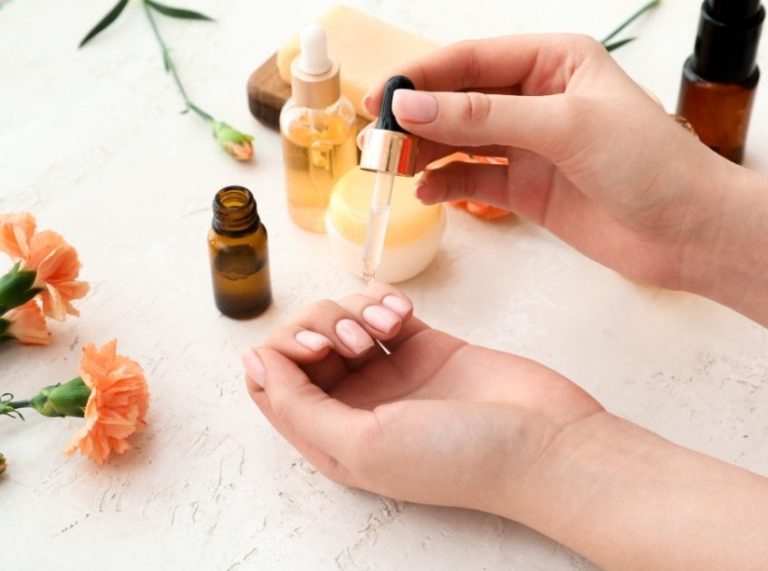
Step 4: Care for Your Cuticles
Healthy cuticles are essential for clean-looking nails. After soaking, your cuticles should be soft and easy to manage.
- Apply cuticle oil or cream
- Gently push them back with a cuticle pusher
- Avoid cutting cuticles—this can lead to infections
Pro Tip: Massage the oil to promote circulation and nail growth.
Step 5: Moisturize and Massage
Hydration is a crucial step in achieving soft, beautiful feet. Use a rich foot cream or body butter to deeply moisturize the skin.
- Massage your feet and calves in circular motions
- Focus on dry areas like heels and toes
Not only is this relaxing, but it also improves circulation and locks in moisture.
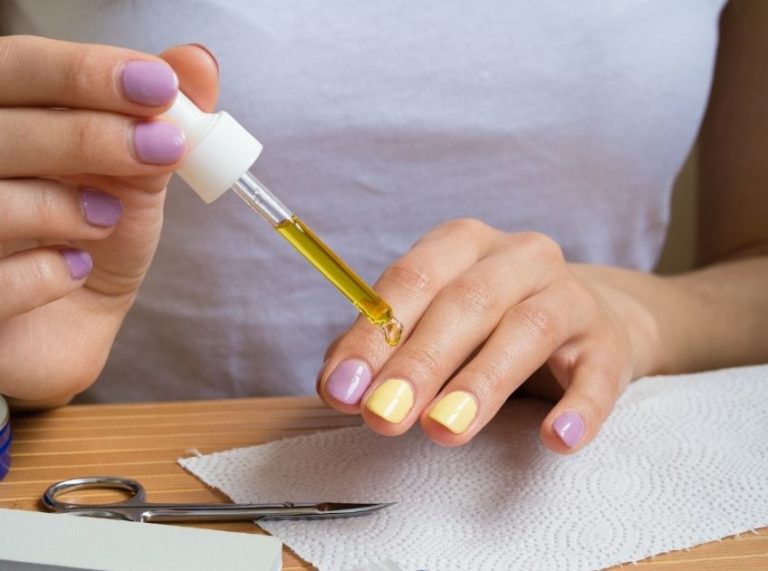
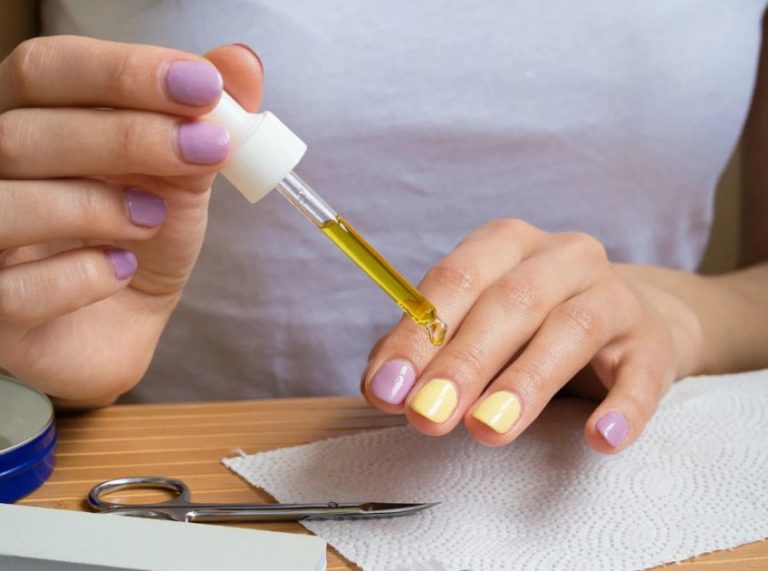
Step 6: Paint Your Nails Like a Pro
Time for polish! Follow these steps for a clean, long-lasting finish:
- Wipe nails with a little nail polish remover to eliminate oils
- Apply a clear base coat to protect your nails
- Add two thin coats of your chosen polish, allowing each coat to dry
- Finish with a glossy or matte top coat
Let your nails dry completely before wearing shoes or walking around.
Step 7: Maintain the Results
To keep your feet and polish looking great:
- Moisturize daily, especially before bed
- Wear socks or slippers indoors to protect your polish
- Reapply top coat every 3 days for a longer-lasting shine
Final Thoughts
An at-home pedicure isn’t just about pretty polish—it’s about caring for your feet and taking a well-earned moment for yourself. With these easy steps and expert-approved techniques, you can keep your feet looking and feeling fabulous year-round.
So go ahead—set aside 45 minutes, grab your favorite polish, and treat yourself. Your feet will thank you.