Important: This article is for informational purposes only. Please read our full disclaimer for more details.
Boho braids are the perfect fusion of carefree spirit and stunning style. This laid-back yet elegant look has become a go-to for festivals, vacations, and everyday slay. Whether you’re new to styling or just tired of salon appointments, learning how to do your boho braids can save you money and level up your hair game.
Ready to unleash your inner bohemian? Here’s everything you need to create beautiful, breezy boho braids at home.

What Are Boho Braids?
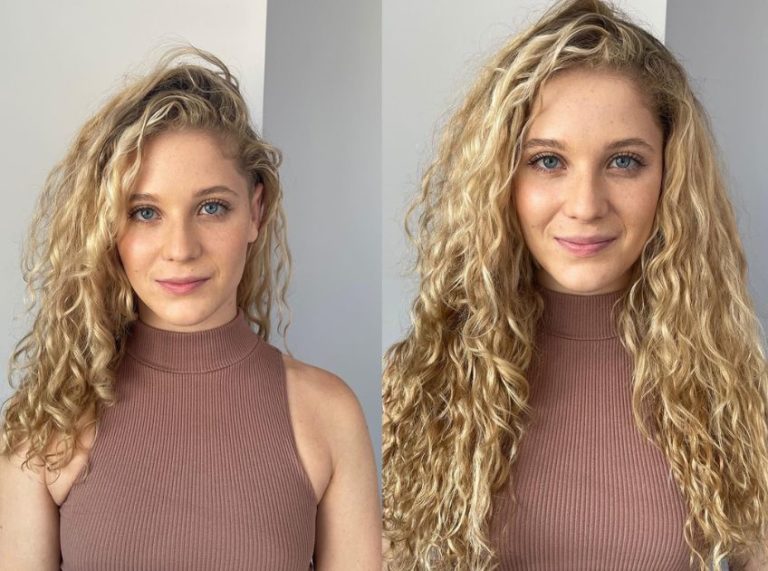
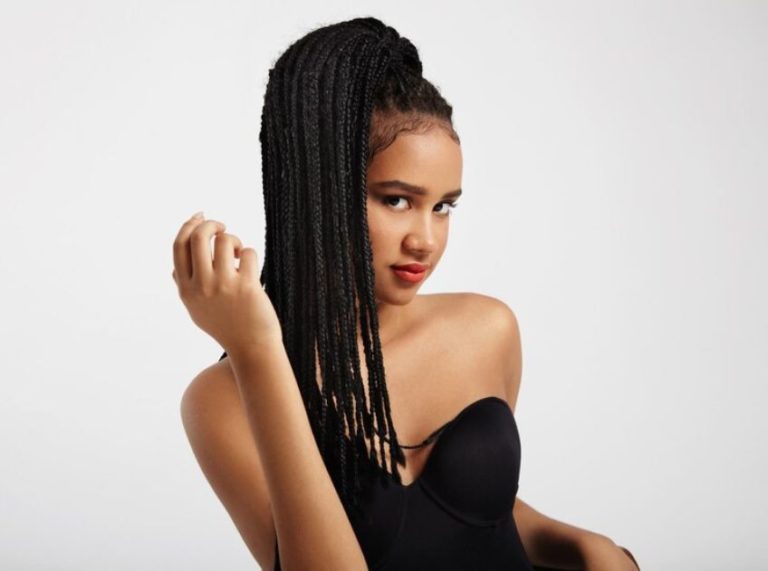
Boho braids are a free-spirited take on classic box braids, with curly or wavy strands left out to create a soft, undone finish. Unlike traditional braids that are tight and uniform, boho braids embrace texture and movement for a more natural, goddess-like vibe.
Key Features of Boho Braids
- Loose, curly pieces woven into or left outside the braid
- Lightweight and versatile
- Typically installed with a mix of braiding hair and curly extensions (like water wave or deep wave hair)
- Can be styled up, down, half-up, or accessorized
Boho braids are all about that “I woke up like this” look, with just the right amount of effort.
DIY Essentials: What You’ll Need for Boho Braids
Gather your tools before getting started to make the process smooth and organized.
Boho Braid Kit Checklist
- Rat-tail comb (for clean parts) (Buy Here)
- Sectioning clips or bands (Buy Here)
- Shine-n-jam or braiding gel (for neat parting and grip) (Buy Here)
- Pre-stretched braiding hair (like X-Pression or EZ Braid) (Buy Here)
- Water wave or deep wave hair (for curly leave-out pieces) (Buy Here)
- Crochet hook (optional, for feeding in curly hair) (Buy Here)
- Scissors and mousse (to trim and set the style) (Buy Here)
- Edge control and scarf (for the finishing touch) (Buy Here)
Pro Tip: Choose hair colors close to your natural shade or mix in lighter tones for a sun-kissed effect.
Step-by-Step Boho Braids Tutorial for Beginners

Installing your boho braids can feel intimidating at first, but with the right prep, tools, and rhythm, it becomes a relaxing and rewarding process. Here’s a step-by-step breakdown designed to help you master the art of boho braids at home—even if you’re a complete beginner.
Step 1: Cleanse and Prep Your Natural Hair
Start with a clean canvas to ensure longevity and scalp comfort.
- Wash your hair thoroughly with a clarifying shampoo to remove product buildup and dirt.
- Deep condition to strengthen and hydrate your strands—braids are a protective style, but only if your natural hair underneath is well-nourished.
- Dry your hair fully (air-drying or blow-drying in sections), and make sure it’s detangled to make braiding smoother.
- Moisturize and seal using a leave-in conditioner, followed by a natural oil like argan or jojoba to lock in hydration.
Pro Tip: If your scalp is sensitive, apply a lightweight anti-itch serum or scalp oil before you start braiding to prevent dryness or irritation.
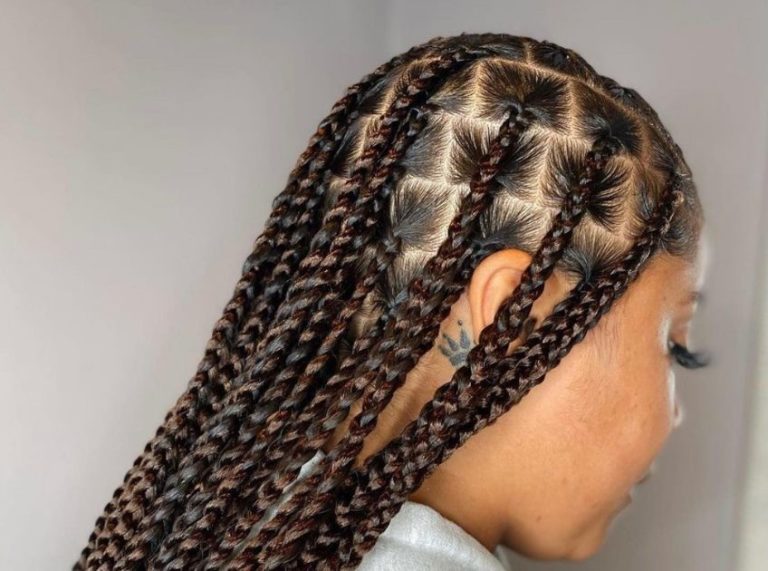
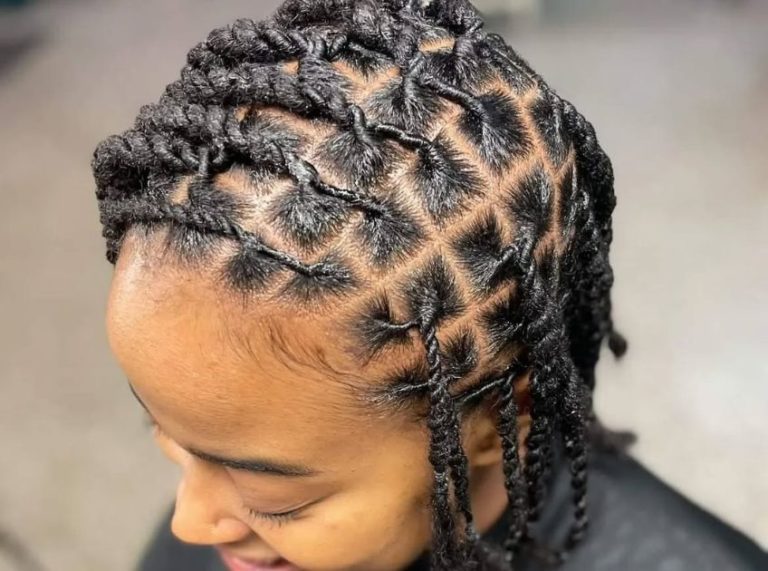
Step 2: Section and Part Like a Pro
Neat parting sets the foundation for a flawless boho braid look.
- Use a rat-tail comb to create clean, box-shaped parts. The size can vary—medium to small parts work best for a fuller, more dimensional effect.
- Apply Shine-n-Jam or braiding gel to the roots and part lines for a slick, polished base. This helps grip the extension hair and gives your sections a tidy finish.
- Secure each section with clips or rubber bands to keep them organized.
Pro Tip: If you’re doing this solo, use a mirror setup (front and back) or have someone assist with parting the back sections.
Step 3: Start Braiding with Extensions
Now it’s time to bring your style to life!
- Grab a small bundle of pre-stretched braiding hair and divide it into thirds.
- Start by blending it into your natural hair at the root—use the underhand technique for more control.
- Braid firmly but not tightly, continuing downward until you reach about ¾ of the braid’s length.
Pro Tip: Keep your tension consistent to avoid uneven braids and scalp stress.
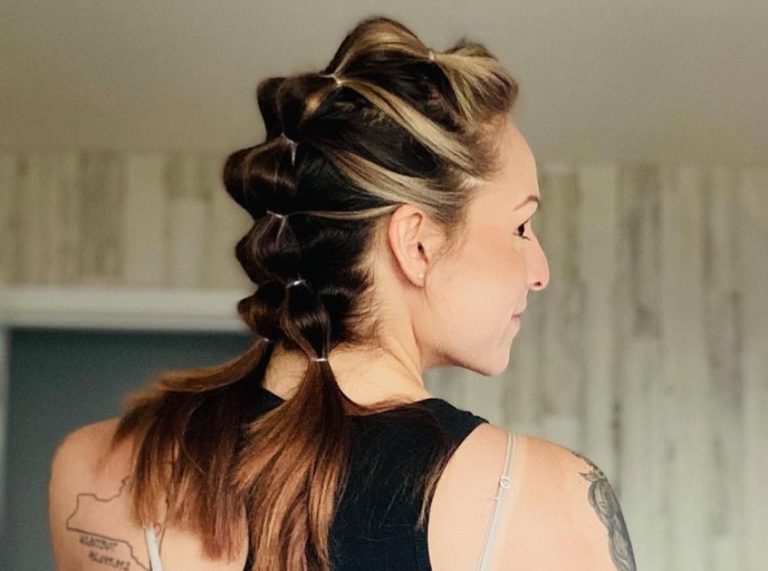
Step 4: Add the Signature Boho Curls
This is the step that gives boho braids their soft, romantic look.
- Take a small piece of water wave or deep wave curly hair. You can either braid it in as you go or crochet it through after your braid is finished using a latch hook.
- Leave curly strands out at random points—some from the roots, some mid-braid, and some at the ends. This variation adds that lived-in, beachy texture.
- If you’re using the crochet method, pull the curly hair through near the braid and let it fall freely or knot it gently.
Pro Tip: Lightly spritz the curly hair with a mix of water and leave-in conditioner to maintain bounce and reduce tangling.
Step 5: Seal and Style
Once your braids are complete, it’s time to lock everything in.
- Trim any flyaways and uneven braid ends with hair shears.
- Apply a generous amount of styling mousse over all your braids to smooth frizz and set the style.
- Use a blow dryer with a diffuser attachment to lightly dry the mousse if needed.
- Wrap your hair with a silk or satin scarf and leave it on for 10–20 minutes to mold everything into place.
Pro Tip: Add your personal touch with accessories—like hair cuffs, beads, or wrap string—to enhance the boho vibe.
Frequently Asked Questions (FAQ’S)
Q1: How long do boho braids last?
A. Boho braids typically last 4–6 weeks, depending on maintenance and how much curly hair is left out. The curly parts may require refreshes with mousse or detangler.
Q2: Can I wash my boho braids?
A. Yes, but gently. Focus on your scalp using a diluted shampoo in a nozzle bottle. Avoid tangling the curly pieces by patting them dry and using leave-in conditioner to refresh them.
Q3: Are boho braids heavy on the scalp?
A. Not usually, as long as you don’t overload each braid with too much hair. Use lightweight extensions and avoid excessive tension on your roots.
Final Thoughts: Embrace the Boho Vibes
Boho braids are more than just a hairstyle—they’re a creative expression of style, freedom, and natural beauty. Whether you want to channel festival energy or just add a touch of effortless glam to your look, doing your boho braids is achievable.
With a bit of patience and the right steps, you’ll walk away with a dreamy style that turns heads and protects your natural hair. So go ahead—get braiding, and let your boho beauty shine.