Important: This article is for informational purposes only. Please read our full disclaimer for more details.
Builder gel nails offer a beautiful, durable finish that many love for their strength and shine. But when it’s time to remove them, acetone isn’t the only solution. If you want to protect your natural nails and skin from harsh chemicals, this guide will walk you through a safer, acetone-free way to remove builder gel nails at home without damage.
Why Skip Acetone? The Case for Gentle Builder Gel Removal
Acetone is a common gel nail remover, but it comes with drawbacks. It dries out your nails and cuticles, weakens nail plates, and can cause irritation or allergic reactions. If you have sensitive skin or frequently change your nails, avoiding acetone helps maintain nail health and skin comfort.
The Unexpected Benefits of Acetone-Free Gel Removal
Choosing acetone-free removal means:
- Stronger Nails: Non-acetone methods rely on physical softening and gentle filing that preserve your natural nail’s thickness and resilience.
- Hydrated Cuticles and Skin: Avoid the dryness and redness caused by acetone, keeping your hands softer and healthier.
- A Cleaner, Fume-Free Routine: Skip the strong chemical smell and opt for natural oils and water-based treatments.
Step-by-Step: Safe and Simple Builder Gel Removal Without Acetone
Step 1: Prepare Your Tools
Before starting, gather everything you need to make the process smooth and effective:
- Medium grit nail file (180 grit) (Buy Here)
- Fine grit nail buffer (240 grit or higher) (Buy Here)
- Orange wood stick or cuticle pusher (Buy Here)
- A small bowl for soaking
- Warm water (not hot, about body temperature)
- Natural oils (such as olive oil, coconut oil, or cuticle oil)
- Moisturizing hand cream or lotion (Buy Here)
- Optional: acetone-free nail softener
Having these ready ensures you won’t be scrambling mid-process and can focus on gentle removal.
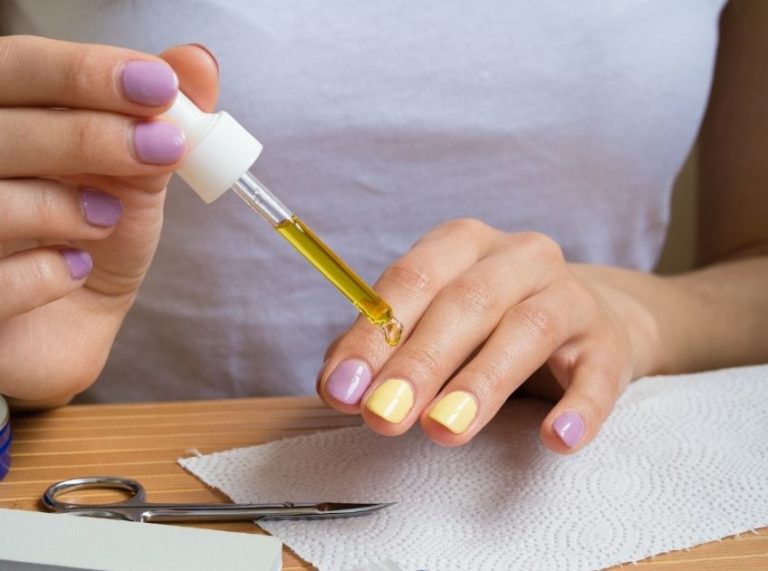
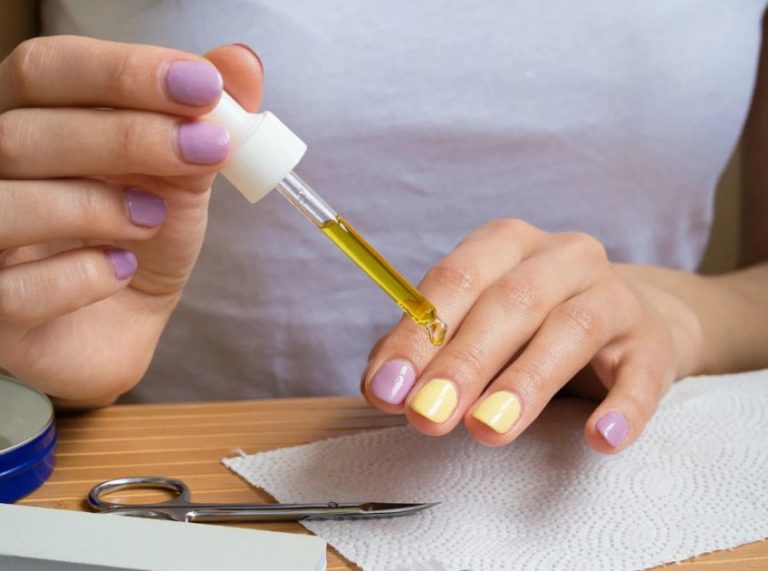
Step 2: Soak Nails in Warm Water with Oil
Fill a small bowl with warm (not hot) water. Add a tablespoon of natural oil—this helps soften the builder gel gently. Soak your fingertips for about 15-20 minutes. The warmth combined with the oil loosens the gel’s grip without drying out your skin.
Step 3: File the Top Layer of Builder Gel
Using a medium grit nail file, gently buff the shiny top layer of the gel. This helps break the seal and allows oils and moisture to penetrate the gel better. Be careful not to file too aggressively—stop once the surface loses its shine.
Step 4: Apply Nail Softener (Optional)
If you have an acetone-free nail softener, apply it following the package instructions. This will help further loosen the gel. Let it sit for the recommended time—usually about 10-15 minutes.
Step 5: Gently Push Off the Builder Gel
Take an orange wood stick or cuticle pusher and softly push the gel away from the nail bed. The softened gel should lift easily without forcing it. If you meet resistance, soak your nails for another 5-10 minutes and try again. Patience is key to avoiding damage.
Step 6: Buff and Smooth Your Nails
Once the gel is mostly removed, use a fine grit buffer to smooth out any rough patches. This step evens your nail surface without thinning it too much.
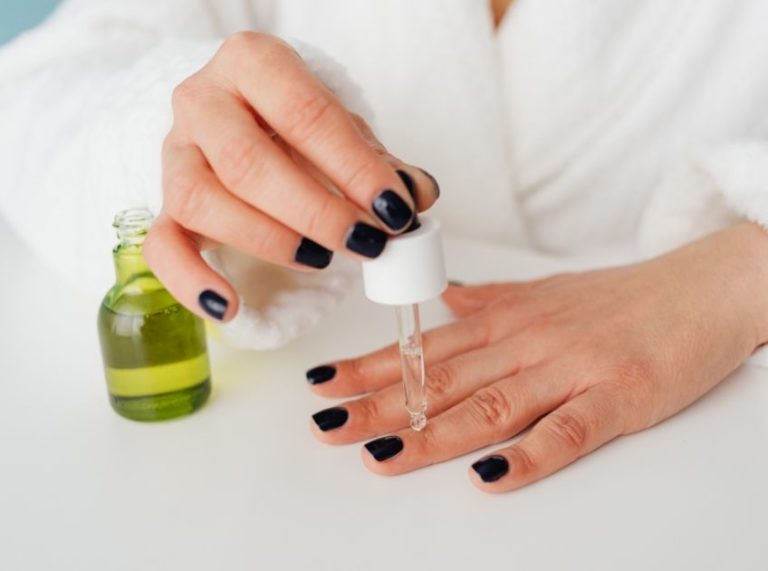
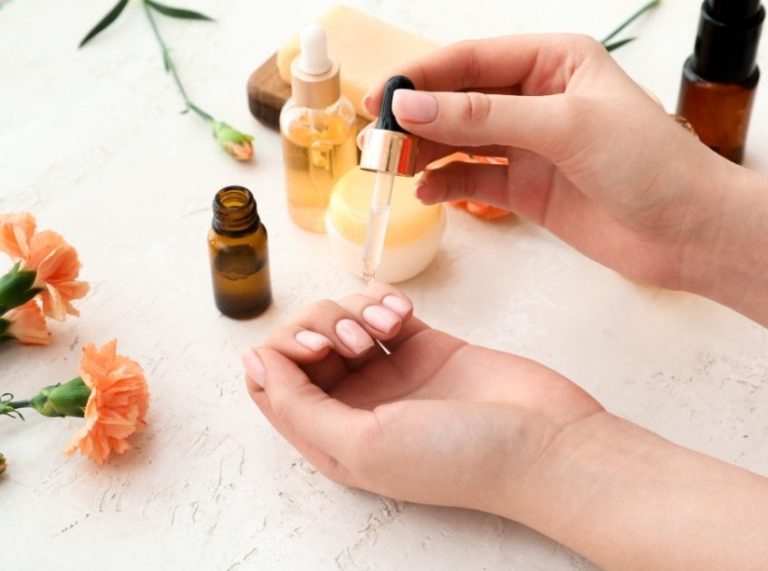
Step 7: Hydrate and Nourish
Finish by washing your hands, then apply cuticle oil and a rich hand cream. This locks in moisture and helps your nails recover from the removal process.
Acetone-Free Gel Removal Is Possible (and Worth It!)
Despite popular belief, acetone isn’t the only way to remove builder’s gel at home. While it may take a bit more time and patience, these gentle techniques protect your nails from dryness and damage, promoting healthier nails in the long run.
Frequently Asked Questions (FAQ’S)
Q1: How long does this acetone-free removal take compared to acetone?
A. The process can take 30-45 minutes or more, depending on gel thickness and nail condition. It’s slower than acetone but much kinder to your nails.
Q2: Can I damage my nails doing this at home?
A. If you follow the steps carefully and avoid forceful scraping or over-filing, this method is very safe and minimizes damage. Always moisturize well afterward.
Q3: What if the gel doesn’t come off easily?
A. Re-soak your nails in warm oil and water for 5-10 more minutes, then try pushing the gel gently again. Patience is key to avoiding harming your nails.
Final Thoughts: Prioritize Nail Health with Acetone-Free Builder Gel Removal
Choosing acetone-free builder gel removal requires a bit more time but offers big benefits. This gentle, nourishing approach helps maintain strong, hydrated nails and healthier skin around the cuticles. By following these steps carefully, it’s easy to keep your nails looking their best, without harsh chemicals or damage. Try this routine and enjoy a safer, more natural nail care experience at home.