Important: This article is for informational purposes only. Please read our full disclaimer for more details.
Lemonade braids are more than a stylish statement—they’re a cultural icon made famous by Beyoncé in her visual album Lemonade. With their sleek, side-swept appeal and endless versatility, these braids have become a go-to for protective styling. If you’re considering rocking lemonade braids, here’s everything you should know before booking your next salon visit.
What Are Lemonade Braids?
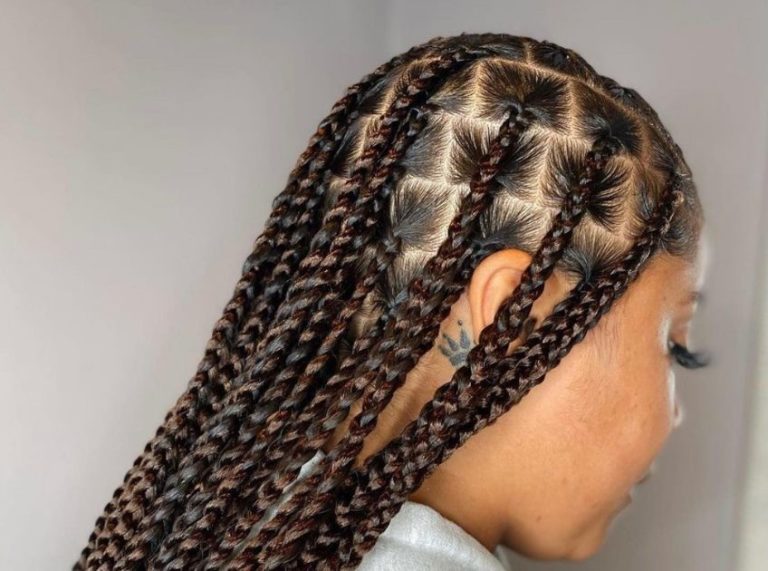
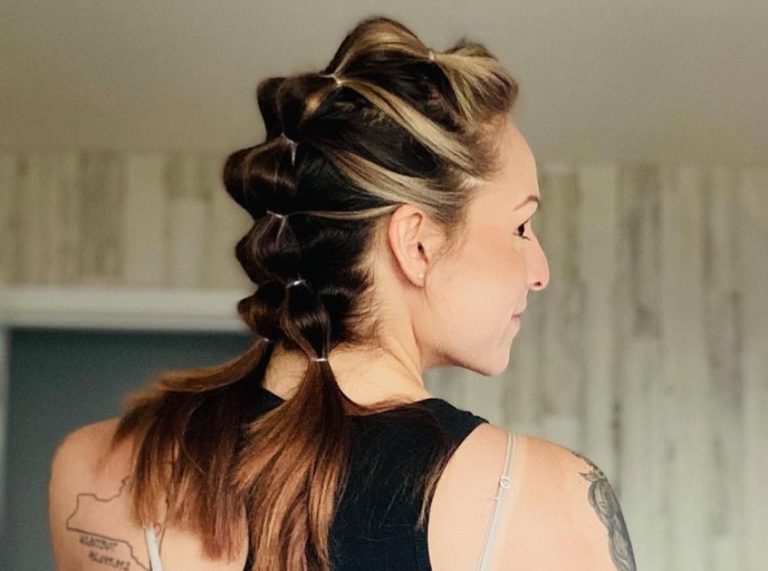
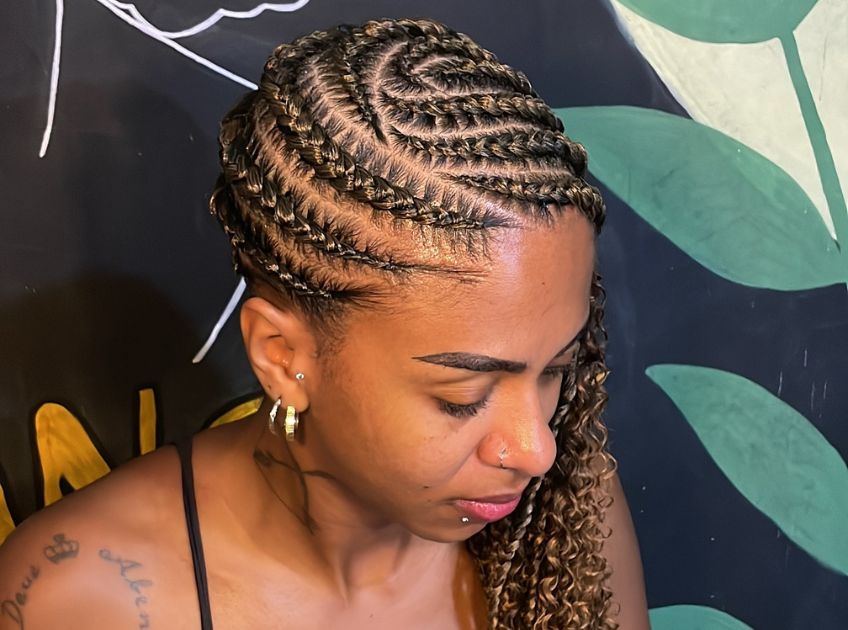
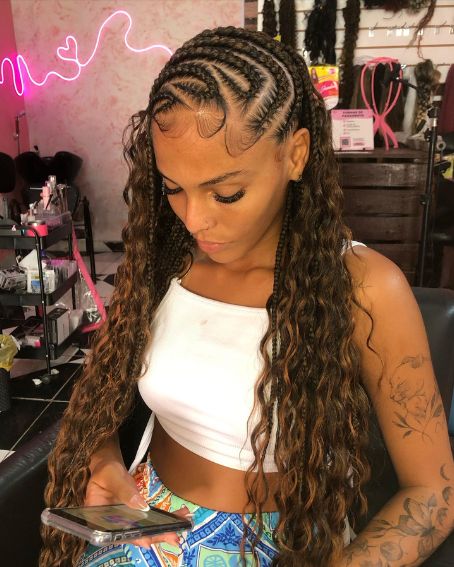
Lemonade braids are a variation of side cornrows that typically extend past the shoulders and curve gently around the head in a swooping motion. The style is characterized by its smooth edges, neat parts, and creative patterns, allowing for endless personalization.
They’re usually done using added braiding hair for length and fullness, and can range from small, detailed cornrows to larger, chunkier ones, depending on your preference.
Top Benefits of Choosing Lemonade Braids
Here’s why lemonade braids are a staple for many:
- Protects natural hair from daily manipulation and breakage
- Long-lasting—can stay neat for up to 4 weeks with proper care
- Low-maintenance compared to other styles
- Versatile in look—can be styled in buns, ponytails, or accessorized
- Culturally expressive and fashion-forward
How to Get the Look: Lemonade Braids 101
What You’ll Need
Before getting started, gather these essentials:
- Braiding hair extensions (Kanekalon or pre-stretched preferred) (Buy Here)
- Rat-tail comb for parting (Buy Here)
- Hair clips for sectioning (Buy Here)
- Edge control or gel (Buy here)
- Shine spray or braid sheen (Buy Here)
- Mousse (to set and smooth flyaways) (Buy Here)
- Hot water (to seal ends, if needed)
Step-by-Step Guide to Installing Lemonade Braids
- Prep the Hair: Start with clean, detangled, and stretched hair. Moisturize with a leave-in conditioner and seal with oil.
- Section the Hair: Use a rat-tail comb to part the hair into neat side-swept cornrows. Use edge control for clean parting.
- Add Braiding Hair: Begin braiding from the hairline using a feed-in method for a natural look. Gradually add braiding hair as you go.
- Braid to Desired Length: Continue braiding past your natural hair until you reach your chosen length. Secure the ends with hot water if needed.
- Set the Style: Apply styling mousse to smooth flyaways. Wrap hair with a scarf and sit under a dryer for a polished finish.
Pro Tip: For a softer look, consider curly ends or add hair jewelry like cuffs or beads.
Caring for Your Lemonade Braids
To maintain the look and protect your scalp:
- Wrap your hair at night with a satin scarf or bonnet
- Oil your scalp 2–3 times a week with a lightweight oil to avoid dryness
- Use a braid spray to keep your scalp hydrated and prevent itching
- Avoid excessive tension or pulling styles that stress your edges
With proper care, your braids can last 3–5 weeks without looking frizzy or causing breakage.
Frequently Asked Questions (FAQ’S)
Q1: How long do lemonade braids take to install?
A. Typically, installation takes 3–6 hours, depending on braid size and length.
Q2: Are lemonade braids suitable for all hair types?
A. Yes, they can be done on all hair textures as long as the hair is long enough to grip for braiding.
Q3: Can I wash my hair with lemonade braids?
A. Yes, you can gently cleanse your scalp using diluted shampoo and a spray bottle. Focus on the roots, rinse well, and reapply braid sheen.
Final Thoughts
If you’re seeking a stylish, protective, and versatile braid style, lemonade braids are a top contender. They allow you to express personality while giving your natural hair a much-needed break. Whether sleek and minimal or accessorized with flair, lemonade braids let you channel confidence with every turn of your head.