Important: This article is for informational purposes only. Please read our full disclaimer for more details.
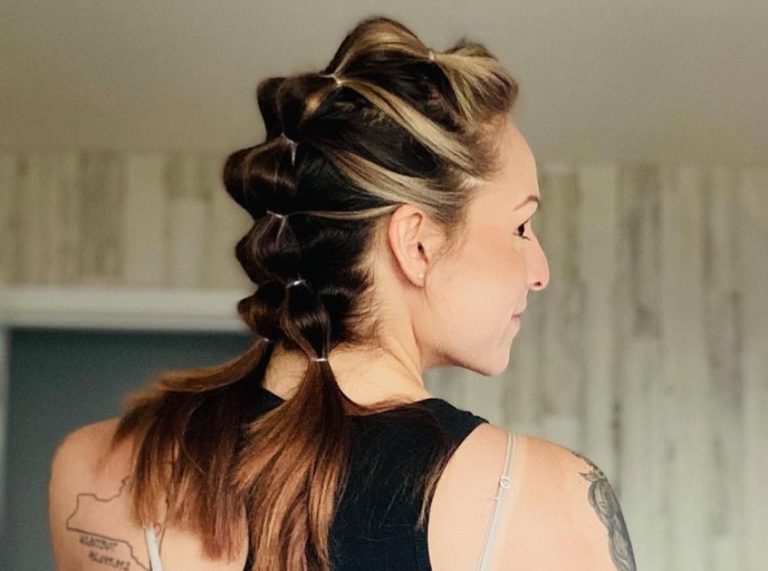
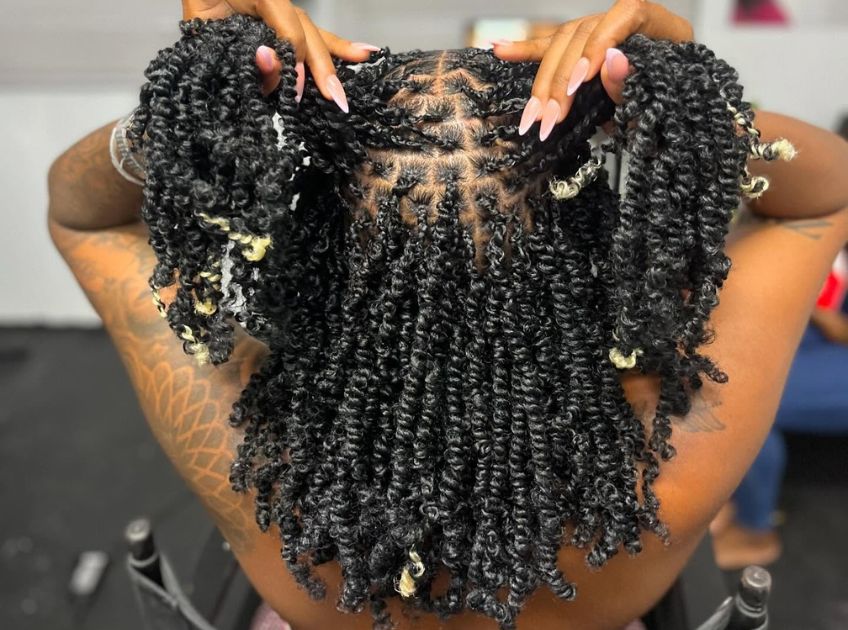
Looking for a lightweight, bouncy, and low-maintenance protective style? Spring twists are one of the most flattering natural hairstyles that give you definition, volume, and style, without the bulk of traditional twists. Whether you’re new to protective styling or just want a fresh twist (literally), this guide will walk you through all you need to know about spring twists.
What Makes Spring Twists So Unique?
Spring twists are two-strand twists created with coily, springy hair extensions (usually pre-curled). What sets them apart is their airy texture and natural appearance, closely mimicking Type 4 curls. The style is achieved by twisting synthetic springy hair onto your natural strands for a light, fluffy, and natural look that suits almost any face shape.
Top Benefits of Wearing Spring Twists
Here’s why spring twists are a fan favorite:
- Lightweight feel that doesn’t weigh down your scalp
- Protective styling that guards natural hair from breakage
- Effortless volume with a natural, coily texture
- Versatile styling—wear them up, down, or half-up
- Long-lasting with proper maintenance (up to 6 weeks)
Ready to Try It? Here’s What You’ll Need
Before installing spring twists, make sure you have:
- Pre-twisted spring twist hair or springy crochet hair (like Water Wave) (Buy Here)
- Rat-tail comb for clean parting (Buy Here)
- Edge control or styling gel (Buy here)
- Clips or hair ties for sectioning (Buy Here)
- Crochet needle (if using crochet install) (Buy Here)
- Mousse or styling foam (Buy Here)
- Hair oil or scalp spray
Step-by-Step: How to Install Spring Twists Like a Pro

You can do spring twists using the individual twist method or the crochet method. Here’s how:
Method 1: Individual Spring Twists
- Prep your natural hair: Start with clean, conditioned, and stretched hair. Moisturize and section.
- Part the hair: Use the rat-tail comb to part small sections. Clip away the rest.
- Add extension hair: Wrap spring twist hair around the base of your section and begin two-strand twisting tightly.
- Continue twisting: Twist down, letting the curls bounce naturally.
- Seal and finish: Apply mousse to set the style, then oil your scalp.
Method 2: Crochet Spring Twists
- Cornrow your base: Braid your natural hair straight back in cornrows.
- Insert the hair: Use a crochet needle to pull spring twist hair under the braid.
- Loop and secure: Loop the hair through itself and gently pull to tighten.
- Repeat until the head is covered, then trim and fluff as needed.
Caring for Your Spring Twists the Right Way
Keep your style fresh and your scalp healthy with these tips:
- Wrap your hair nightly with a satin bonnet or scarf to reduce frizz
- Use a lightweight oil or scalp spray 2–3 times a week to keep your scalp nourished
- Avoid heavy creams that weigh down the springy texture
- Limit manipulation and tight styles to preserve the twists’ shape
With proper care, spring twists can last 4–6 weeks.
Frequently Asked Questions (FAQ’S)
Q1: How long do spring twists take to install?
A. It depends on the method and size, but usually between 4 to 6 hours.
Q2: Are spring twists good for all hair types?
A. Yes! They’re especially great for natural hair, but can work on relaxed hair as well.
Q3: Can you wash your hair with spring twists?
A. Yes. Use a diluted shampoo on your scalp, rinse gently, and dry thoroughly to prevent buildup or mildew.
Final Thoughts
If you want a protective style that’s both natural-looking and lightweight, spring twists are a no-brainer. Easy to maintain and beautiful in every season, they’re perfect for anyone looking to give their hair a break while still turning heads.