Important: This article is for informational purposes only. Please read our full disclaimer for more details.
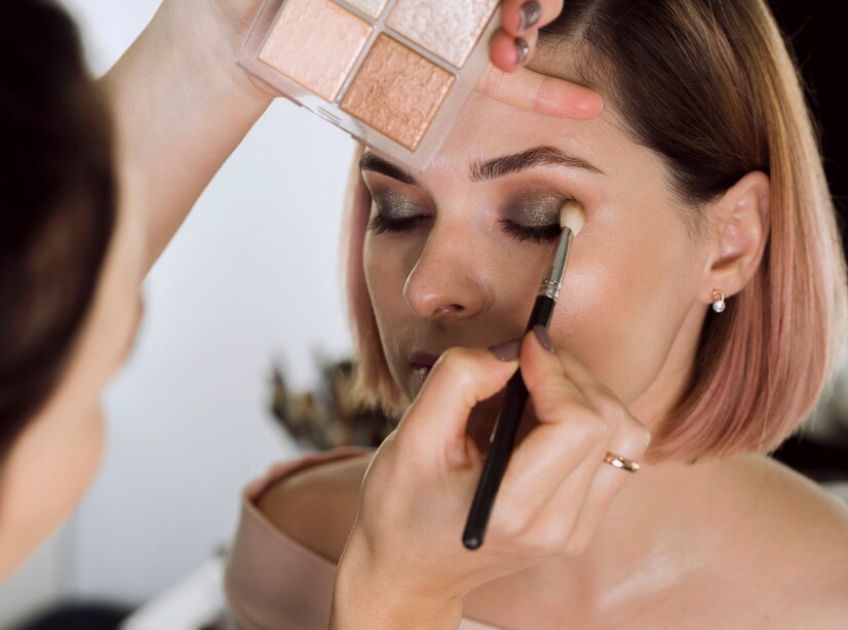
Ever wonder why your eyeshadow turns into a murky mess instead of that seamless gradient you were going for? You’ve blended for what feels like hours, layered multiple shades, and yet, mud. If this sounds like your regular makeup routine, don’t worry.
Let’s break down exactly why your eyeshadow looks muddy and the easy pro-level tricks to get clean, defined blends every time.
First, What Does a “Good Blend” Actually Look Like?
Quick self-check: Hold up your phone camera, zoom in, and check your eyelid. Can you see where your lid color ends and crease color begins—but it looks like a smooth fade, not a harsh line? That’s what a good blend looks like.
Try this right now: Place your finger horizontally just above your crease. Can you see a soft transition from one shade to the next? Or is it a muddy blur?
1. You’re Not Using a Base—And It Shows
Fix: Use an Eyeshadow Primer or a Matte Base Shadow
While I don’t always reach for an eyeshadow primer, it does make a difference, especially if you’re struggling with pigment payoff or shadow wear time. A primer gives your shadows something to cling to and keeps them vibrant all day.
Pro Tip: If you’re not into primers, a matte flesh-toned eyeshadow or a light dusting of translucent powder over your lid does wonders. It smooths the skin and makes blending your crease shades much easier. Think of it as prepping your canvas.
2. You’re Skipping the Transition Shade
Fix: Start With a Flesh-Toned or Light Neutral Shade
One of the biggest mistakes I see? Jumping straight into deep colors without a transition shade. You need a mid-tone shadow that mimics your skin tone or is just a tad deeper to help bridge the gap between your base and darker crease colors.
This step is essential to prevent that “bruised eye” effect and helps each shadow layer show up distinctly.
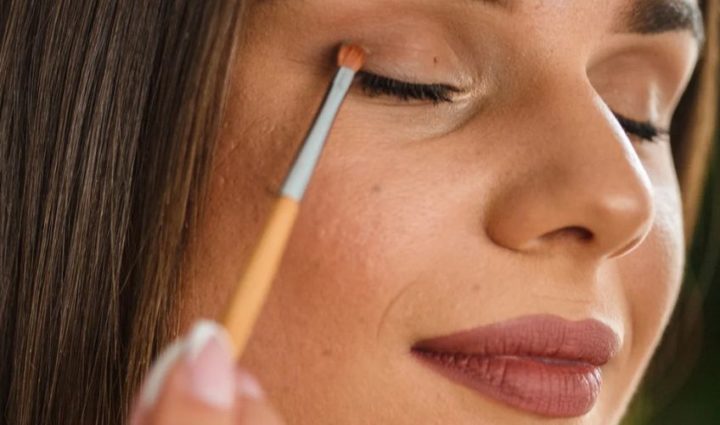
3. Your Brushes Are Too Big—or Too Wrong
Fix: Use the Right Tool for Each Task
Not all brushes are created equal. Using a fluffy blending brush on a small eyelid? You’ll lose all control. Here’s a simple breakdown:
- Dense flat brush: for placing pigment (like the Zoeva 234 Luxe Smoky Shader).
- Tapered blending brush: for soft blending (like Sigma E40 or BK Beauty 202).
- Smaller crease brush: for detailed work in tight spaces (like Sigma E25).
Remember: Match your brush size to your eye shape. Too big, and your shadow spills past your crease and into your brow bone.
4. You’re Blending Too Hard (Yes, That’s a Thing)
Fix: Use Gentle Pressure and Take Your Time
If you’re pressing too hard with your brush, you’re just smearing pigments together—hello, mud. Instead, use light, feather-soft strokes and blend in small circular motions. Let the brush do the work. The softer your touch, the smoother your blend.
Want defined color separation? Apply each shade by patting it into place, then blend only the edges.
5. You’re Layering Too Many Colors Without Strategy
Fix: Build Depth with Purpose
Applying five shades just because your palette has five is a recipe for disaster. Instead, stick to three strategic colors:
- A transition shade
- A crease color
- A deeper outer corner shade
Always place pigment first, blend second. And make sure each new layer is slightly deeper than the last.
6. Your Eye Shape Needs a Custom Approach
Fix: Adjust Techniques for Hooded or Deep-Set Eyes
If your shadow disappears when your eyes are open, chances are you’re not placing it high enough on the lid. For hooded or deep-set eyes, apply crease color slightly above your actual crease while looking down into a mirror. This ensures the color stays visible when your eyes are open.
Fast Fix: 3-Step Blending Method for Beginners
- Base shade: Sweep a matte shade close to your skin tone all over your lid.
- Crease shade: Use a medium-toned matte and a fluffy brush in windshield-wiper motions.
- Lid shade: Pat on shimmer or a deeper tone with your finger or a flat brush.
Troubleshooting Guide: What’s Going Wrong?
- Shadow disappears after 2 hours? → You need a better eyeshadow primer.
- Colors turn gray or dull? → You’re probably mixing undertones that clash.
- Patchy or uneven? → You’re using too much product or the wrong brush.
Beginner vs. Advanced Moves
Beginner move:
Use your fingertip to pat shimmer directly onto the center of the lid—it’s more forgiving and delivers instant pop.
Pro move:
Spritz your brush with setting spray before picking up shimmer. It intensifies pigment and locks it in place.
Practice Challenge: The 5-Minute Blend Test
Try this today:
Pick just 2 shades—a matte transition and a shimmer lid color. Set a timer for 5 minutes and focus only on clean blending.
→ Take a before and after pic. You’ll be shocked at how much better it looks when you keep it simple and intentional.
Final Thoughts: Practice Makes Polished
Getting that seamless blend without muddiness takes time, patience, and a few great tools. But it’s 100% possible. The keys?
✅ Use a clean base.
✅ Choose the right brushes.
✅ Apply with purpose.
✅ Blend with care.
Mastering eyeshadow is part art, part technique. And if your shadows are turning muddy now, don’t get discouraged. We’ve all been there. Keep practicing and let your brushes—and your skills—do the talking.


