Important: This article is for informational purposes only. Please read our full disclaimer for more details.
Do you ever look in the mirror after applying your foundation and wonder, “Why does my makeup look cakey?” If so, you’re not alone. Cakey makeup usually results from common mistakes in skin prep and product application. Fortunately, there are simple ways to fix this using a product you likely already have in your collection. This guide walks you through how to avoid a cakey look by demonstrating both incorrect and correct methods of base makeup application.
Step 1: Always Start With Moisturizer
The foundation of any smooth makeup application is proper hydration. On the correctly prepped side of the face, a lightweight, hydrating moisturizer like Madagascar Centella Hyalu-Cica Moisture Cream is used. This step ensures the skin is well-nourished and plump, reducing the likelihood of foundation clinging to dry patches.
- Be sure to moisturize thoroughly, including the eyelids and under-eye area.
- On the incorrectly prepped side, moisturizer is skipped. This can lead to uneven texture and exaggerated dryness under makeup.
Pro Tip: If your skin doesn’t feel hydrated enough, it probably isn’t. Don’t hesitate to add more moisturizer.
Step 2: Layer on a Moisturizing Sunscreen
Next, incorporate a hydrating sunscreen. A great option is Isntree Hyaluronic Acid Watery Sun Gel SPF 50, which delivers broad-spectrum protection while adding a glass-skin glow.
- Apply generously to maintain moisture and boost your skin’s appearance.
- Skipping this step results in a flat, lifeless finish.
Step 3: Use a Hydrating Primer or Serum
Although not marketed as a primer, Glow Recipe Watermelon Niacinamide Dew Drops work wonderfully to create a luminous base. Even oily or acne-prone skin can benefit from this product, as it hydrates without feeling greasy.
- Apply a thin layer to areas prone to dryness or patchiness.
- This creates a radiant canvas for your makeup, unlike the unprepped side that remains dull and dry.
Step 4: Foundation—Less is More
Using Estée Lauder Double Wear Foundation, the application approach makes all the difference.
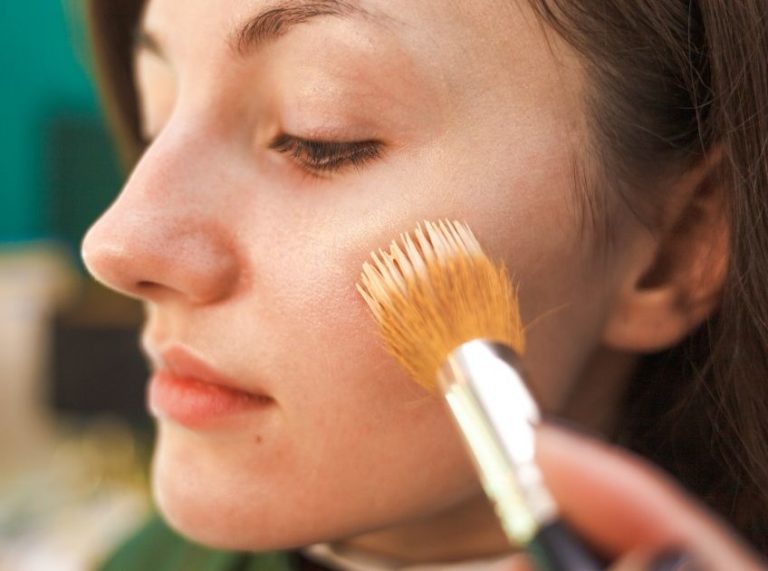
- Wrong method: Applying too much foundation and blending only with a brush traps excess product, increasing cakiness.
- Right method: Use a small amount, apply with fingers to warm up the product, and blend with a damp sponge for a more natural, skin-like finish.
This technique allows the skin’s natural glow to show through and prevents buildup in textured areas.
Step 5: Concealing Blemishes the Smart Way
Use a reliable concealer like Maybelline Fit Me Concealer for targeted blemish coverage.
- Incorrect technique: Blending concealer immediately after application removes much of the coverage.
- Correct technique: Allow the concealer to sit for 30–60 seconds before blending. This helps it adhere better to the skin and provides more effective coverage.
Step 6: Proper Under-Eye Concealer Placement
For dark circles, the placement of concealer is crucial.
- Mistake: Applying too much product too close to the lower lash line increases creasing.
- Correct approach: Apply small dots of concealer lower on the under-eye area, then blend upward with a small brush, followed by a sponge. This method avoids buildup and creasing while providing sufficient coverage.
You may layer a second, slightly darker concealer for added brightness—but only in small amounts.
Step 7: Smile Before Setting with Powder
Before setting your concealer, smile and allow natural creases to form. Then:
- Blend any excess product from fine lines using your sponge.
- Set with a light dusting of Maybelline Fit Me Loose Powder. Avoid packing on too much powder, as this leads to a dry, cakey look.
Incorrect technique: Applying too much powder without blending or dusting off excess results in an overly matte and heavy finish.
Step 8: Set and Lock with Spray
Lock everything in with a setting spray such as Sephora Setting Spray.
- Mist generously, allow it to sit briefly, then press the product in using a damp sponge.
- For additional longevity, apply another light layer of powder to areas prone to oiliness, such as the T-zone.
This technique seals your makeup and ensures it lasts throughout the day without separating or looking cakey.
Final Thoughts
Cakey makeup is often the result of improper skin prep and overuse of product. By focusing on hydration, correct layering, and minimal yet effective application, you can achieve a smooth, long-lasting, and natural-looking base. These adjustments require no new purchases—just a better understanding of how to use what you already own.
Take the time to prep your skin properly, apply makeup in thin layers, and blend thoroughly. The difference in the final result will be noticeable and well worth the effort.
