Important: This article is for informational purposes only. Please read our full disclaimer for more details.
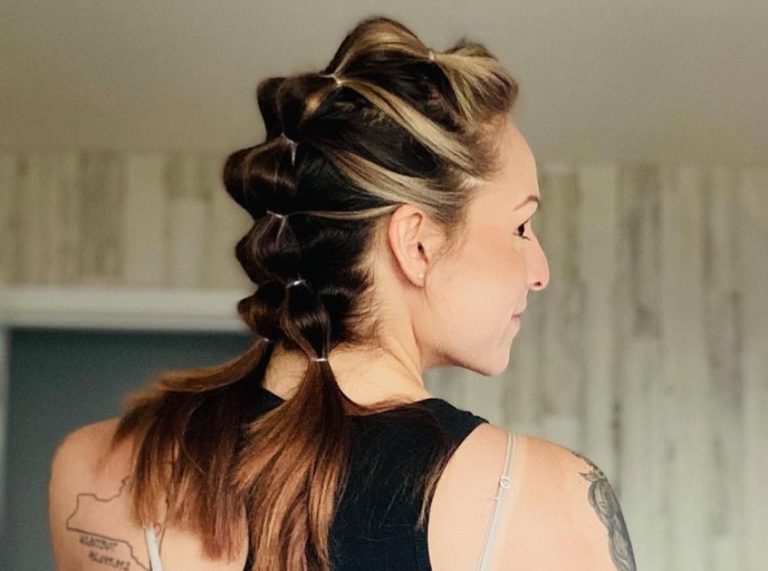
Sleek, timeless, and effortlessly cool, straight back braids (also known as cornrows) have remained a cultural staple for generations. Whether you want a protective style, a low-maintenance look, or just something that screams confidence, straight back braids check all the boxes. This guide dives into everything you need to know, from styling to upkeep.

What Are Straight Back Braids?
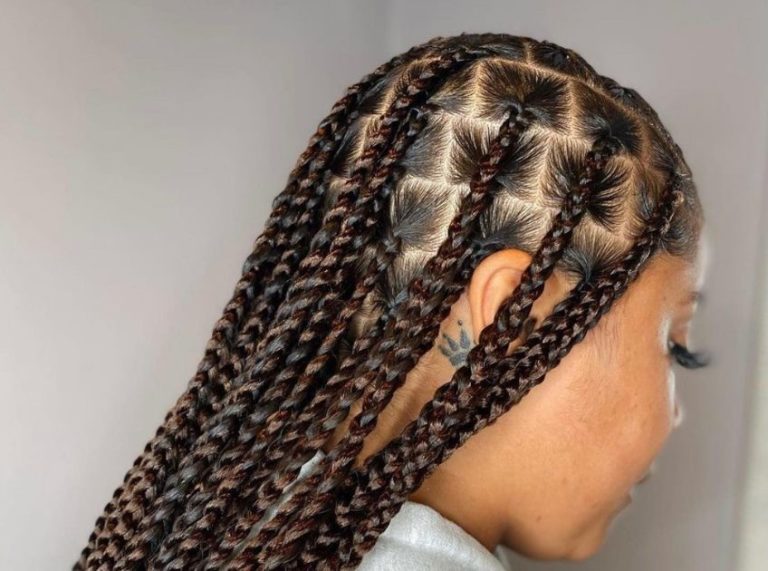
Straight back braids are tight, neat cornrows braided directly backward from the hairline. They sit flat against the scalp, creating a clean and defined look that can range from minimal to intricate, depending on the number and size of the braids.
They’ve long been embraced for their practical beauty, with roots in African heritage and modern-day fashion. Celebrities and everyday braid lovers alike choose this style for its durability, versatility, and bold aesthetic.
How to Do Straight Back Braids at Home (Yes, You Can!)

Mastering straight back braids may seem intimidating, but with a bit of patience and practice, you can do it yourself or on someone else. Here’s your expert breakdown.
Tools & Products You’ll Need
Before you begin, gather the essentials for a smooth braiding session:
- Rat-tail comb (for parting) (Buy Here)
- Wide-tooth comb (for detangling) (Buy here)
- Hair clips or sectioning clamps (Buy Here)
- Leave-in conditioner or braid prep spray (Buy Here)
- Edge control or styling gel (Buy Here)
- Braiding hair (optional, for added length/thickness) (Buy Here)
- Shine spray or braid sheen (Buy Here)
- Bobby pins (optional)
Pro Tip: Use a product with good hold but no flaking to keep your parts clean and the braid sleek
Step-by-Step Tutorial: How to Achieve Straight Back Braids
Step 1: Detangle & Moisturize
Start with clean, stretched hair. Apply a leave-in conditioner and gently detangle using a wide-tooth comb. Follow up with a lightweight oil to lock in moisture.
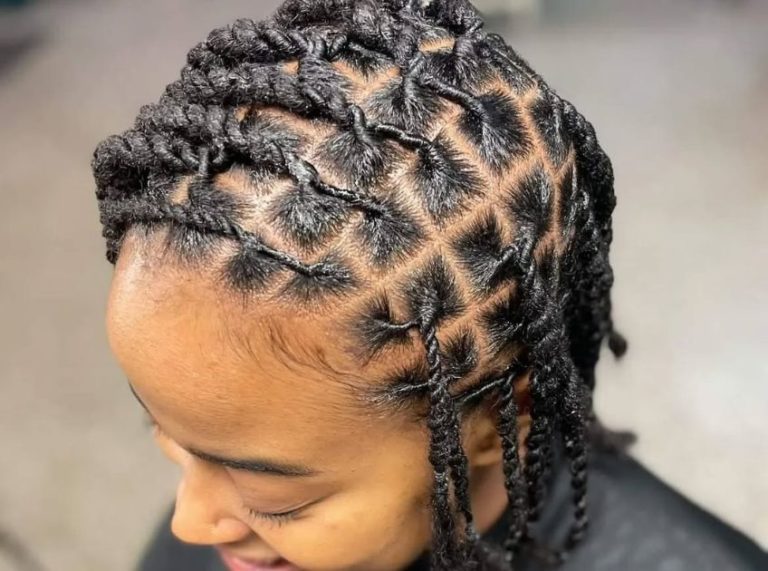
Step 2: Part the Hair into Sections
Use the rat-tail comb to part your hair vertically from the forehead to the nape. Each part will form one braid. Use clips to hold the rest of the hair out of the way.
Step 3: Apply Edge Control or Gel
Apply styling gel along the part lines and edges for smoothness and grip. This helps you achieve a crisp, polished look.
Step 4: Begin Cornrowing
Start at the front of one section and divide it into three small strands. Begin a cornrow braid, picking up hair as you go. Braid back to the nape and secure with a small elastic if needed.
Step 5: Repeat for All Sections
Continue braiding each section straight back until the full head is complete. Add braiding hair if desired for length or volume.
Step 6: Seal and Set the Style
Once done, spray your scalp and braids with braid sheen. Tie a silk scarf overnight to help the braids set and reduce frizz.
Stylist Insight: Neat parts and consistent tension make a huge difference. Take your time to ensure symmetry and uniformity.
Frequently Asked Questions (FAQ’S)
1. How Long Do Straight Back Braids Last?
A. Typically, they last 2–4 weeks, depending on hair texture, maintenance routine, and braid size. Smaller braids last longer than jumbo ones.
2. Can I Add Hair Extensions for Straight Back Braids?
A. Yes! Adding braiding hair gives you more volume, length, and durability, especially helpful if your natural hair is short or fine.
3. Are Straight Back Braids Protective?
A. Absolutely. They shield the ends of your hair from breakage and environmental damage while encouraging growth when properly maintained.
Make Straight Back Braids Your Signature Style
Straight back braids are more than just a trend—they’re a statement of style, strength, and heritage. Whether you rock them as a weekend look or a protective style between installs, they’re low-maintenance and always on point. With the right tools and a little practice, you can master them like a pro. Ready to braid up?