Important: This article is for informational purposes only. Please read our full disclaimer for more details.
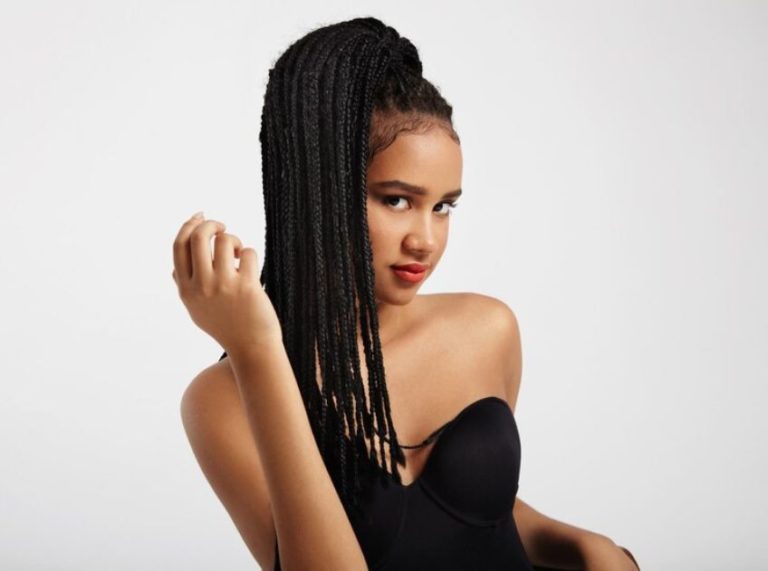
Ghana braids are bold, intricate, and deeply rooted in African heritage. Loved for their regal look and protective benefits, these cornrow-style braids have stood the test of time, blending culture, fashion, and function into one iconic hairstyle. Whether you’re new to braiding or curious about trying a fresh protective style, this guide covers everything you need to know to master Ghana braids at home.

What Makes Ghana Braids Unique?
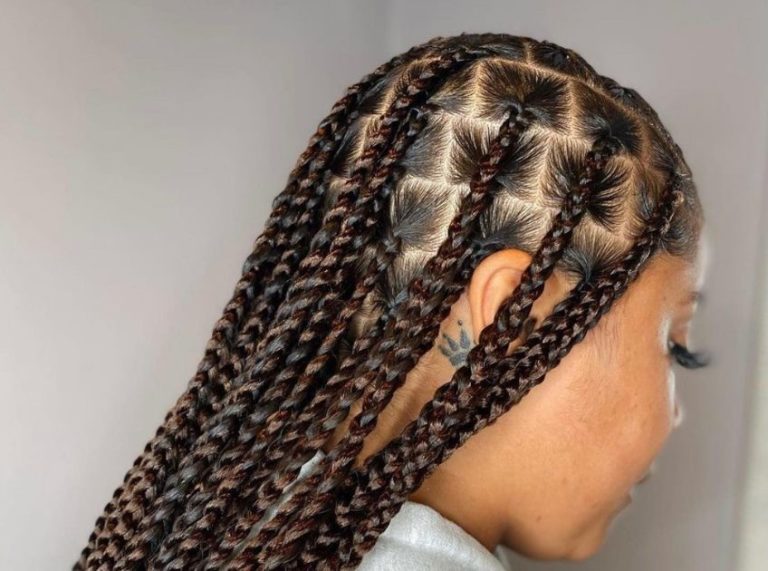
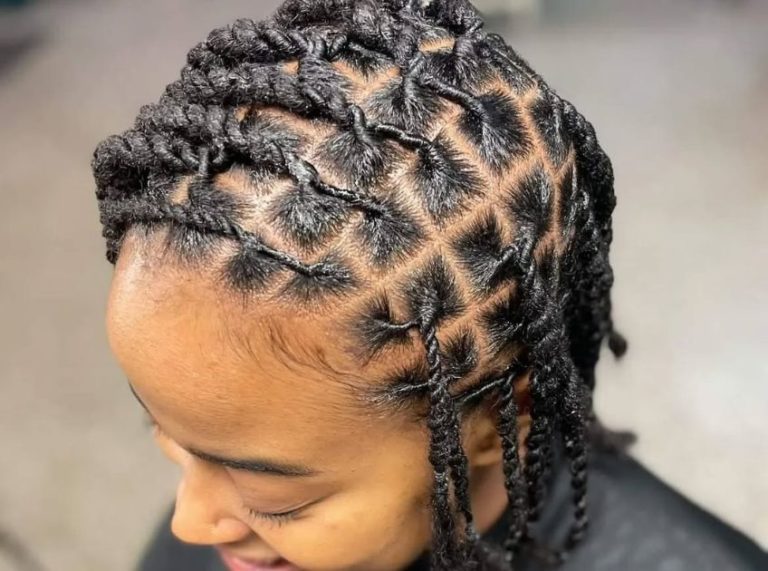
Also known as Banana Braids or Cherokee Braids, Ghana braids are a form of feed-in cornrows. They start small at the hairline and gradually become thicker as more hair is added along the braid path.
What Sets Them Apart
- Thicker and more pronounced than traditional cornrows
- Created using the feed-in technique for a natural, seamless look
- Styled close to the scalp in various patterns and curves
- Often adorned with cuffs, beads, or colored extensions for flair
They’re not just a hairstyle—they’re a statement of identity and elegance.
Why Choose Ghana Braids? Top Benefits
Ghana braids offer more than just good looks—they’re functional, protective, and versatile.
Key Benefits Include
- Protective Styling: Shields natural hair from daily manipulation and breakage
- Low Maintenance: Can last for weeks with minimal touch-ups
- Customizable: Choose from straight backs, zigzags, side-swept, or curved styles
- Growth Support: Promotes healthy hair growth when installed with proper care
- Cultural Pride: A beautiful nod to African heritage and traditional beauty
Ready to DIY? Here’s How to Create Ghana Braids
Creating Ghana braids at home may take practice, but with patience and the right tools, it’s achievable.
What You’ll Need: Ghana Braids Starter Kit
- Rat-tail comb (for parting and precision) (Buy Here)
- Sectioning clips or rubber bands (Buy Here)
- Braiding gel or edge control (Buy Here)
- Pre-stretched braiding hair (Buy Here)
- Mousse for setting braids (Buy Here)
- Boiling water (to seal ends if needed)
- Scissors, edge brush, and hair jewelry (optional)
Prepping Your Hair for Braiding Success
- Cleanse Thoroughly: Use a clarifying shampoo to remove buildup
- Deep Condition: Nourish your strands with a moisture-rich mask
- Detangle: Smooth out knots to make parting and braiding easier
- Stretch Your Hair: Blow-dry or band to elongate curls if needed
- Apply Leave-in & Oil: Keep your hair hydrated before styling begins
Step-by-Step: How to Achieve Perfect Ghana Braids

Creating flawless Ghana braids at home takes time and precision, but once you get the rhythm of the feed-in technique, the process becomes easier. This step-by-step guide will help you achieve sleek, defined Ghana braids with professional results.
1. Part and Section the Hair
Start by deciding on the braid pattern—straight back, curved, side-swept, or zigzag. Use a rat-tail comb to part the hair cleanly. Make sure the sections are even and neat, as the parting will dictate how polished the final result looks. Use sectioning clips or rubber bands to hold each part in place.
Expert Tip: Start with 6 to 8 braids if you’re a beginner. Fewer braids are easier to manage when you’re learning the feed-in technique.
2. Prep Each Section with Gel
Apply a small amount of edge control or braiding gel to the base of each section. This smooths flyaways, helps hold the parting in place, and provides a better grip for braiding.
Recommended Product: Use a strong-hold gel like Shine ’n Jam or Murray’s Edge Wax for lasting hold without flaking.
3. Begin the Base Braid
Start braiding close to the scalp using only your natural hair. Create about 2–3 stitch motions (tight, underhand braiding) before you start feeding in extensions. This helps anchor the braid.
Pro Tip: Always braid underhand (not over) for a more lifted, defined braid.
4. Feed in Braiding Hair Gradually
Now it’s time to add the synthetic braiding hair. Use small pieces at first and gradually increase the thickness with each feed-in. Slide the extension under your index finger and integrate it into the braid. Continue feeding in more hair every 2–3 stitches until you reach your desired braid thickness.
Important: Add hair evenly and consistently to maintain symmetry across all braids.
5. Continue Braiding Down to the Ends
Once you’ve reached the nape of your neck and completed the feed-in process, continue braiding the length of the hair using the same underhand motion. Make sure the tension is even, but not too tight, to prevent breakage.
Optional Finish: Curl the ends using perm rods and dip them in hot water for a coiled look—or seal with hot water for a sleek finish.
6. Tidy Up and Set Your Style
Once all braids are completed:
- Apply styling mousse generously across the scalp and braids to reduce frizz.
- Use a scarf to set the edges for 10–15 minutes.
- Lay your baby hairs using an edge brush and your favorite edge control.
Final Touch: Add beads, gold cuffs, or braid rings for extra flair and personality.
Maintenance Tips to Keep Your Ghana Braids Looking Fresh
Keeping your braids neat will help them last longer and protect your hair underneath.
Maintenance Tips
- Wrap hair in a satin bonnet or scarf at night
- Use a light oil or braid spray 2–3 times a week to moisturize your scalp
- Refresh edges with gel if needed
- Avoid heavy buildup by cleansing your scalp with a diluted shampoo or scalp tonic every two weeks
How to Take Down Ghana Braids Without Damage
Removing Ghana braids properly is just as important as installing them.
Gentle Removal Process
- Cut the braid where your natural hair ends (if extensions are long)
- Carefully unravel each braid using a tail comb or your fingers
- Finger-detangle before shampooing
- Follow up with a deep conditioner or protein treatment
Avoid Tugging: Never pull or rip through braids—this leads to breakage and thinning.
Frequently Asked Questions (FAQ’S)
Q1: How Long Do Ghana Braids Last?
A. Typically, Ghana braids last 3 to 5 weeks with proper care. The longevity depends on how well you maintain your scalp and avoid frizz.
Q2: Are Ghana Braids Good for Hair Growth?
A. Yes, when installed properly and maintained, Ghana braids can reduce breakage and promote healthy hair growth by minimizing manipulation.
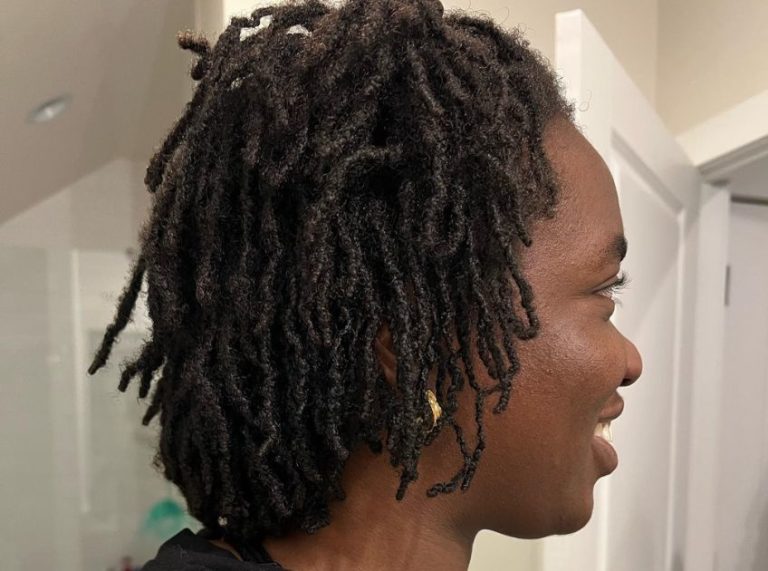
Q3: Can I Get Ghana Braids with Short Hair?
A. Absolutely. Even if your natural hair is as short as 2–3 inches, a skilled braider can feed in extensions and create beautiful Ghana braids.
Final Thoughts: Should You Try Ghana Braids?
Ghana braids are a stunning way to protect your natural hair while embracing a style rich in culture and elegance. Whether you’re heading to a formal event or just want an easy, low-maintenance hairstyle, Ghana braids offer a timeless, bold, and functional solution. Once you learn the technique—or find a skilled braider—you’ll understand why this style remains a global favorite.