Important: This article is for informational purposes only. Please read our full disclaimer for more details.
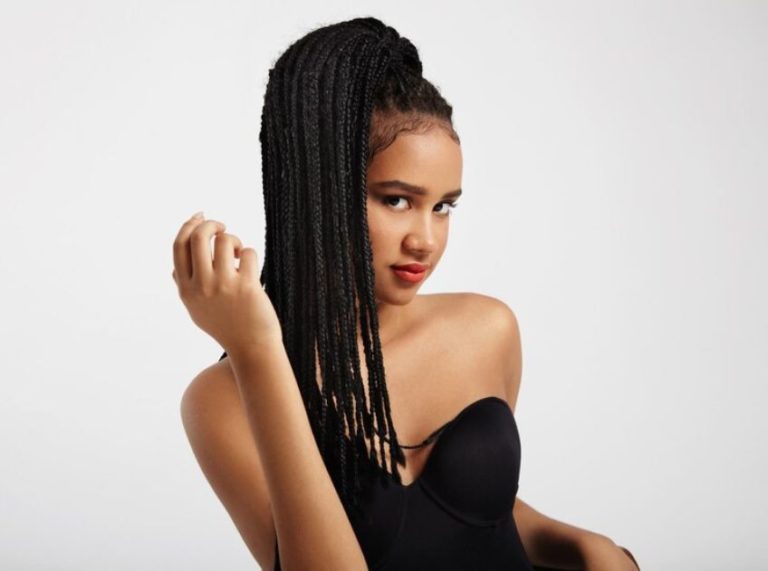
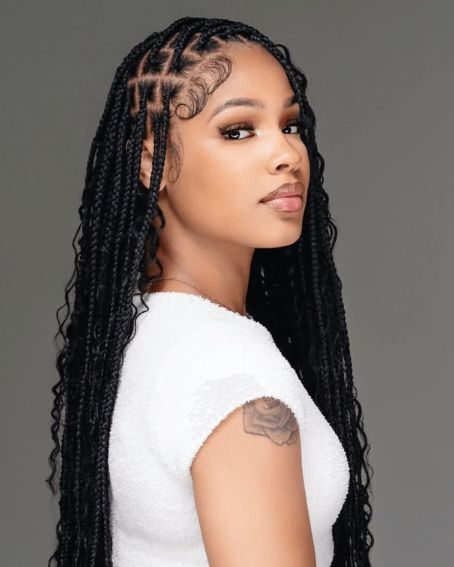
Knotless braids have taken over the hair world for all the right reasons. Lightweight, stylish, and protective—this braid method is a game-changer for natural hair lovers who want a sleek look without scalp tension. If you’re considering this trending style, here’s your expert-backed guide on everything knotless.
What Makes Knotless Braids So Popular?
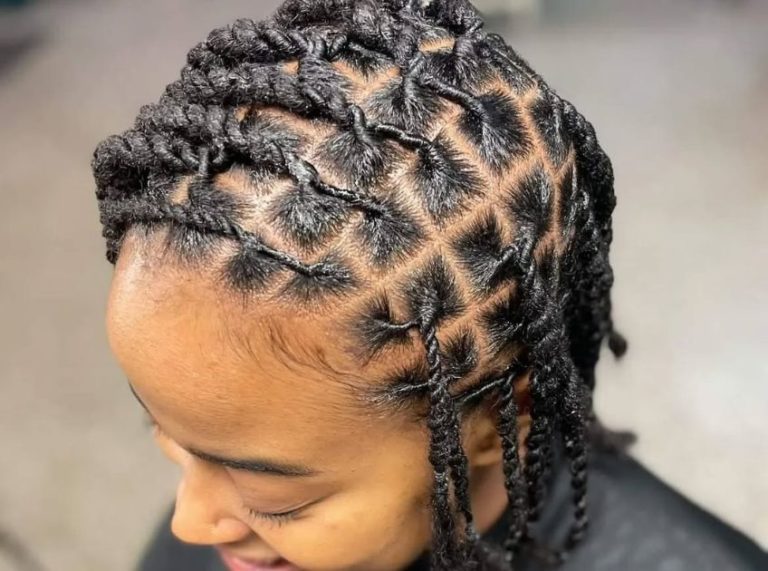
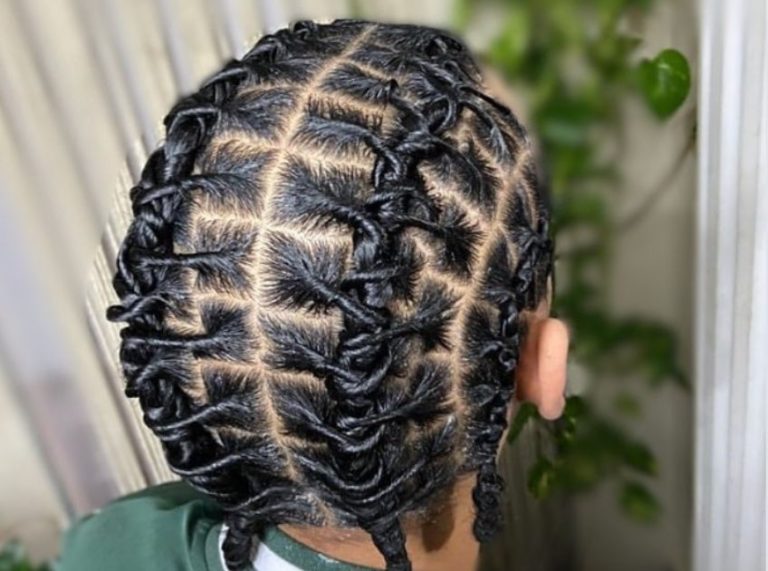
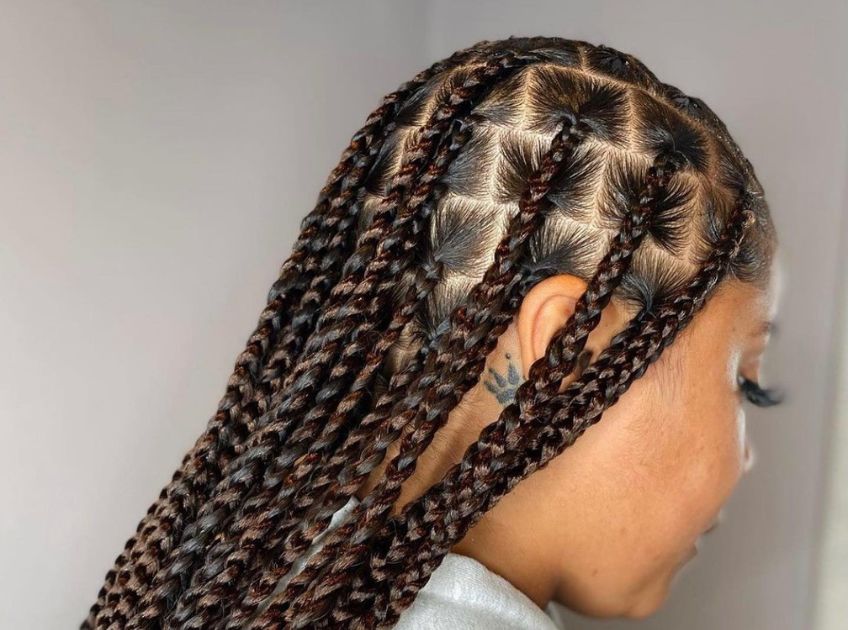
Knotless braids are a modern twist on traditional box braids. Unlike box braids that start with a knot to anchor the extension, knotless braids begin with your natural hair, gradually feeding in extension hair as you braid down. The result? A flat, seamless braid that lies naturally on the scalp and causes far less tension.
Knotless Braids vs Traditional Box Braids: What’s the Difference?
- No starter knots: Reduces scalp tension and pulling.
- Lighter feel: Easier on edges and better for long-term wear.
- More natural appearance: Looks like your real hair.
- Smoother install: Great for sensitive scalps or thinning edges.
Why You’ll Love Knotless Braids
Here’s why knotless braids continue to dominate salons and DIY styling:
- Pain-Free Installation – No tight knots = no sore scalp.
- Scalp Health – Reduced pulling helps preserve your edges.
- Natural Movement – Your braids swing freely and feel like your own.
- Versatile Styling – Bun it, braid it, or leave it loose—knotless gives you full freedom.
- Low Maintenance – Once installed, they’re simple to manage with basic care.
What You’ll Need for the Perfect Knotless Braid Install
Essential Supplies
- Wide-tooth comb and rat-tail comb (Buy Here)
- Sectioning clips (Buy Here)
- Shine ‘n Jam or edge control (Buy Here)
- Braiding hair extensions (pre-stretched preferred) (Buy Here)
- Holding gel or mousse (Buy Here)
- Scissors (for trimming flyaways)
- Lightweight oil or braid spray
Pro Tip: Use pre-stretched braiding hair to save time and achieve a cleaner look.
How to Install Knotless Braids: Step-by-Step
Step 1: Prep Your Hair
- Wash with a clarifying shampoo and deep-condition your strands.
- Blow-dry or stretch your hair for easier parting.
- Detangle thoroughly and apply a light leave-in conditioner.
Step 2: Section and Part
- Use your rat-tail comb to create neat partings based on your desired braid size.
- Clip away sections to keep parts clean.
Step 3: Start Braiding
- Begin braiding with your natural hair for about 1 inch.
- Gradually feed in small pieces of extension hair as you braid downward.
- Keep the tension consistent for a sleek finish.
Step 4: Secure the Ends
- Dip the ends in hot water to seal.
- Apply mousse to smooth flyaways.
- Lay your edges using an edge control.
Pro Tip: Start with fewer feed-ins and increase as you go to maintain a natural taper from root to tip.
Caring for Knotless Braids the Right Way
Keeping your knotless braids looking fresh is easy with the right routine:
- Moisturize your scalp: Use braid spray or a water-based moisturizer every 2–3 days.
- Protect at night: Wear a satin or silk scarf/bonnet to reduce friction.
- Cleanse gently: Use a diluted shampoo on your scalp every 10–14 days.
- Avoid heavy products: Keep buildup away to extend style longevity.
Frequently Asked Questions (FAQ’S)
1. How long do knotless braids last?
A. They typically last 4 to 6 weeks with proper care, depending on braid size and hair growth.
2. Are knotless braids good for all hair types?
A. Yes. Whether you have fine, thick, or coily hair, knotless braids are adaptable and gentle on all textures.
3. Can I work out with knotless braids?
A. Absolutely. Just tie your braids up and keep your scalp clean to avoid sweat buildup.
Final Thoughts
If you’re seeking a tension-free, stylish protective style that looks natural and feels even better, knotless braids are the ultimate choice. They’re gentle, beautiful, and incredibly versatile, making them a must-try for any naturalist or braid lover.