Important: This article is for informational purposes only. Please read our full disclaimer for more details.
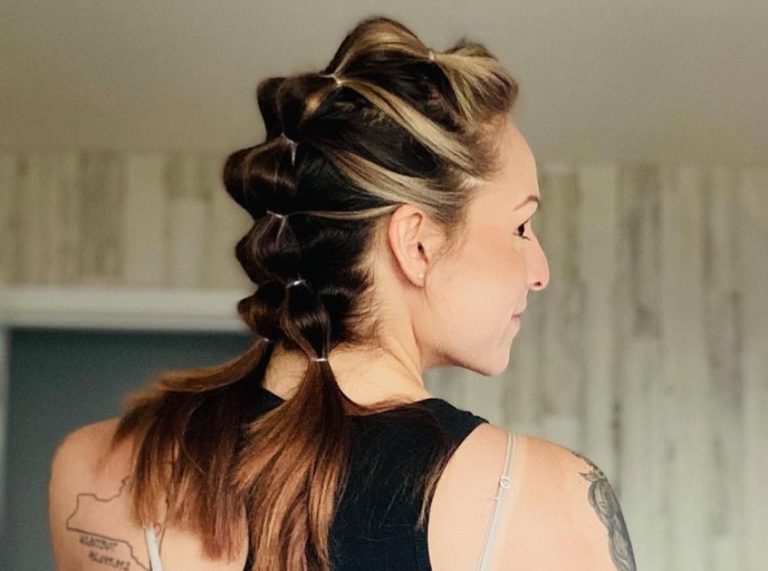
The coronet braid is one of those hairstyles that feels both royal and rustic. Inspired by crown-like plaits worn for centuries, this romantic updo is perfect for everything from weddings to weekend brunches. It’s elegant, surprisingly simple to do, and can instantly elevate your look.
If you’ve been curious about mastering the coronet braid, this guide walks you through the essentials—from what it is to how and where to wear it—with expert insights.
What Is a Coronet Braid?
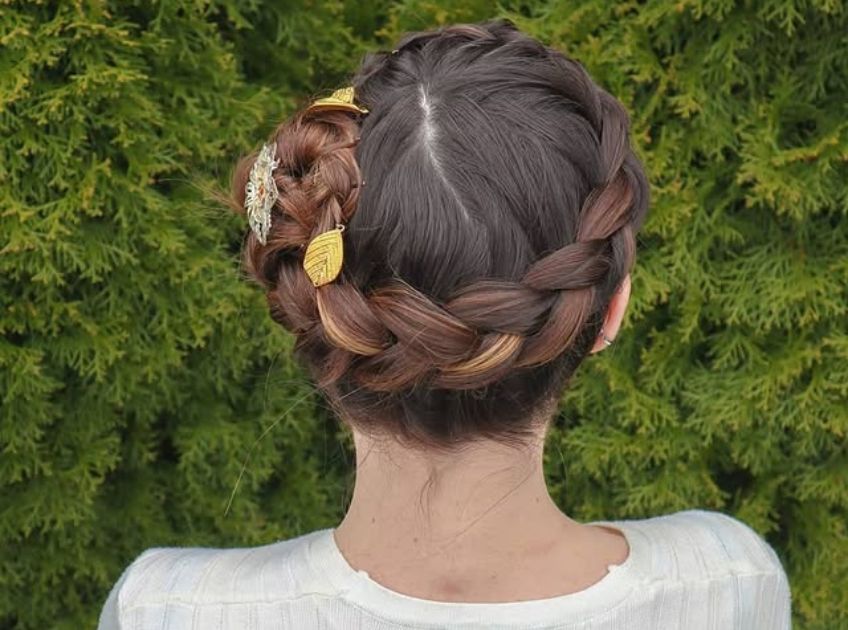
The coronet braid, often called a “crown braid,” is a halo-like hairstyle where the braid wraps around the head, mimicking the shape of a crown. It typically starts from one ear and circles around the head in a continuous or overlapping braid.
While it may look intricate, the technique is usually based on Dutch or French braiding. Its versatility allows for both neat, polished styles and loose, boho-chic looks. Think Greek goddess meets fairy-tale elegance.
Step-by-Step: How to Create a Coronet Braid

Creating a coronet braid may look intricate at first glance, but once you understand the structure, it becomes a simple and satisfying style to master. This step-by-step guide breaks down the process for all skill levels—whether you’re a braid beginner or an updo enthusiast.
What You’ll Need
- Wide-tooth comb & rat-tail comb (Buy Here)
- Hair elastics (buy here)
- Hairpins or bobby pins
- Texturizing spray or dry shampoo (Buy here)
- Lightweight hairspray (Buy Here)
- Mirror (a second one helps see the back)
Coronet Braid Tutorial
1. Start with Prepped Hair
Before you begin, your hair should be clean, dry, and tangle-free. You can work with freshly washed hair, but for the best grip, second-day hair or hair with a bit of texture spray or dry shampoo works better.
- Use a wide-tooth comb to detangle your hair gently.
- Mist a texture spray or dry shampoo to add grip, especially if your hair is fine or freshly washed.
- Apply a bit of serum to the ends if your hair is prone to frizz.
Pro Tip: Don’t skip the texturizing step—slippery hair makes braiding harder and leads to looser results.
2. Create a Deep Side or Middle Part
Decide where you want the braid to begin. Most coronet braids start at one ear and wrap around the head like a crown.
- Use a rat-tail comb to create a clean side part (or middle part if you prefer symmetry).
- Clip the section you’re not working with to keep things tidy.
Stylist Insight: A side part gives a more romantic, asymmetrical look, while a middle part offers a balanced, classic finish.
3. Begin Braiding at One Ear
Start your braid just behind one ear. You can use a Dutch braid (braiding under) for a more prominent look, or a French braid (braiding over) for something subtler.
- Take three small strands and begin your braid, feeding in hair from both the front and the crown.
- Keep the braid tight and close to the scalp as you move across the front hairline.
Braid Tip: Always braid toward the back of your head in a curved motion so it follows your natural hairline.
4. Continue the Braid Around Your Head
As you continue braiding, slowly work your way around the nape of your neck and up the opposite side.
- Maintain even tension throughout to avoid bulges or uneven loops.
- Use a mirror (or a handheld mirror) to check the braid from the back as you go.
Optional: For extra volume, gently tug on the outer edges of the braid as you progress. This is called “pancaking” and adds softness to the finished look.
5. Finish the Braid and Tuck the End
Once you’ve made a full circle and braided all your hair, finish the remaining length in a standard three-strand braid.
- Secure the end with a small elastic.
- Wrap the tail around and tuck it underneath your starting point.
- Pin it in place using bobby pins that match your hair color.
Finishing Touch: Use U-pins or strong bobby pins to secure the braid and prevent slipping—crisscross two pins in an “X” shape for better hold.
6. Set and Style
Now that the braid is in place, give it some polish:
- Smooth flyaways with a bit of edge control or light hairspray.
- Gently pull out a few wispy strands around your face for a soft, romantic finish.
- For special occasions, add pearl pins, floral accessories, or decorative clips.
Stylist’s Tip: Use a shine spray or lightweight serum over the finished braid to enhance its definition and sheen without making it greasy.
When & Where to Rock a Coronet Braid
The coronet braid is ultra-versatile and works well for:
- Weddings & Formal Events – Sophisticated and secure all night long.
- Boho Gatherings or Music Festivals – Pair it with flowy dresses and layered jewelry.
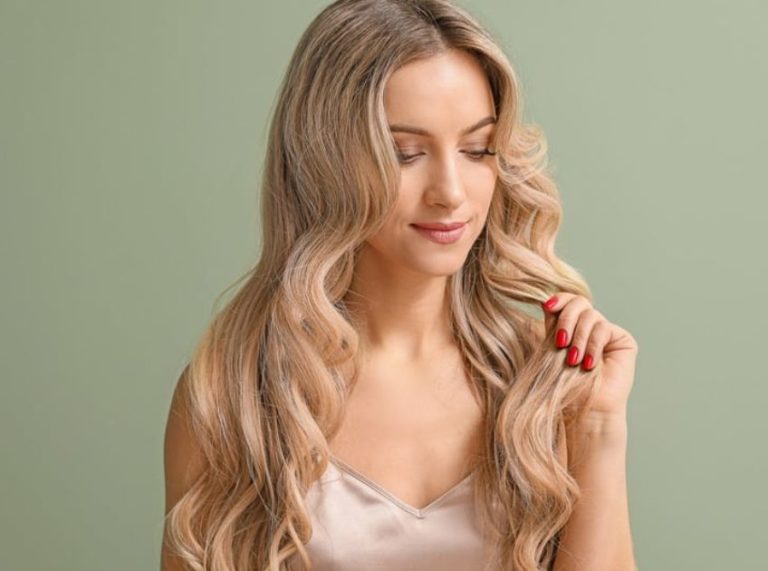
- Date Nights – Add soft waves or floral pins for a romantic flair.
- Everyday Chic – Keep it low-key with a messy, textured braid.
Whether polished or undone, the coronet braid always makes a statement.
Hairstyles That Channel the Same Vibe
Love the look but want options? Try these styles that echo the coronet braid’s romantic feel:
- Milkmaid Braids – Two braids pinned over the crown for a similar halo effect.
- Halo Braid – A wraparound braid similar to the coronet but more loosely done.
- Boho Crown Braid – Messier, with added accessories like flowers or beads.
- Gibson Tuck with a Braid – Tuck and pin with braided accents for a vintage twist.
All of these give that elegant, framed look while varying in texture and complexity.
Frequently Asked Questions (FAQ’S)
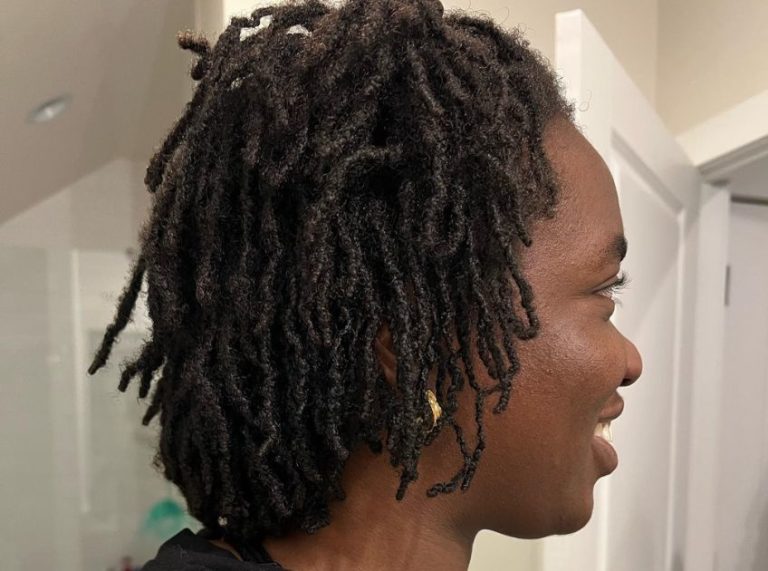
1. Can I do a coronet braid on short hair?
A. Yes—if your hair reaches at least shoulder length, you can create a modified coronet braid or use braid extensions for length.
2. How long does a coronet braid last?
A. For most, it holds up for 1–2 days with pins and hairspray. For longer wear, secure it tightly and sleep with a silk scarf.
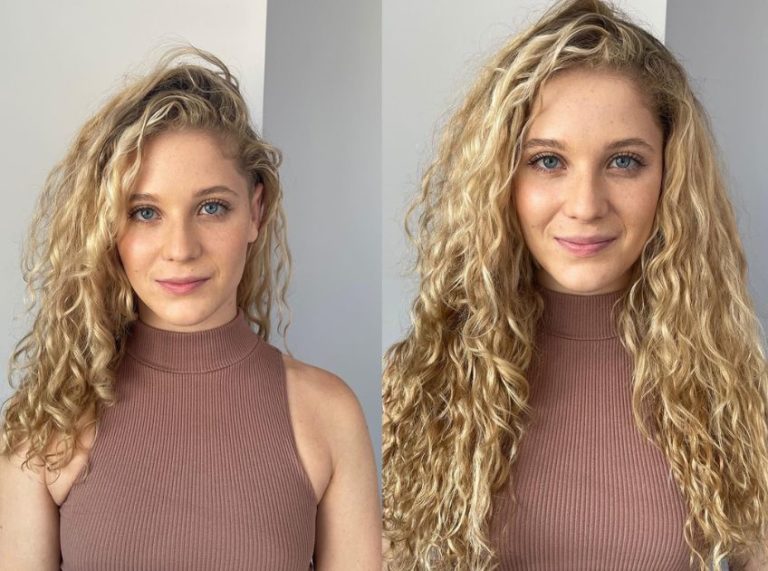
3. Is the coronet braid good for all hair types?
A. Absolutely. It works on straight, wavy, and curly textures. If your hair is silky, use a bit of texturizing spray to help the braid stay put.
Final Thoughts: A Braid That’s Always in Style
The coronet braid is proof that timeless beauty doesn’t have to be complicated. With just a few tools and a little practice, you can create a crown-worthy style that turns heads and lasts all day. Whether you’re aiming for bridal elegance or breezy boho charm, this braid delivers every time.