![]() Fact checked
Fact checked ![]() We have a team of smart fact checkers. They make sure our content is accurate. They use the best sources like medical journals and government websites. You can find their names and profiles on the articles they check.
We have a team of smart fact checkers. They make sure our content is accurate. They use the best sources like medical journals and government websites. You can find their names and profiles on the articles they check.

Important: This article is for informational purposes only. Please read our full disclaimer for more details.
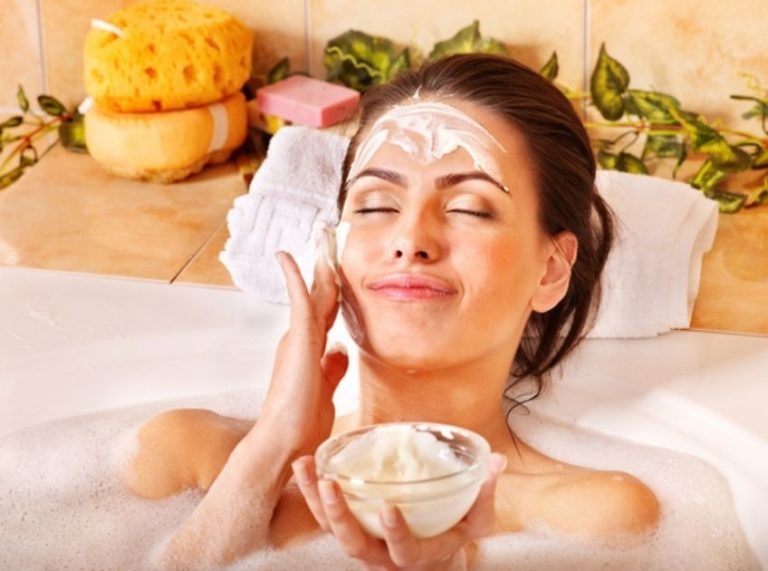
If your skin feels rough, dry, or lacks its usual glow, a sugar scrub could be your new secret weapon. Simple yet effective, sugar scrubs gently exfoliate without stripping your skin. The best part? You can make one at home in minutes.

Natural, customizable, and budget-friendly—DIY sugar scrubs are a skincare essential worth knowing.
Sugar Scrubs That Work: Why They Deserve a Spot in Your Routine
Regular exfoliation is key to healthier, more radiant skin. Sugar scrubs clear away dead cells, improve circulation, and leave your skin feeling silky soft. Unlike harsh exfoliants, sugar dissolves easily and works gently even on sensitive skin.
Why Use Sugar Scrubs?
- Sloughs off dead skin for a radiant glow
- Improves texture and allows better product absorption
- Boosts blood flow to promote skin health
- Easy to make with pantry-safe, non-toxic ingredients
Backed by Nature and Science: The Ingredients that Make a Difference
- Sugar is a natural humectant, meaning it draws moisture into the skin. Its small granules are effective yet gentle for physical exfoliation (1).
- Carrier oils like coconut, olive, or almond oil help restore the skin barrier with healthy fats (2) (3).
- Essential oils not only offer fragrance but may have antimicrobial and anti-inflammatory properties (4).
Key Components That Contribute to Skin Renewal
- Brown Sugar: Softer and more hydrating, perfect for sensitive or dry skin
- White Sugar: Slightly coarser, better for normal to oily skin types
- Carrier Oils: Replenish lipids lost during exfoliation, keeping the skin moisturized
- Vitamin E Oil: Known for healing and antioxidant protection
These work together to exfoliate, hydrate, and nourish simultaneously.
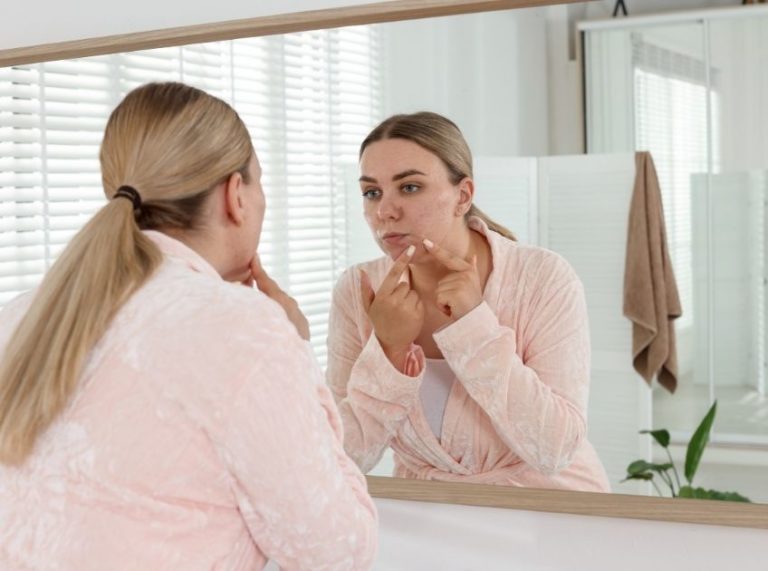
When to Stop Using Sugar Scrubs
It’s time to discontinue use if:
- You notice redness, stinging, or a burning sensation
- Your skin becomes dry, flaky, or over-exfoliated
- You have cuts, sunburns, or skin conditions like eczema or rosacea
Listen to your skin—overuse can do more harm than good.
Adjusting the Recipe to Fit Your Needs
- Use brown sugar for a gentler scrub
- Add extra oil if your skin is dry
- Include essential oils based on your preference (e.g., tea tree for acne-prone skin)
- Add oats or honey for extra soothing properties
Always do a patch test when using new ingredients or essential oils.
Best Skin Types for Sugar Scrubs
Works well for:
- Normal, dry, and combination skin
- Rough patches on arms, legs, or hands
- Dull skin needs gentle exfoliation
Avoid use if:
- Skin is irritated, broken, or sunburned
- You have highly sensitive or reactive skin
Is It Safe to Use Regularly?
Yes, if used properly:
- Limit to 1–2 times per week
- Avoid scrubbing too hard
- Rinse thoroughly and moisturize afterward
- Store in a clean, dry container
Homemade sugar scrubs are safe for most people when used gently and sparingly.
Best 2 DIY Sugar Scrub
DIY 1: Vanilla Brown Sugar Softening Scrub
This calming scrub is ideal for dry or sensitive skin. Brown sugar gently buffs away dead cells while vanilla and coconut oil nourish and soften.
Ingredients:
- ½ cup brown sugar (gentle exfoliant)
- ¼ cup coconut oil (hydrating and antimicrobial)
- ½ teaspoon vanilla extract (soothing scent)
- 1 capsule of vitamin E oil (skin repair and nourishment)
Directions to Use:
- Slightly melt the coconut oil for easier mixing.
- Combine brown sugar, vanilla extract, and coconut oil in a bowl.
- Puncture the vitamin E capsule and squeeze it into the mix.
- Blend well and store in a clean, airtight jar.
How to Apply:
- Use on damp skin in the shower.
- Gently massage in circular motions, focusing on dry areas.
- Leave on for 2 minutes if extra hydration is needed.
- Rinse with warm water and pat dry.
Pro Tip: Great to use before applying a self-tanner or body oil for even application.
DIY 2: Citrus Sugar Brightening Scrub
Packed with vitamin C and uplifting scents, this scrub works well for dull, tired skin needing a quick refresh.
Ingredients:
- ½ cup white sugar (effective exfoliator)
- ¼ cup olive oil (deeply moisturizing)
- 1 tablespoon fresh lemon juice (brightens and clarifies)
- 6 drops orange essential oil (uplifting and antibacterial)
Directions to Use:
- In a bowl, mix sugar and olive oil thoroughly.
- Add lemon juice and essential oil.
- Stir until combined and pour into a clean jar.
- Store in the fridge if using fresh juice (lasts 1 week).
How to Apply:
- Apply in the shower to wet skin.
- Massage gently onto arms, legs, and back.
- Avoid sun exposure right after due to the lemon juice.
- Rinse thoroughly and apply a body lotion.
Pro Tip: Ideal for morning use—its scent is energizing and skin-brightening.
Frequently Asked Questions (FAQ’S)
1. Can I use sugar scrubs every day?
A. No, 1–2 times a week is enough. Over-exfoliation can damage your skin barrier.
2. Are sugar scrubs safe for the face?
A. Only if formulated specifically for facial skin. Body scrubs may be too harsh.
3. How long do homemade sugar scrubs last?
A. Up to 2–3 weeks when stored in an airtight container. If using fresh ingredients, keep them in the fridge and use them within a week.
Final Takeaway
Making a sugar scrub at home is simple, cost-effective, and a treat for your skin. With natural ingredients and customizable options, you can exfoliate safely and luxuriously. Try one of these scrubs this week and give your skin the love it deserves.